Just as an oft-used adage suggests “there’s more than one way to skin a cat,” so are there multiple ways to skin a turkey.
Mind you, if you have plans to roast or deep-fry your gobbler, it shouldn’t really be skinned at all. Plucking is a tedious, time-consuming process, but leaving the skin intact does a great deal to retain succulent juices and present an eye-appealing bird, roasted to a golden-brown turn, when it makes that joyous transition from the oven to the festive table. The same holds true for a deep-fried turkey—skin on is better. These things being duly noted, I recognize that most hunters skin their bird, opting to take the easy route and then turning the white meat into turkey tenders or prepared in other ways while using the legs and wings to produce stock, pâté, or sandwich fixin’s.
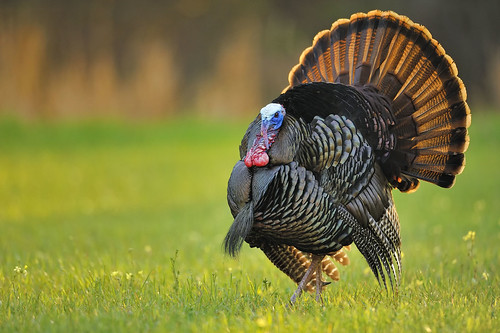
Whenever you decide to take the skinning route, a process which an experienced hand can complete in three or four minutes, it might be worth giving thought to an appealing and not particularly difficult alternative, namely, caping your bird (the cape consists of all of a turkey’s back plumage along with the tail fan). Properly processed, a cape makes a nice wall hanging for the sportsman’s study, hunt camp, or mud room.
The process of caping a gobbler is a straightforward, reasonably simple one and minimal equipment is required—a sharp, short-bladed knife; a piece of cord to hang the bird while the plumage is being separated from the body; some borax; a large piece of stiff cardboard material to which the cape is affixed while drying; and some means of holding the cape in place during the drying process. Spring-type mouse traps, large binder clips of the spring type used to hold sheets of paper together, sturdy seamstress pins, or even lengthy strips of cloth with Velcro fastening can all prove useful in holding the cape in place once it is ready to dry. The idea is to be sure the cape is dried in the position and shape you want it, because once cured it retains its finished shape with considerable rigidity.
Step 1: Hang the Turkey
The first step, beyond the obvious albeit anything-but-easy matter of killing a turkey, is to hang it by the neck at a comfortable working
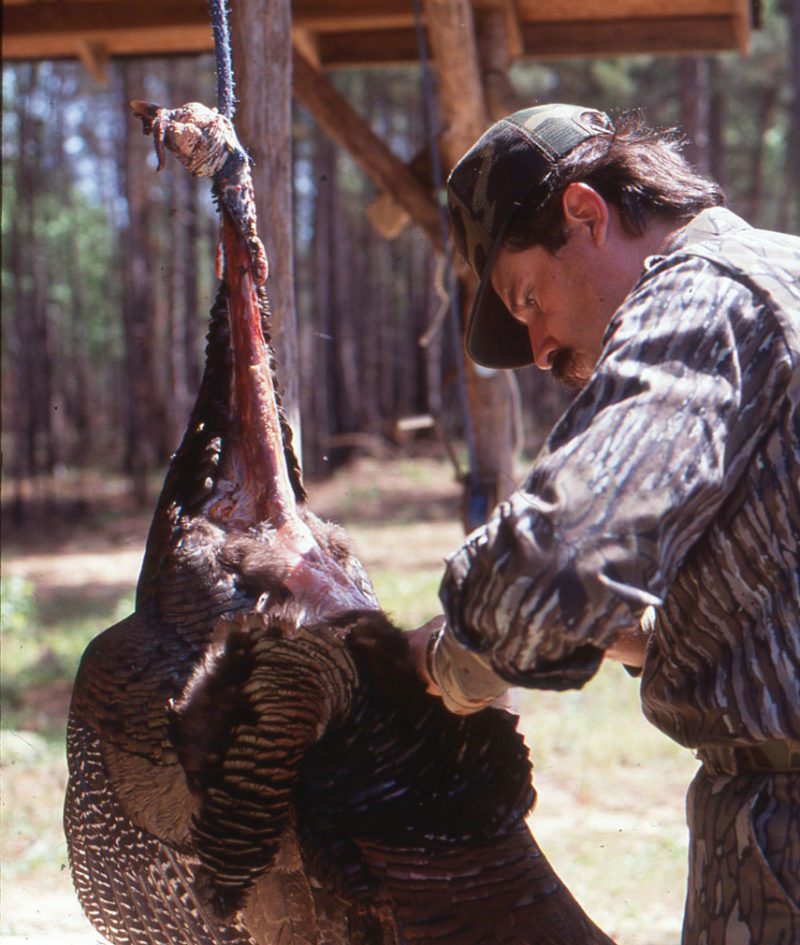 level. A piece of cord, baling twine, or something similar serves quite nicely. Ordinarily caping is done while you are standing up, but it can be accomplished equally well from a sitting position atop a stool or in a chair. Before you begin cutting, make sure the turkey is as free of dirt and moisture as possible.
Step 2: The Skinning Process
Using a sharp knife with a short, sturdy blade of three inches or so, start the process of removing the skin and attached feathers at the point where the turkey’s wattles end, and feathers begin. Make every effort to avoid any breaks or holes, and with care there should be no problem in this regard. Once you have cut through the skin, gently “peel” it back, using the knife to cut the skin away from the flesh, as you work your way down the neck and on to the bird’s body.
Step 3: Neck and Back
The initial cut at the upper end of the neck should extend all the way around the neck, and if you pay close attention the neck portion of the cape is pretty clearly defined by a sort of “break” between the feathers on the top portion of the neck and those on the underside. You want to be sure you get all the top portion of the neck. As you make the transition from the neck to the bird’s body, pay special attention to three things. First, you are dealing with a wider section of feathers, so the peeling requires more cutting. Second, what is arguably the single biggest problem confronts you when it comes to working around the place where wings join the turkey’s body. I have found that it helps to cut the wings away first—just be sure you do it in a clean, neat fashion. As is the case when working along the neck, there is a readily visible change from the feathers which will form part of the cape to those of the bird’s breast. Finally, you will find that the skin and attached feathers come away fairly easy until you reach the middle back. From that point onward matters become somewhat more difficult as the skin seems to cling to the carcass with greater tenacity. Accordingly, you need more knife work.
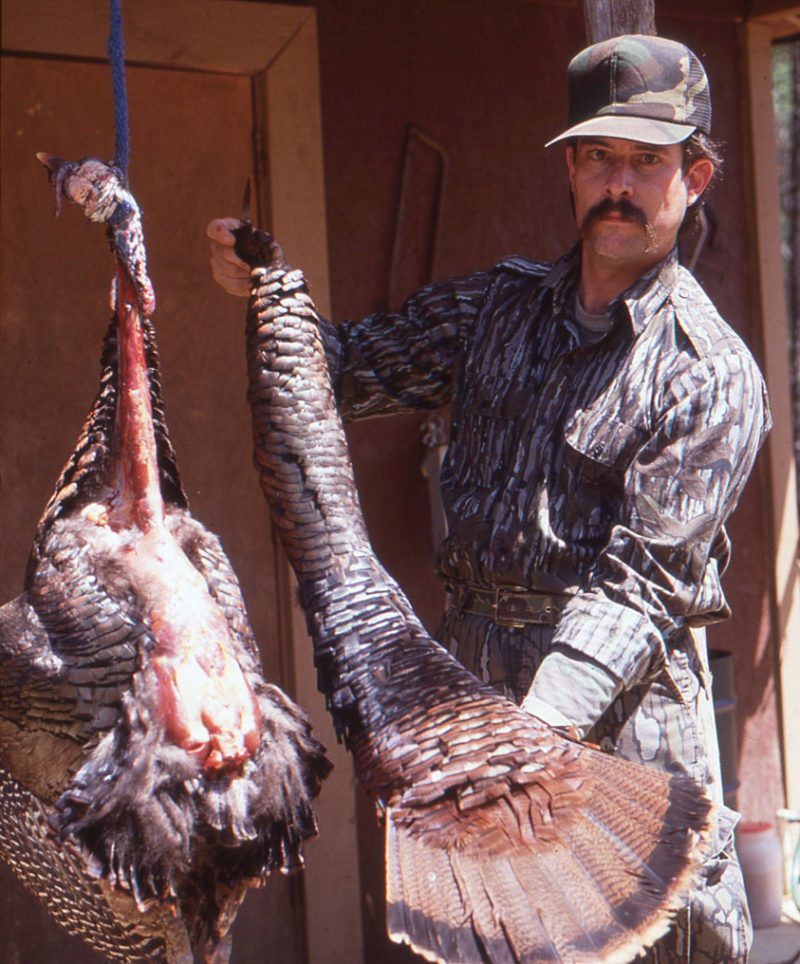 If you are paying close attention, chances are that somewhere along the way before reaching the fan you will notice something which had never previously caught your eye. At least that was the case with me the first time I caped a turkey. Look at the feathers adorning the back and you will notice the distinctive black edge at the bottom of each gobbler feather (that edge is present on both back plumage and that of the breast) increases in width as you move down the turkey. Just below the neck the edge is barely discernible; at the bottom of the breast or cape it is quite prominent and measures roughly three-sixteenths of an inch wide.
Step 4: Pope’s Nose and Fan
Once you reach the bottom of the turkey’s back, the somewhat delicate task of cutting away the “pope’s nose” with the attached fan lies before you. Working carefully and having your knife really sharp are critical at this juncture. Remove as much fat and gristle (but not the skin holding the tail feathers) as possible. You may actually find a pair of nail clippers or nail scissors useful when you get down to close work. Also take care, insofar as possible, to avoid “ruffling” feathers of either the fan or the upper cape, although these can be smoothed back into place if necessary. Speaking of feathers looking less than perfect, if the bird you are caping has wet feathers, something which often happens with a bird taken early in the morning or on a rainy day, a hair dryer may come in handy before you begin the caping process.
Step 5: Clean, Treat, and Mount
Once you have the full cape off the carcass, it is time to undertake some general clean-up work and get out the Twenty Mule Team borax. Start by using paper towels to dab away all the moisture, body fat, and flesh you can. This is easily accomplished by placing the cape, feather side down, on a piece of clean cardboard or sheets of newspaper. Blot the surface with paper towels until they come back with little sign of grease or fat. Next, give the entire skin side a good, solid application of borax. In the case of the base of the fan, work the borax in using your fingers and place a section of wadded paper towel inside what remains of the pope’s nose to absorb extra oil and borax which is dampened by the oil.
With the borax treatment complete, it is time to place the cape in the position you want for the finished product. Most folks prefer to spread the fan, and certainly doing so makes for a larger and more visually attractive display. Place the entire cape, with the raw side facing out in order to get maximum air exposure, on a piece of cardboard, foam, fiber board, or plywood. It should be positioned exactly as you wish it to dry. Use seamstress pins or other means of holding the tail feathers in place and make sure the upper part of the cape lies flat. In the case of the neck and back, you may want to resort to clamps. For the fan, the desired shape can be obtained by strategically placing pins on either side of the rib running down the middle of each tail feather. Do this for not one but several tail feathers.
At this point most of the job is finished, but you will want to check every couple of days as the drying process proceeds. Add an additional dusting of borax as needed (and this will almost certainly be the case at the base of the tail feathers), and delicately remove any remaining bits of fat or meat as the cape “cures.” Allow the cape to dry out for at least two weeks. When completely dry it will be quite stiff and ready for hanging on a wall or similar decorative use. Brush or blow away any remaining borax dust (never use a vacuum and if you use an air blower such as a hair dryer, be sure it isn’t too powerful) and you have a thing of beauty which will last for many years.
 Jim Casada’s The Literature of Turkey Hunting is a critical reference source, including prices, for anyone interested in books, pamphlets, brochures and published ephemera on turkey hunting. Buy Now

