Making a cane pole fishing rig: A do-it-yourself project for sportsmen of all ages
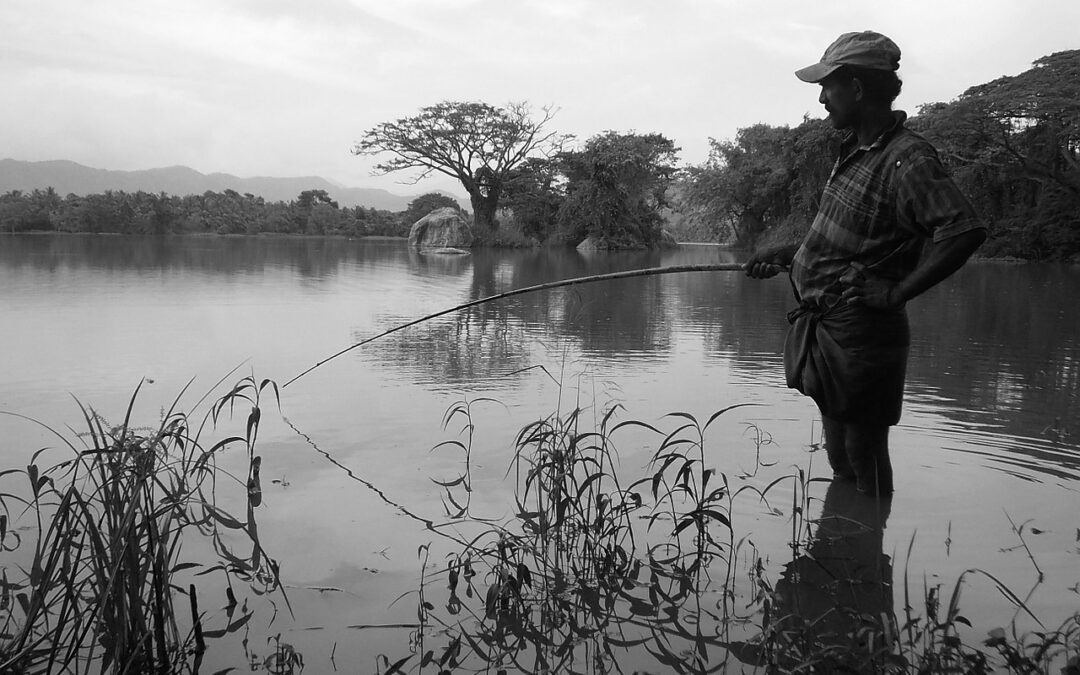
Several months back I wrote a piece for Sporting Classics Daily touting the virtues and versatility of cane poles as a fishing tool. What I should have done then was follow that coverage with instructions on how to make this simple yet highly functional angling tool. Belatedly, here is guidance for such a project. It is something well within the range of capability of even the most challenged of craftsman, the expense is minimal and the undertaking offers an excellent opportunity to share special moments with a youngster. It’s quite possible, if the latter is involved, that you will be part of making memories to last a lifetime. Certainly that is the case with me, because I recall cane pole days with my grandfather and an old river rat in my hometown with enduring fondness.
The essence of simplicity, a cane pole makes a first-rate fishing tool. Thanks to a number of considerations such as saving money, the quiet satisfaction of knowing you are catching fish with a sporting tool you made and the joys that are integral to all do-it-yourself undertakings, the effort has real appeal to anglers of every age and level of ability. Here’s a “recipe” for making your own fishing pole (or maybe a whole bunch of them).
Raw Material
Bamboo, in various forms, grows widely across the American landscape. From switch canes of the sort found in dense thickets along creek and river bottoms to giant bamboo used in ornamental landscaping, not to mention patches planted for who knows what reason decades ago, the knowing eye can readily spot a fishing pole in the making. Give some thought to length, because what suits an adult might be unwieldy for a youngster, and a pole intended for use on bream or crappie will be quite different from one wielded while doodlesocking for bass. Whatever the intended purpose though, in many areas of the country you should have no trouble finding and cutting canes of a suitable length.
Cutting, Straightening and Curing the Cane
Once a few canes have been selected, cut them close to the ground using a fine-toothed saw. Be sure to cut squarely through a joint with the saw’s blade working parallel to the ground. Avoid using a hatchet or an ax because doing so, even if you subsequently employ a saw, risks a crack or split, which can weaken a cane and shorten its useful life.
Once you have your canes on the ground and sawed cleanly at what will become the butt of your pole, remove the slender side shoots that hold the cane’s foliage and trim it at the top. Either pruning shears or a sharp pocket knife will work for trimming, but make every effort to cut foliage away cleanly and closely. When cutting the tip, keep in mind that you want plenty of limber “give,” but not so much that the cane becomes floppy as a buggy whip. However, it is best to err on the “too small” side, because you can always cut a bit more after curing the pole.
The curing process is quite easy. Just tie a weight of several pounds to the tip of the cane. Half a cinder building block or a couple of bricks work quite nicely, and they offer convenient holes through which you can run a strong, slender piece of cord. Tying the cord to the pole is not a problem, since slight swelling at the joints keeps it from slipping. With your weight in place, suspend the pole from a barn rafter, tree limb, or whatever is available to keep it hanging in the air with the weight off the ground. Give it a few weeks to dry and straighten out, and the cane is ready for the final steps in making a fishing pole.
Finishing Touches
The finishing touches in having a ready-to-fish pole involve, first of all, using coarse sandpaper to smoothen the places where foliage was trimmed away from joints. Next, apply a couple of coats of clear, protective varnish. While polyurethane ones provide greater waterproofing, they are prone to crack when the pole gets pressure (hopefully from a good fish). Oil-based varnishes are a better choice. Once the varnish dries, it is time to tie on monofilament; attach hook, sinker and bobber; and go fishing. Choose monofilament of a suitable strength (four-, six-, or eight-pound test for panfish; stronger for other species), and measure off a length a few feet longer than the pole. Tie it to the pole twice—once three or four joints below the tip, then run the line to the tip and tie it again. The remaining line should be a bit longer than the pole. Pinch on a split shot or two, affix a bobber and tie on a hook. All that is lacking at this juncture is some bait and a fish-filled lake, pond or river.
 You can contact Jim Casada through his website to sign up for his free monthly e-newsletter or to be notified when his forthcoming book, A Smoky Mountain Boyhood: Musings, Memories, and More, becomes available this fall. Several of Jim Casada’s books are available through the Sporting Classics Store. Buy Now


