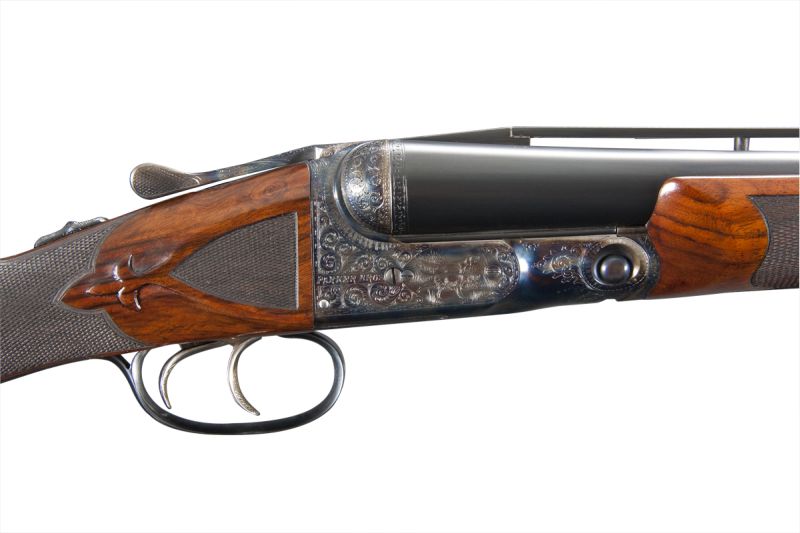
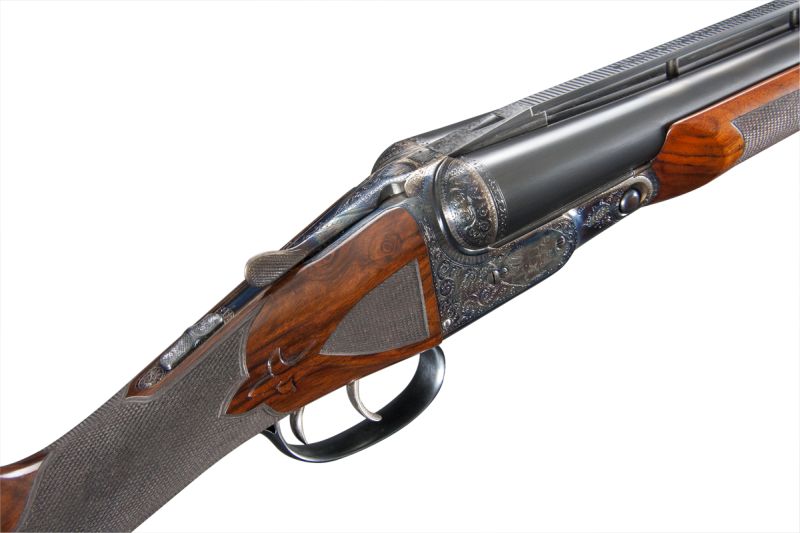
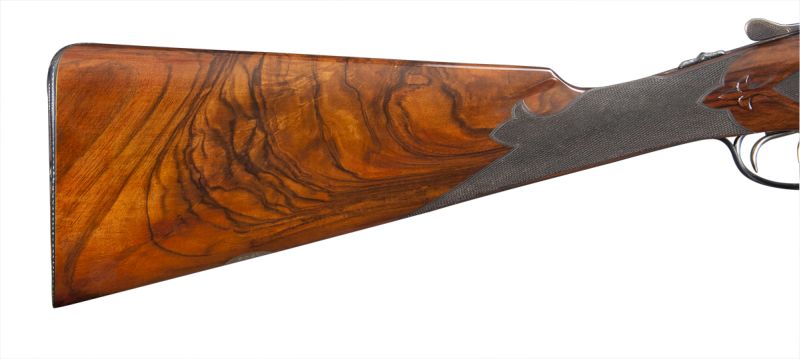
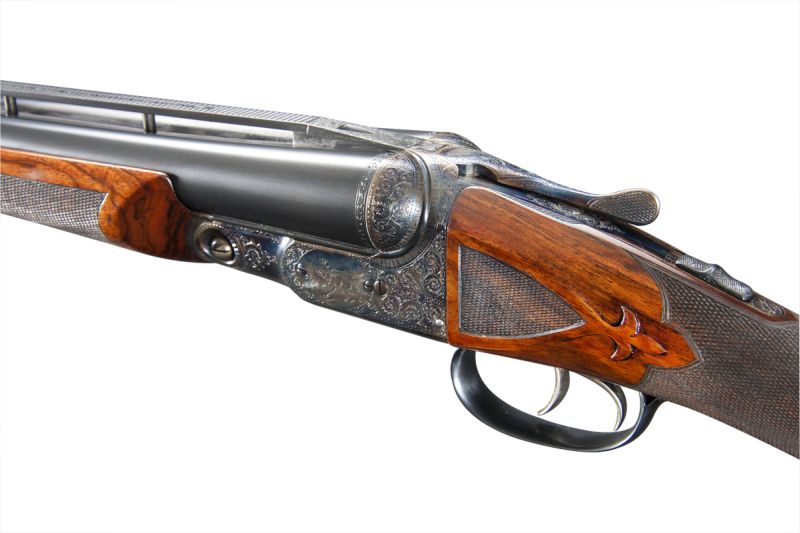
Last week we featured a Turnbull-restored Parker BHE 12 gauge in our annual shotgun review, “Finest in the Field.” Little did we know the work that went into this gun, or the intensity of the Turnbull process itself.
Here’s how this Parker came back to life, step by step:
DAY ONE: MAKING A NEW BUTTSTOCK
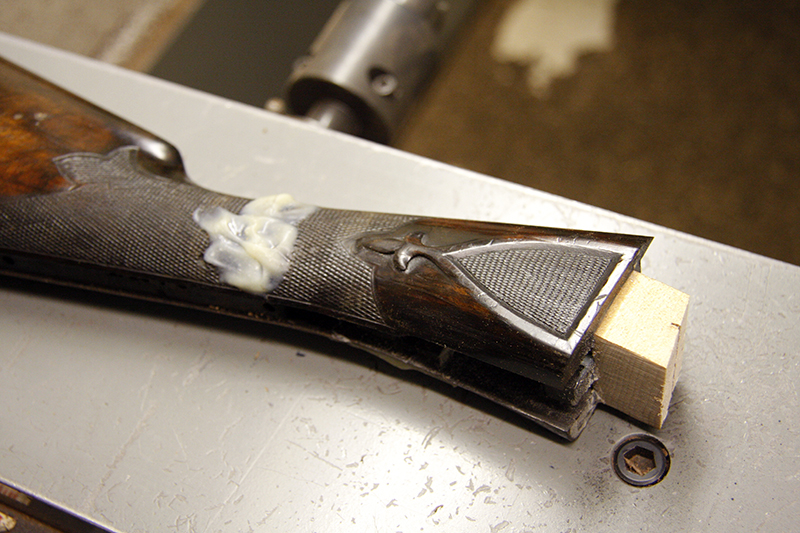
Since the original stock was cracked, Turnbull glued it together using acraglas so a duplicate stock could be made using the company’s duplicator.
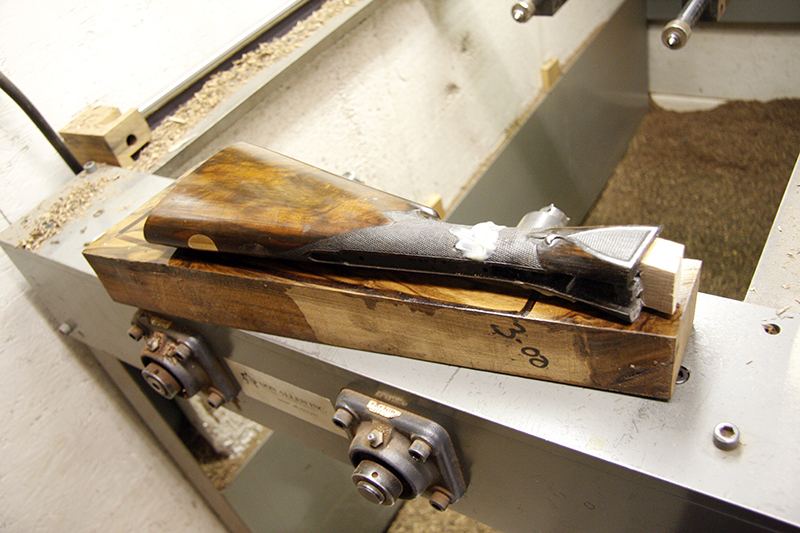
A blank of English walnut was selected.
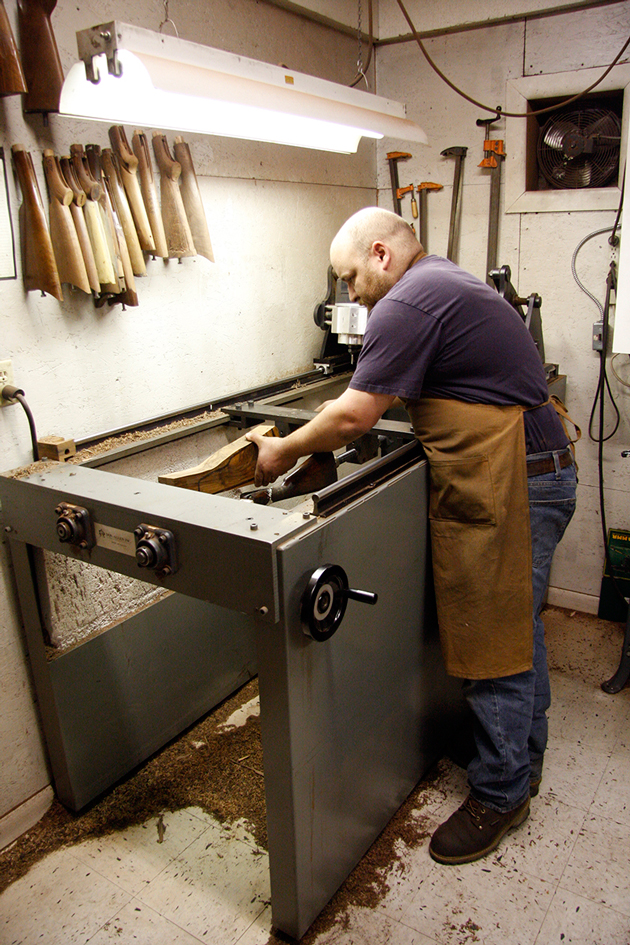
The original stock and the selected blank of wood were put into the duplicator.
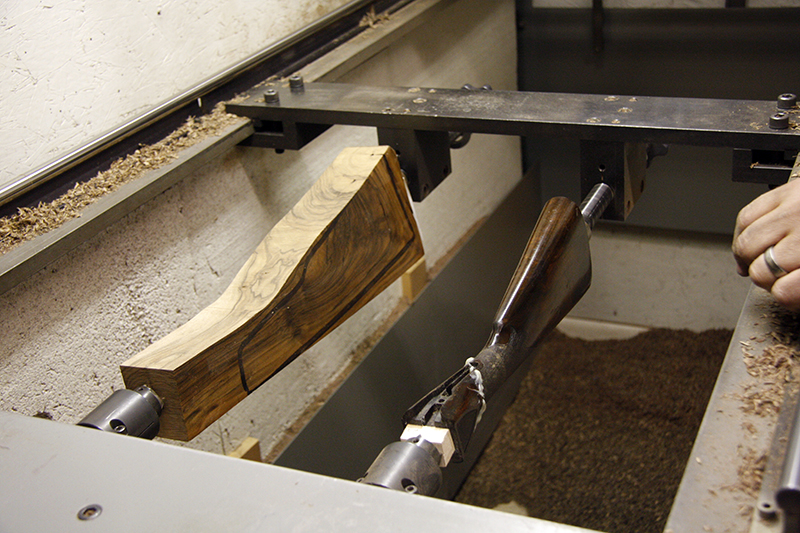
Here is a close-up of the original and the blank of English walnut.
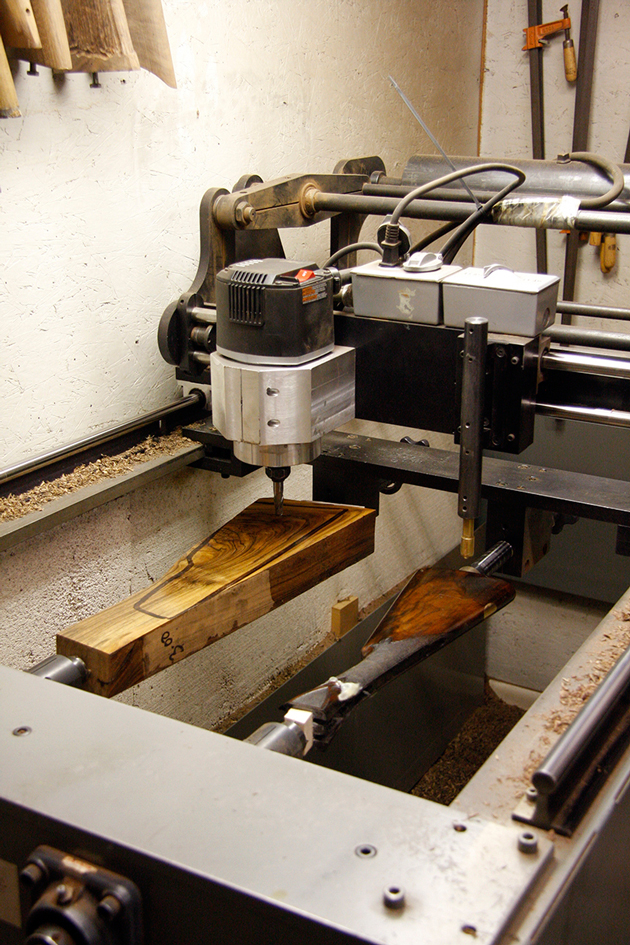
Turnbull used a stylus to trace the shape of the existing stock while the router moved over the new blank of wood to duplicate the pattern of the original stock.
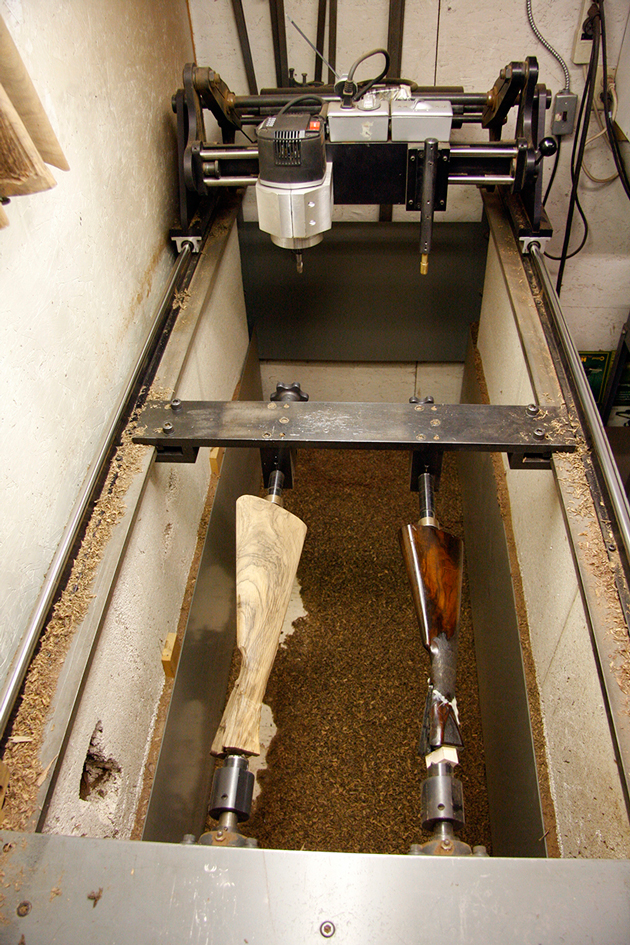
The new stock!
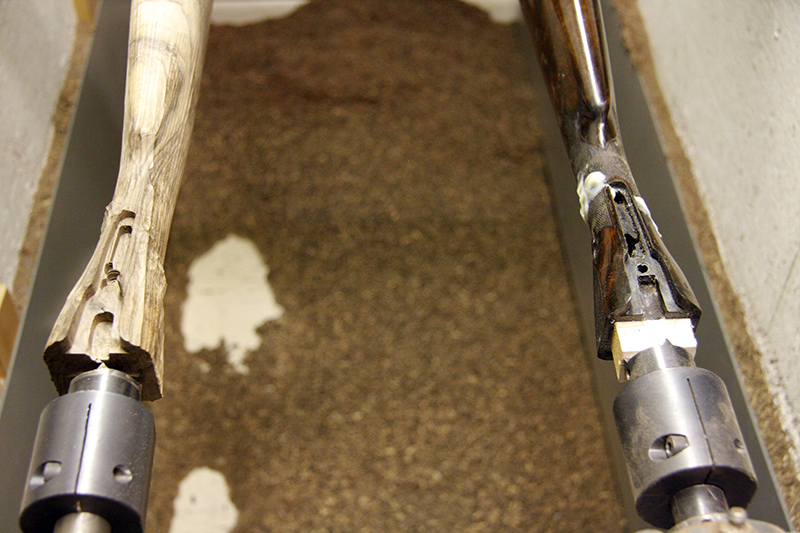
Close-up of the inletting that the duplicator is capable of matching.
DAY TWO: FITTING THE STOCK TO THE RECEIVER
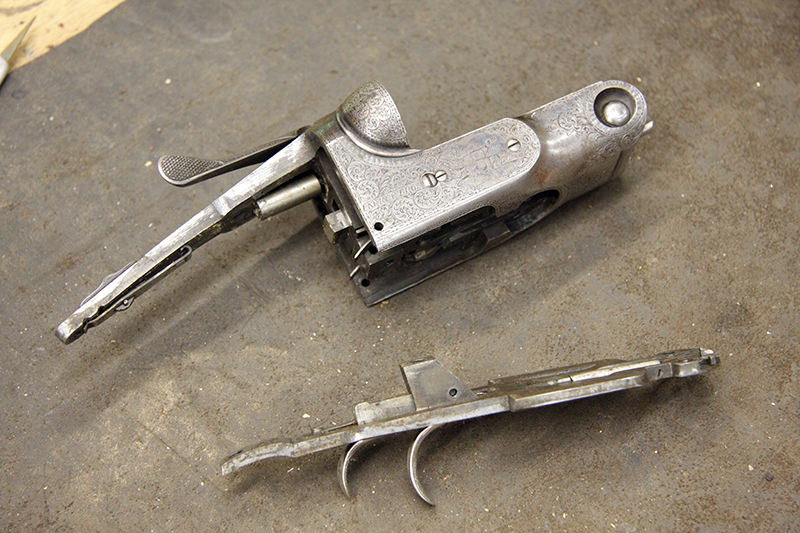
The frame and floorplate are used to further inlet the stock to make sure that all the parts fit properly.
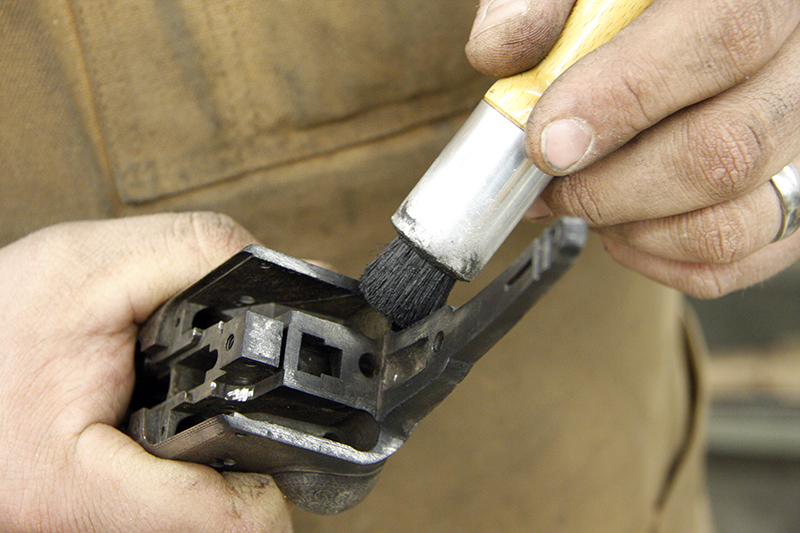
The first step is to apply inletting black to the frame to show the contact points.
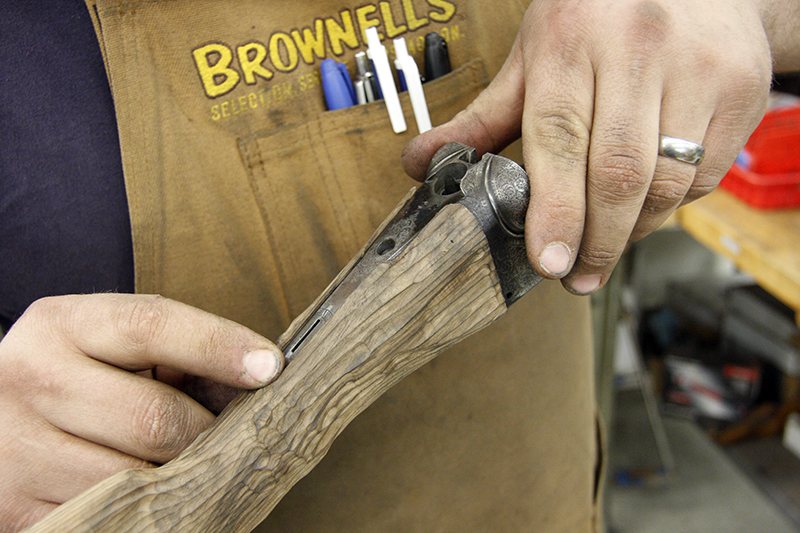
The frame is put onto the stock and then removed. Any inletting black that remains on the wood needs to be reworked using a scraper.
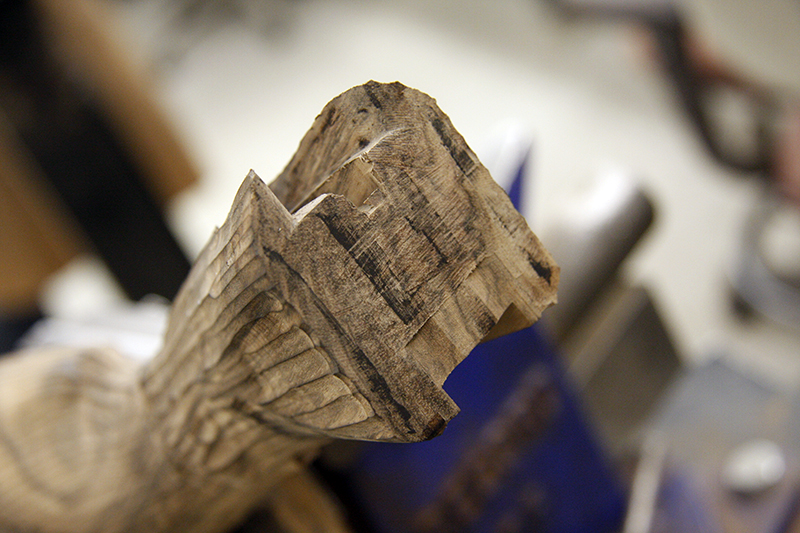
The contact points are where the black inletting was left behind.
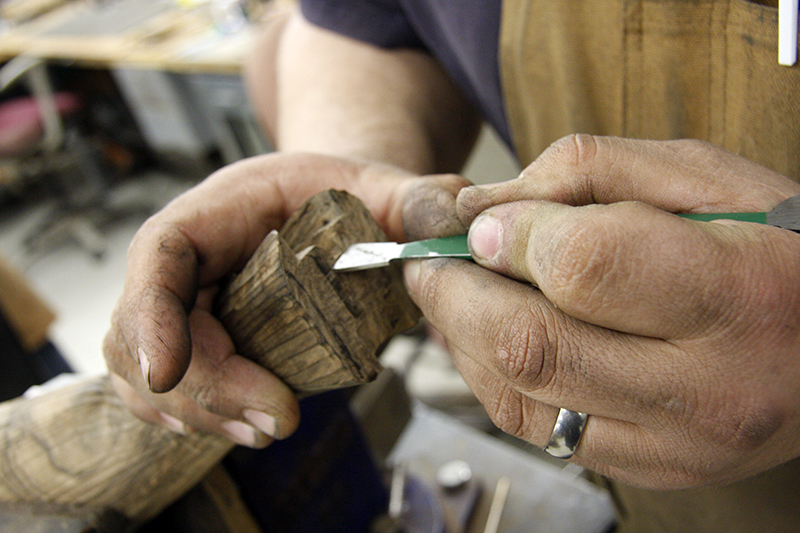
The high points are then scraped off.

Inletting the stock can sometimes take a few hours to do.
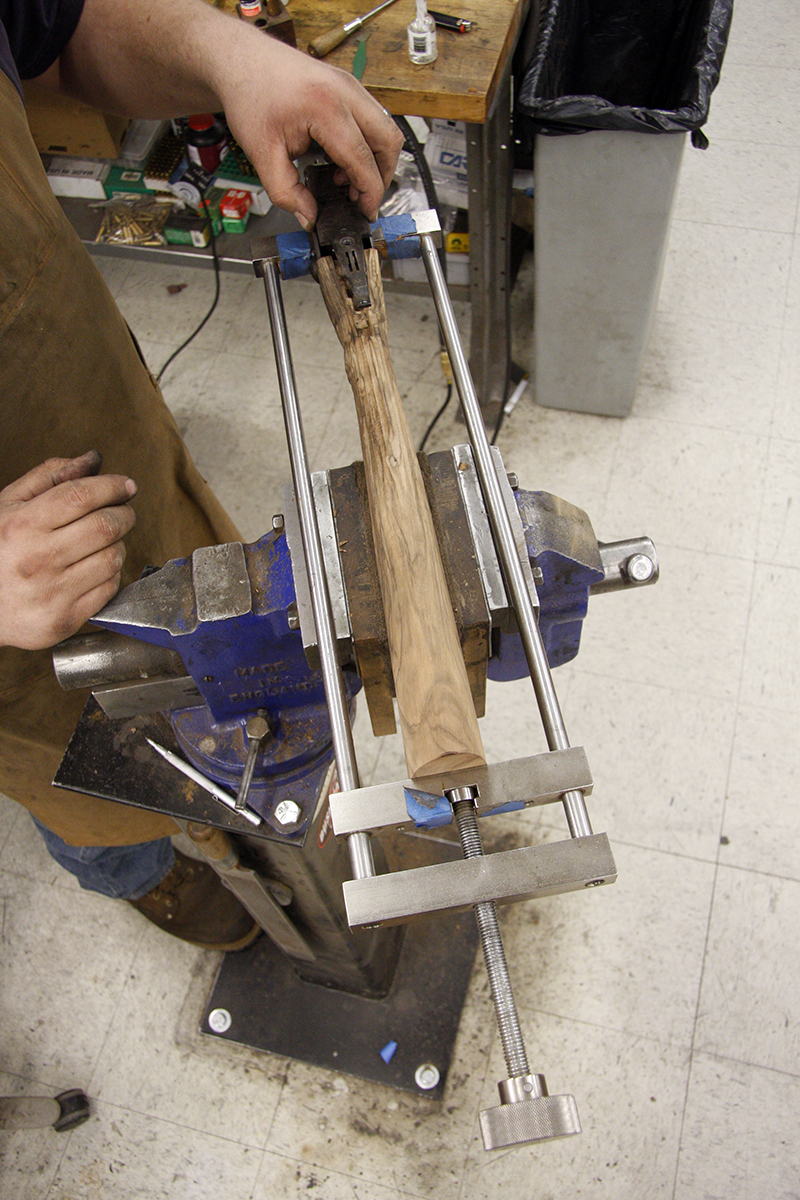
The stock is clamped to inlet the bottom tang.
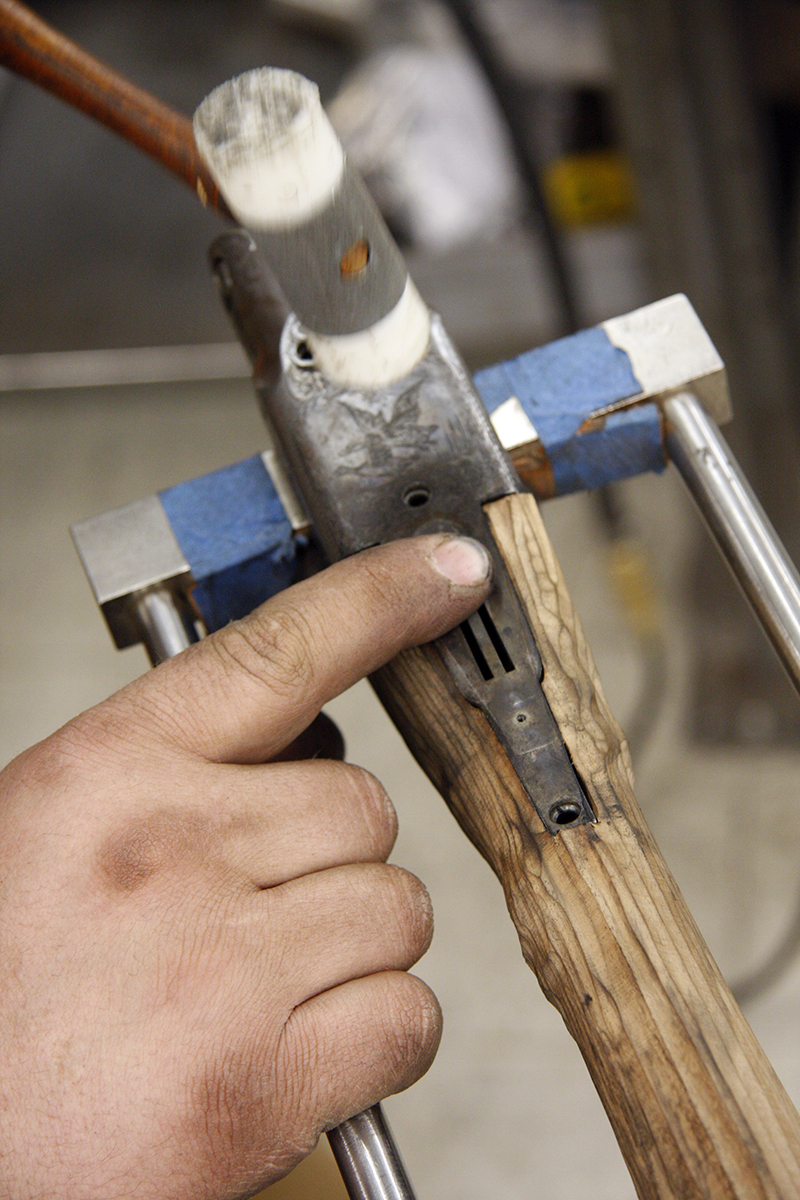
The same inletting process happens here. Inletting is applied, the bottom tang is fitted, and then more scraping occurs until everything is where it should be.
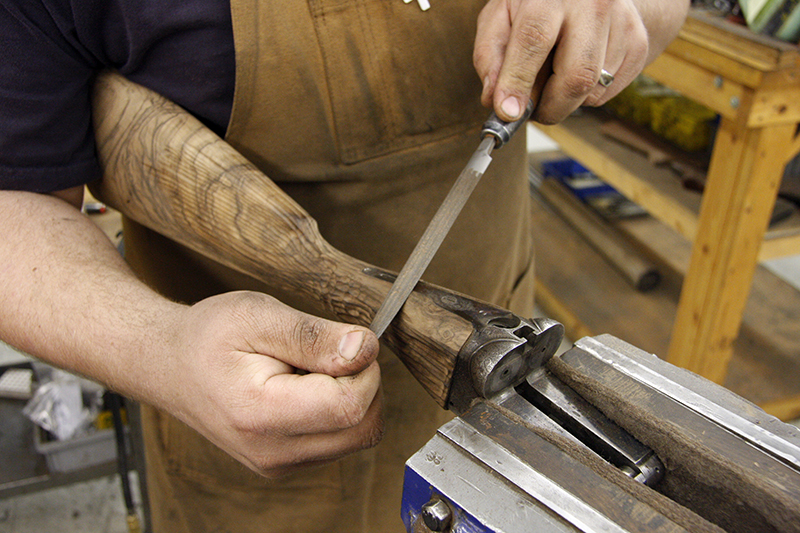
Here the gunsmith is filing the wood to metal.
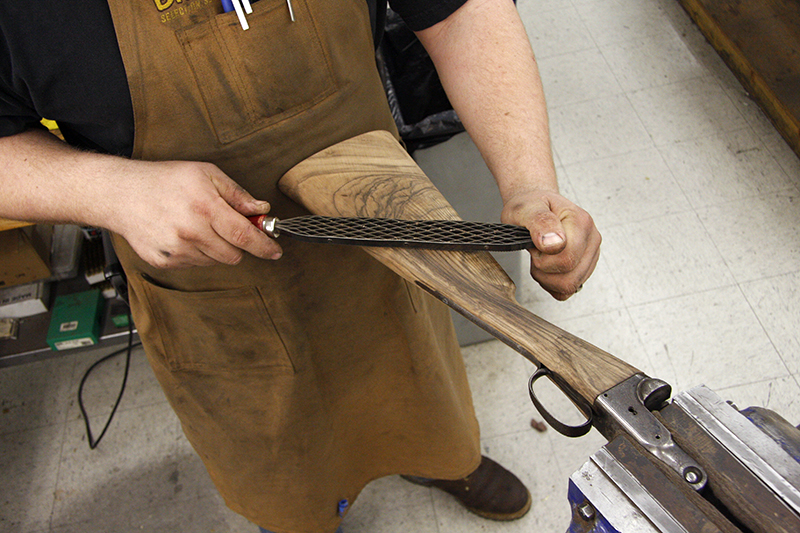
Rasping to shape the Parker shotgun buttstock.
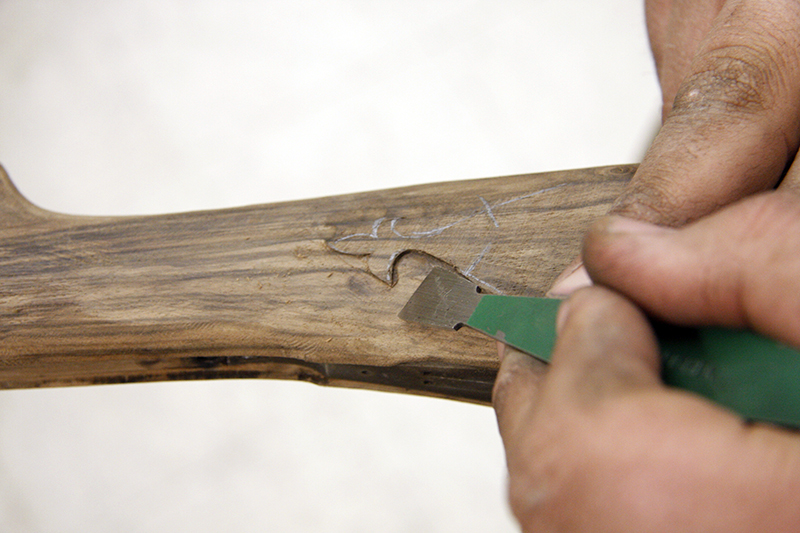
Profiling the shape of the fleur.
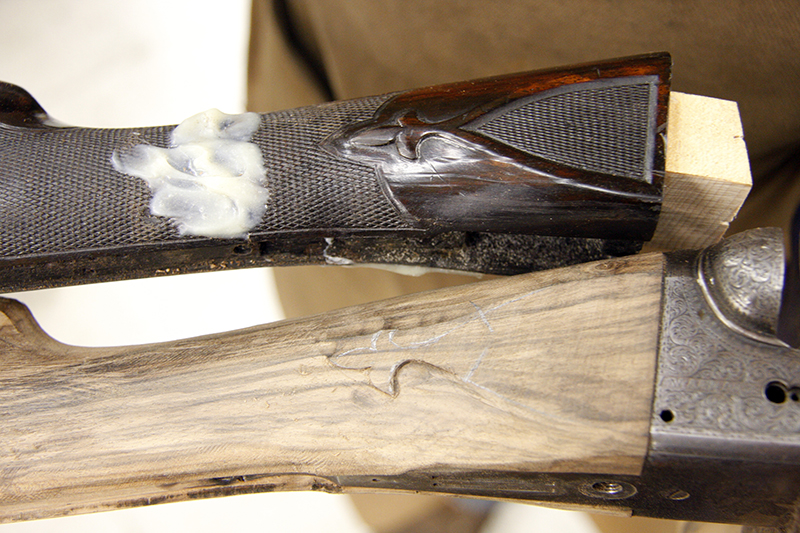
Comparing the original Parker BHE shotgun buttstock to the new one.
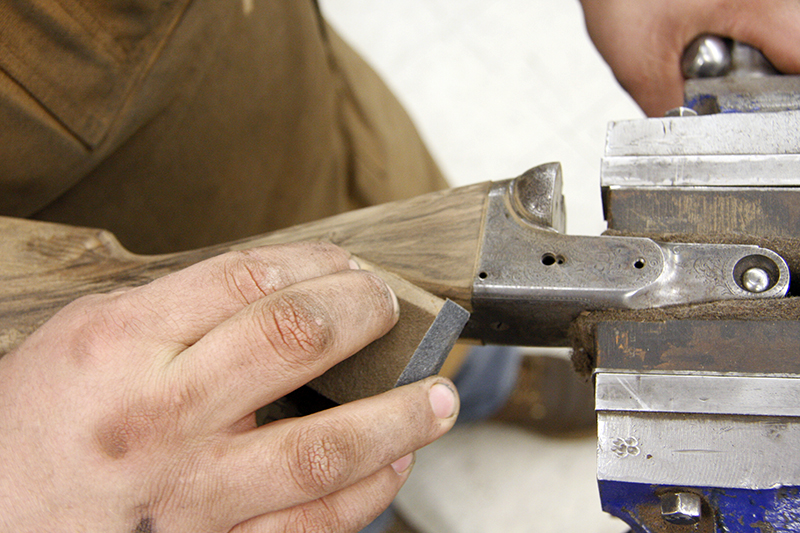
Detail sanding and shaping to achieve the desired fleur de lis.
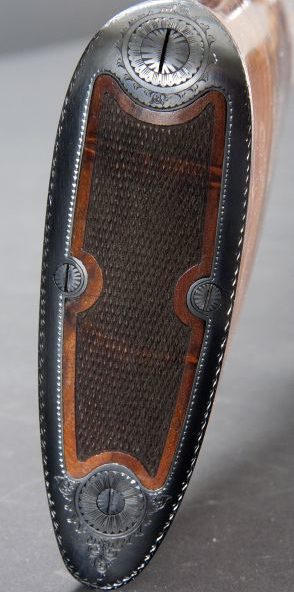
DAY THREE: FITTING THE SKELETON BUTTPLATE
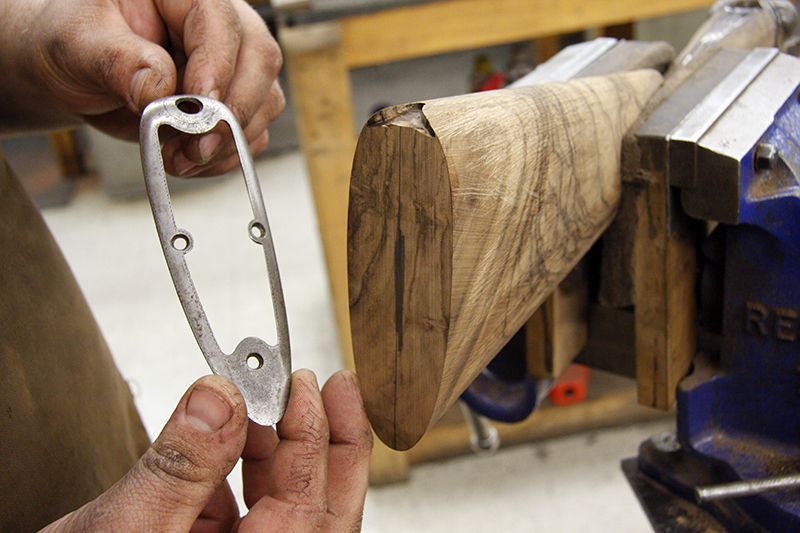
First, the spur is inletted to find the center for the skeleton buttplate.
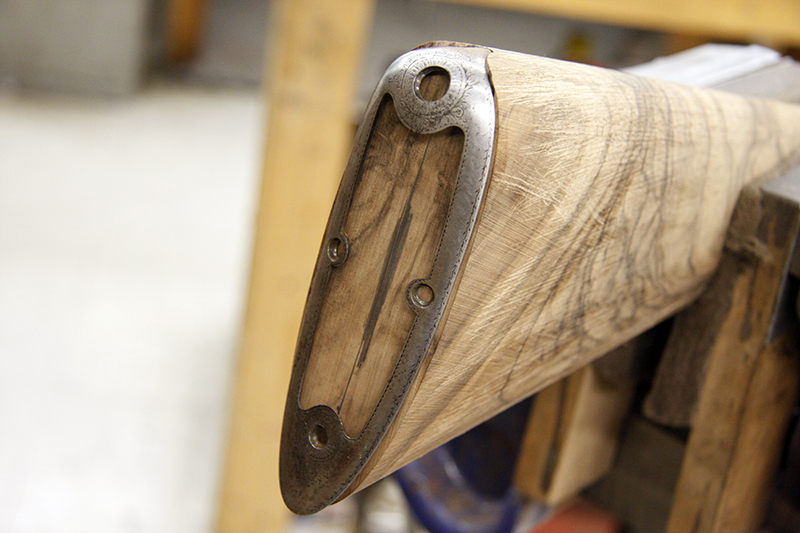
The buttplate is put on and the metal is traced.
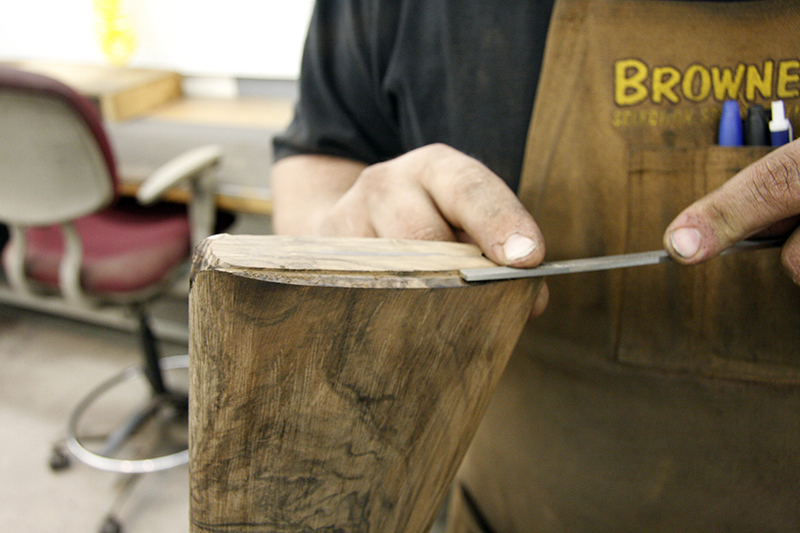
Filing extra wood down.
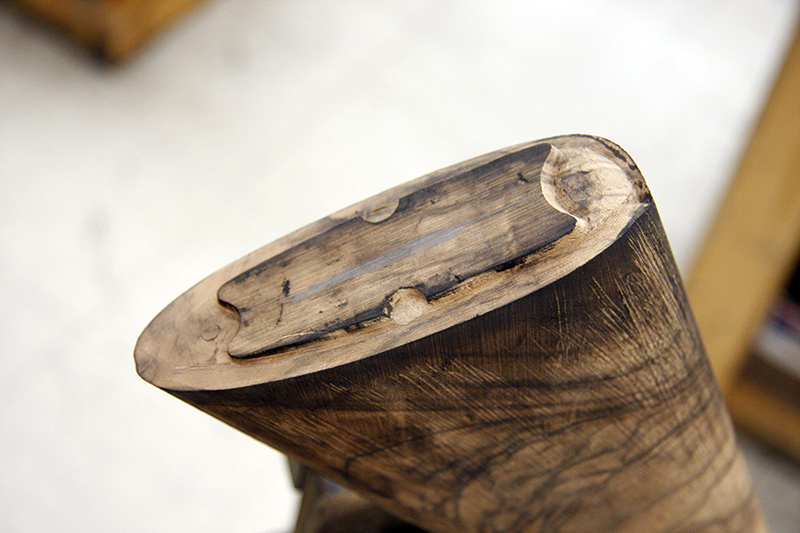
This shows a nice profile of the inside of the skeleton buttplate.
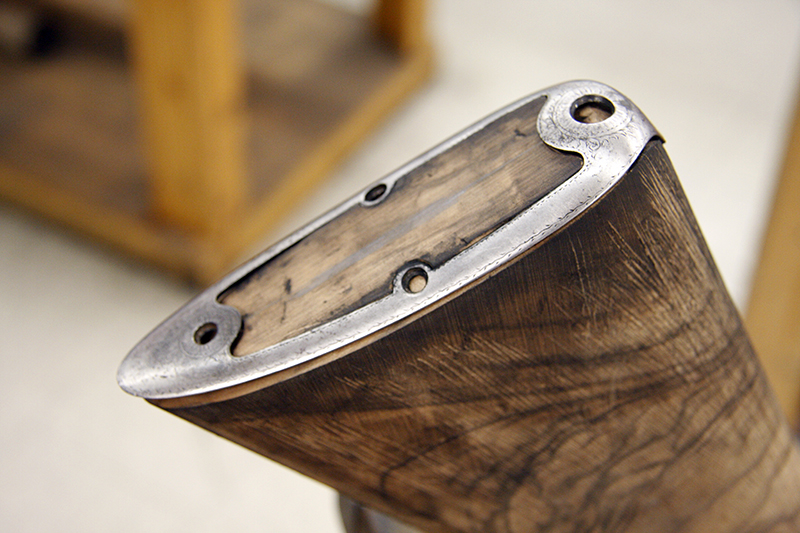
At this point, the skeleton buttplate is about halfway inletted.
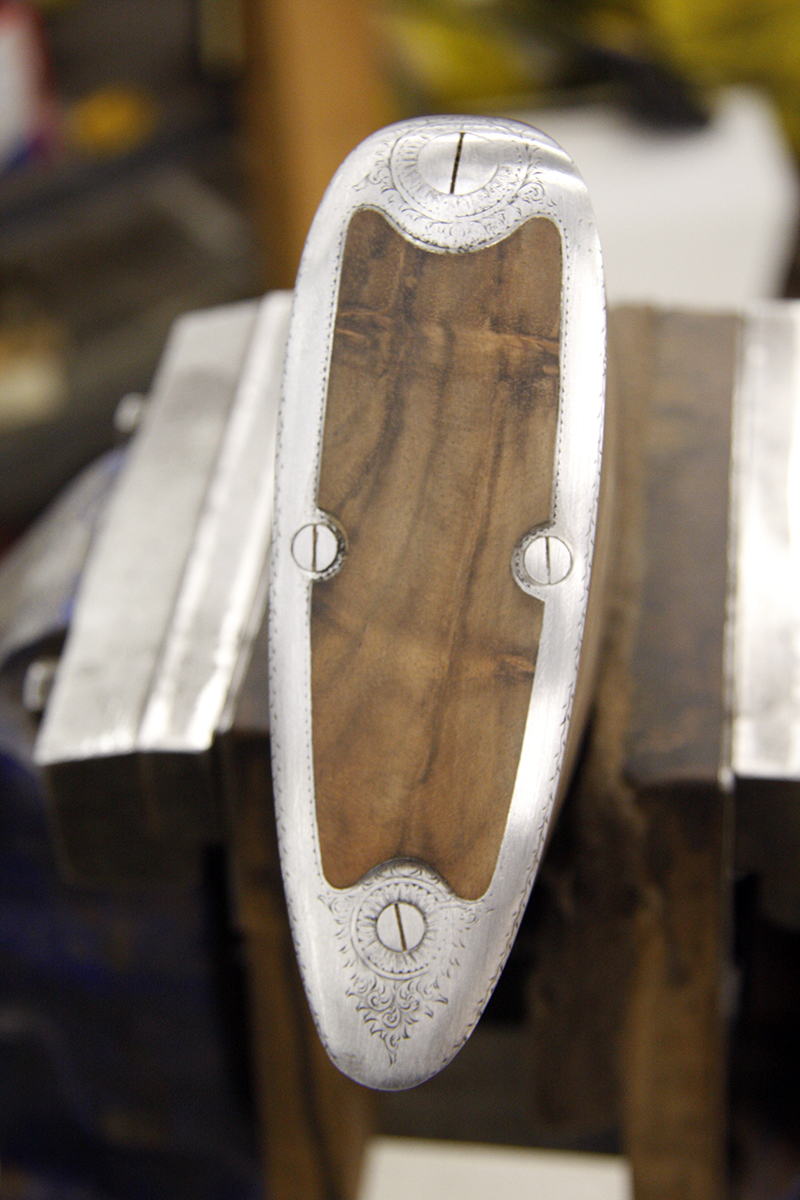
After some more scraping and fitting, the skeleton buttplate has been fully inletted.
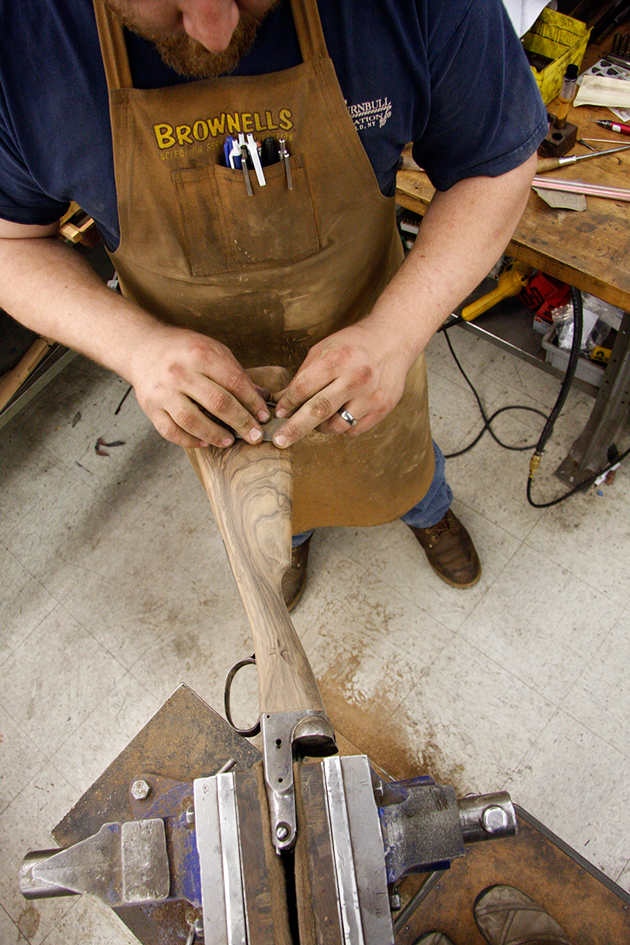
Since the buttplate and frame have been inletted, a final sanding happens.
DAY FOUR: LAST DAY OF INLETTING
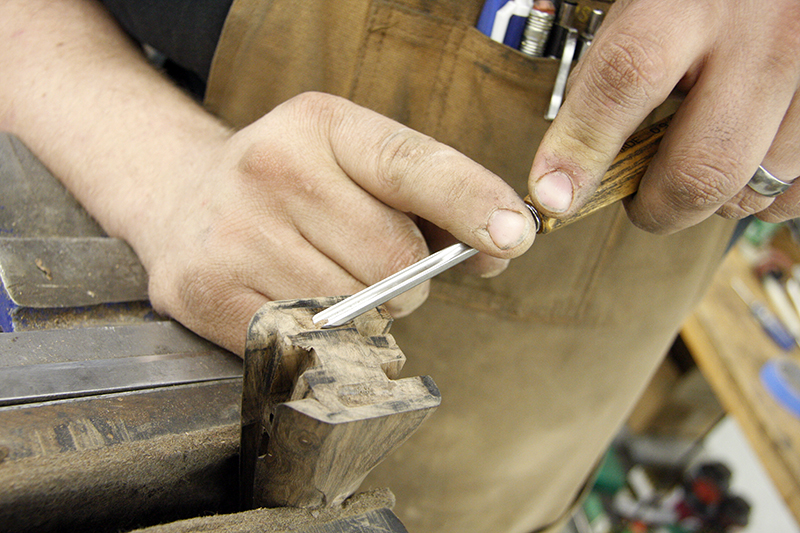
At this time the hammer relief can be inletted.
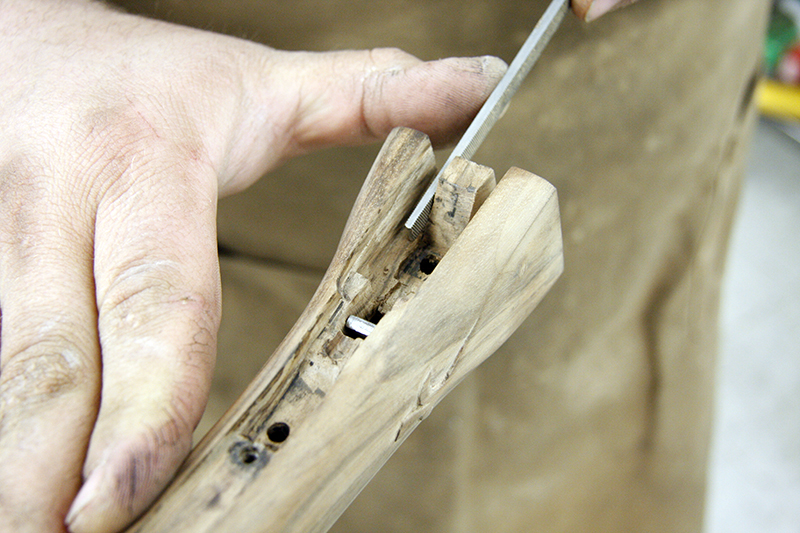
And also the sears.
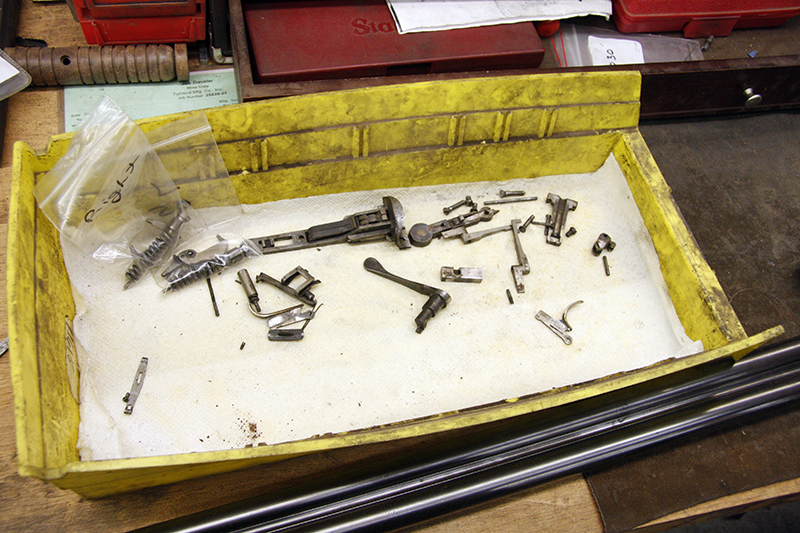
Look at all the internals!
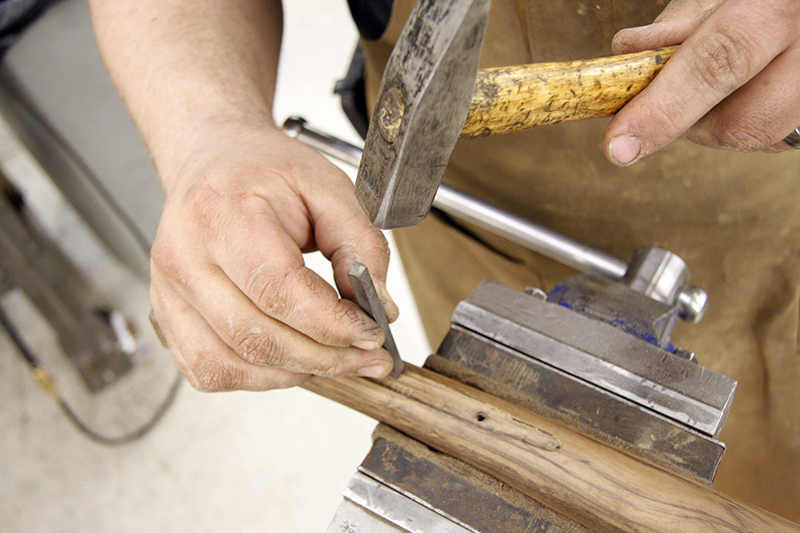
The serial number is stamped.
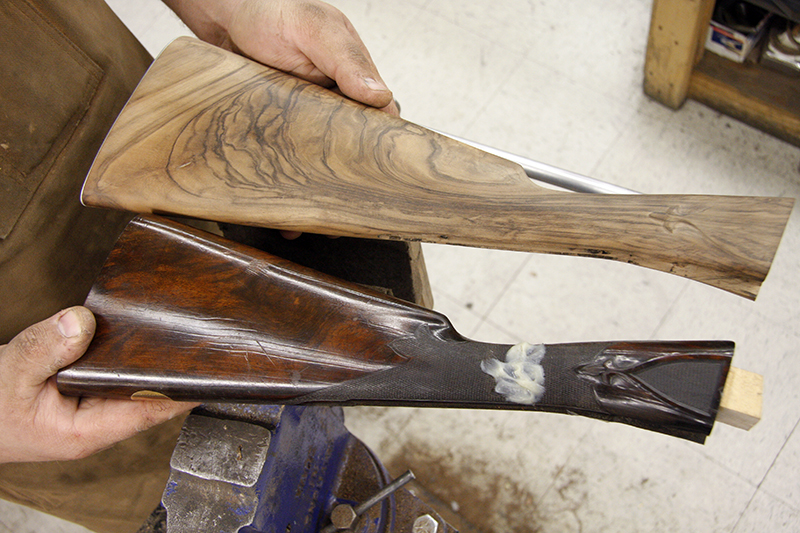
New stock, old stock.
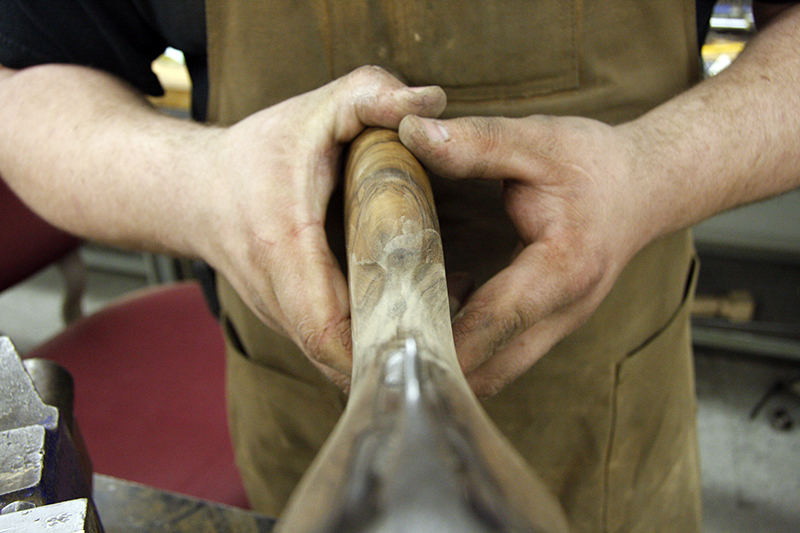
Can you spot the cast off? The customer’s custom dimensions required a 3/16-inch cast off.
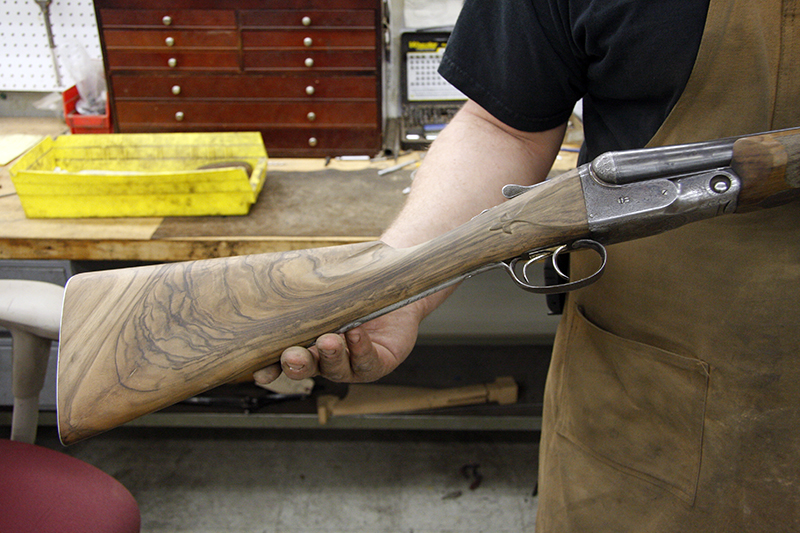
The final inletting is complete—the gun is then test fired.
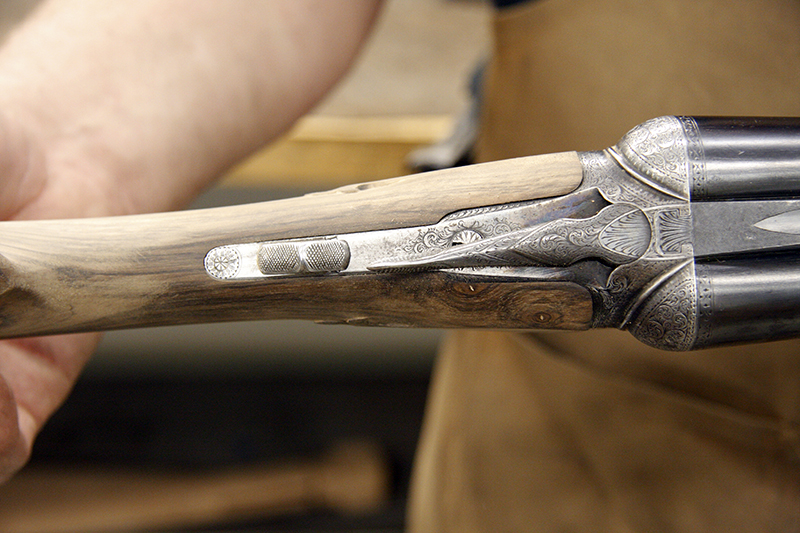
The top tang.
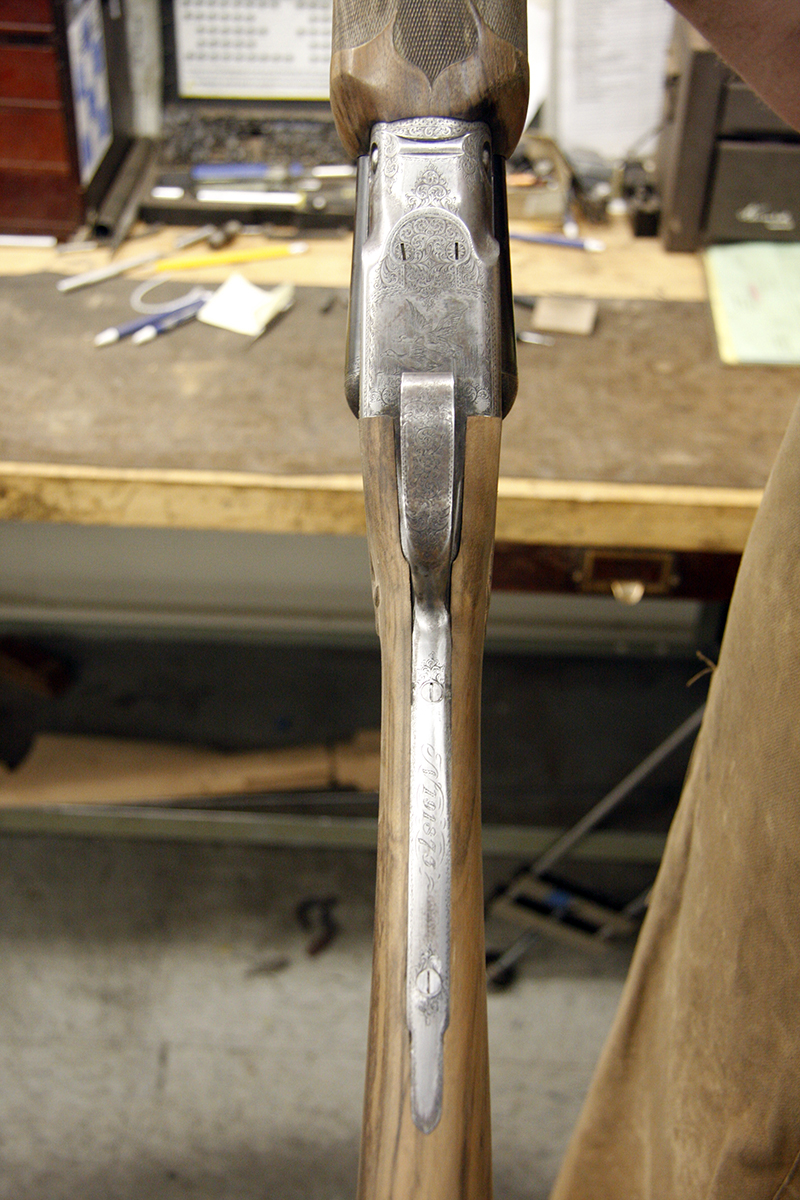
The trigger guard.
DAY FIVE: POLISHING THE BARRELS
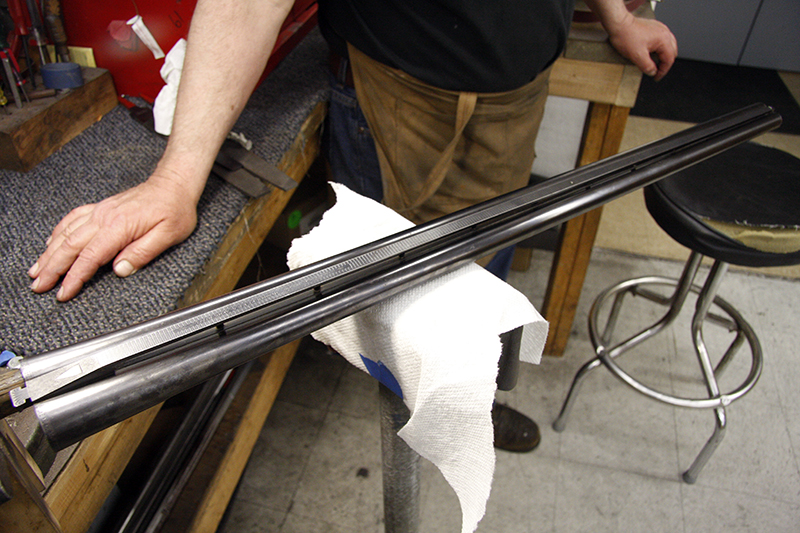
First, the set of barrels is evaluated.
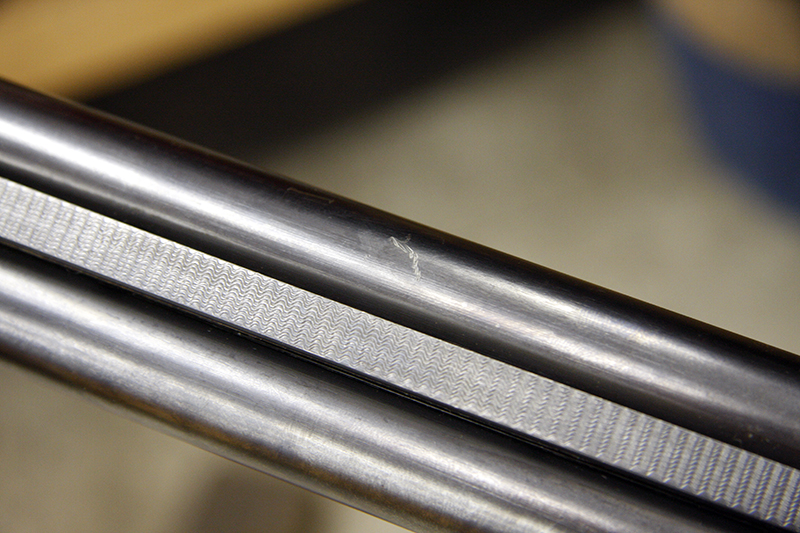
Turnbull’s polisher, Gordie, locates any dings, scratches, or rust spots that might require extra attention during polishing.
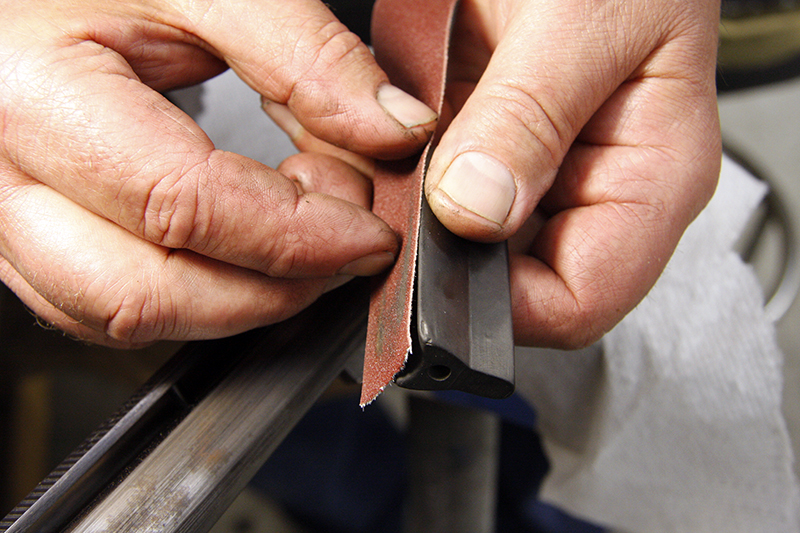
Gordie uses a polishing block with some sanding paper to remove the rust bluing.
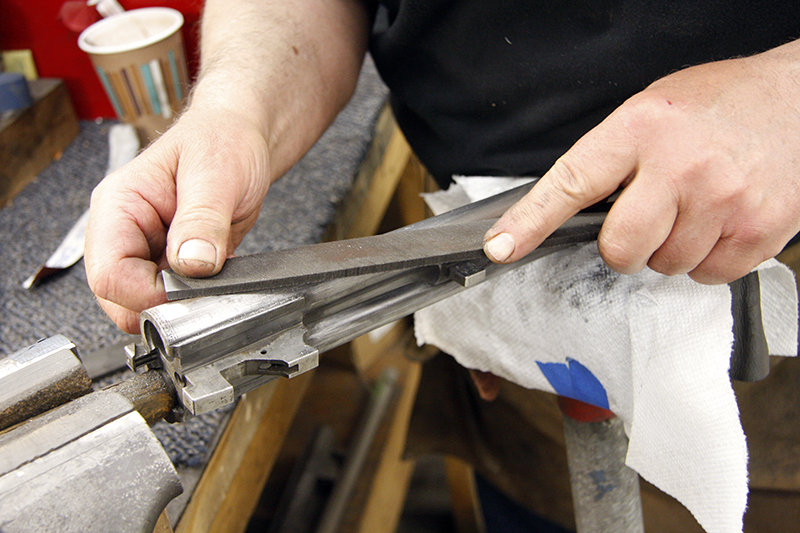
For any deeper pitting or rust spots that may need something more aggressive, he uses a mill file.
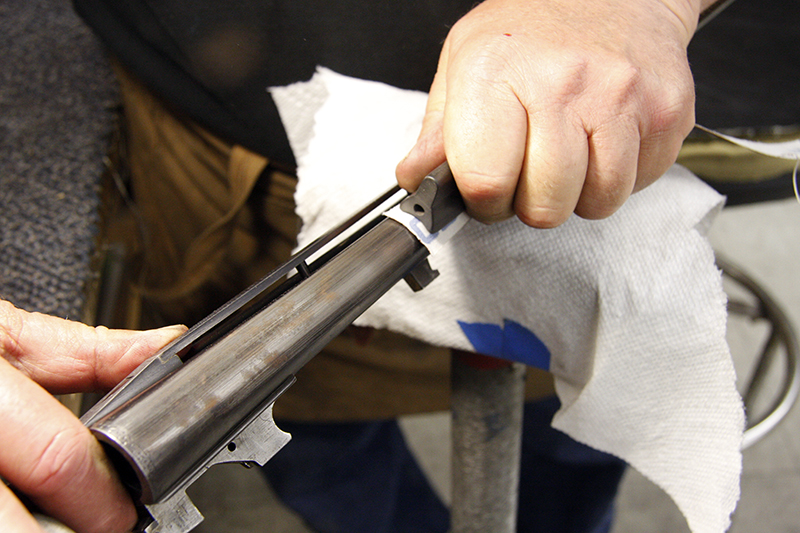
Here you can see what the polishing block and sanding paper start to take away.
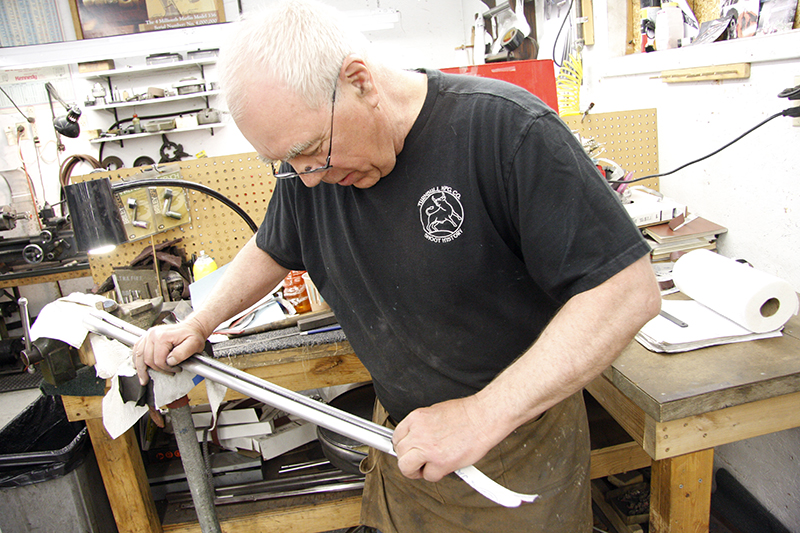
As with most areas of gunsmithing, polishing requires a lot of attention to detail.
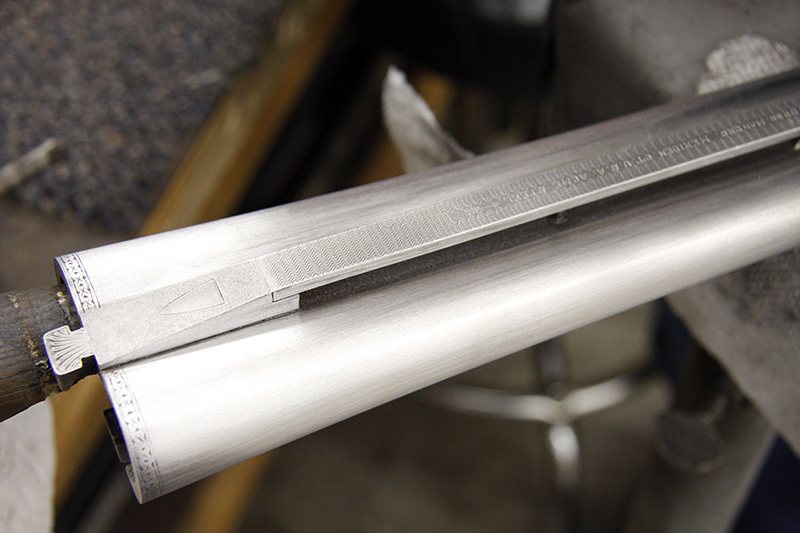
The finished set of barrels! This will then go to Turnbull’s in-house engraver to have the engraving recut.
DAY SIX: INLETTING THE GOLD SHIELD
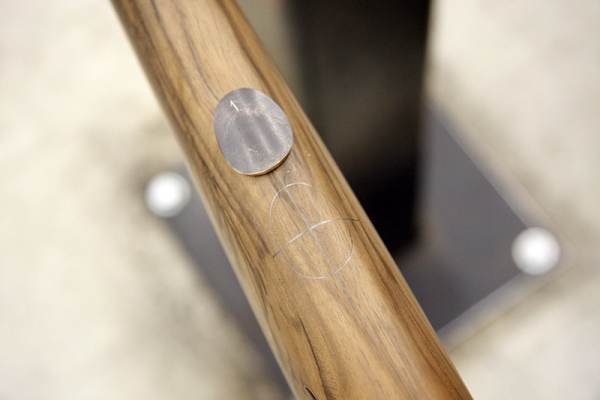
First, the gold shield is placed and a layout is drawn.
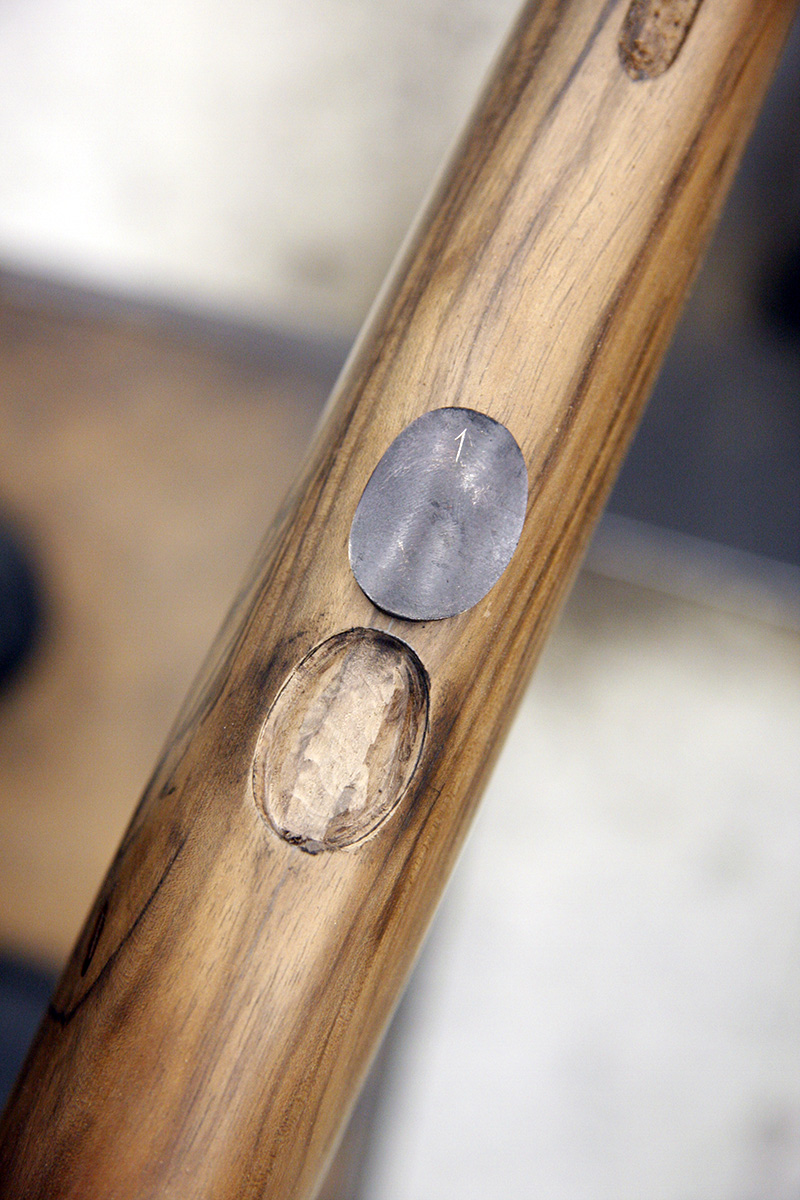
The area is then rough chiseled.
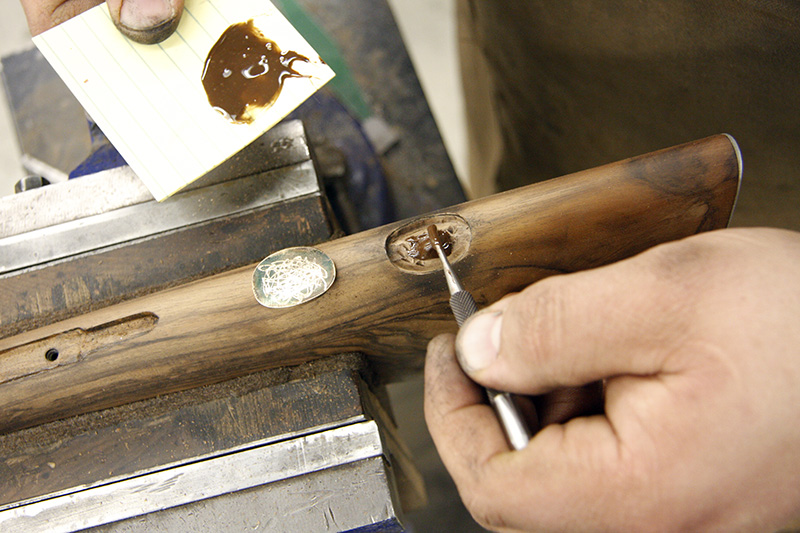
The shield is then glued in.
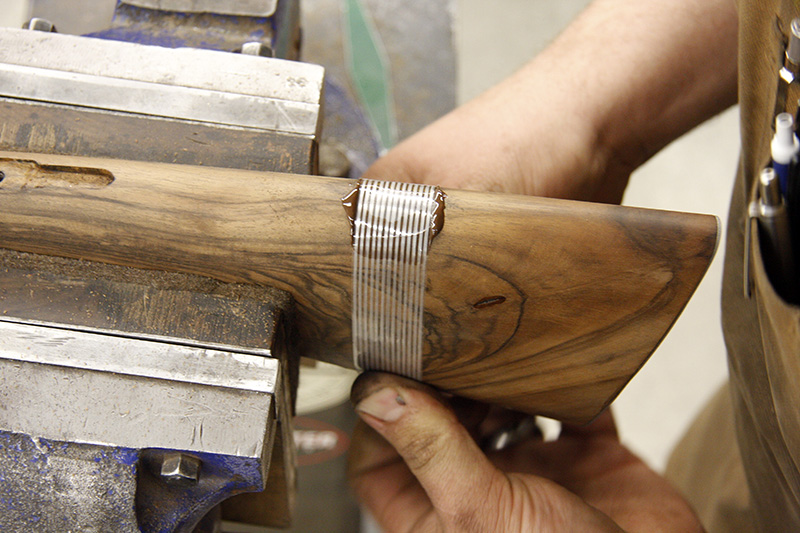
Tape is used to secure the shield during the drying process.
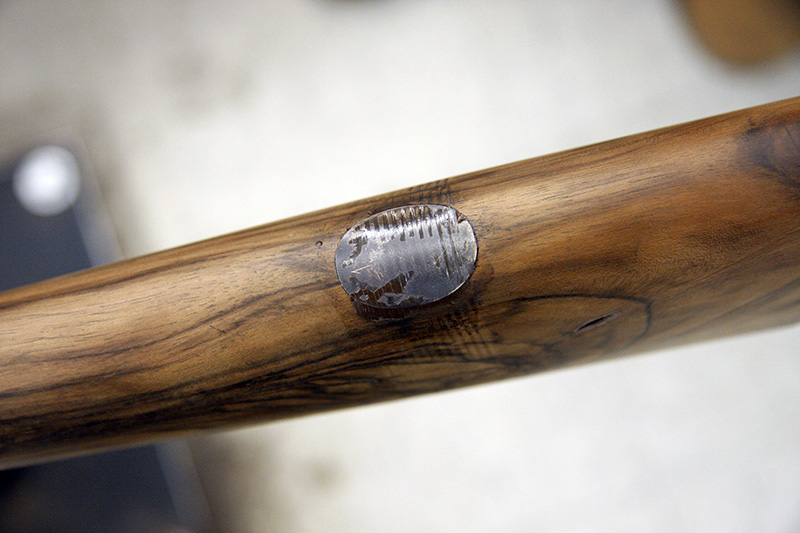
After the shield has dried for a few hours, the tape is removed.
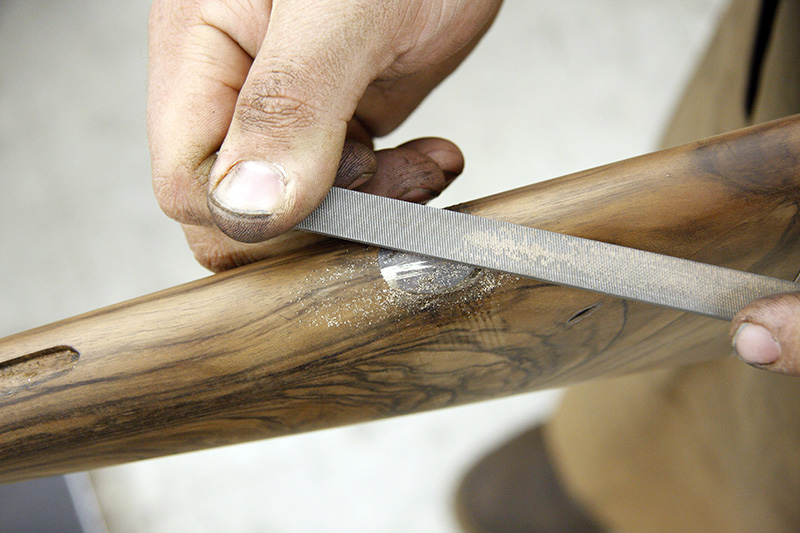
Using a file, the shield is then shaped into place.
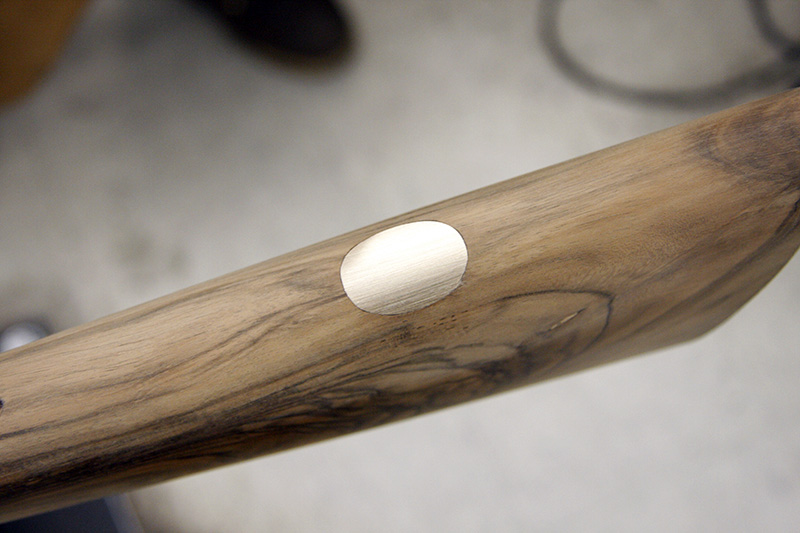
The installation of the gold shield is complete.
DAY SEVEN: RECUTTING THE BARREL ENGRAVING
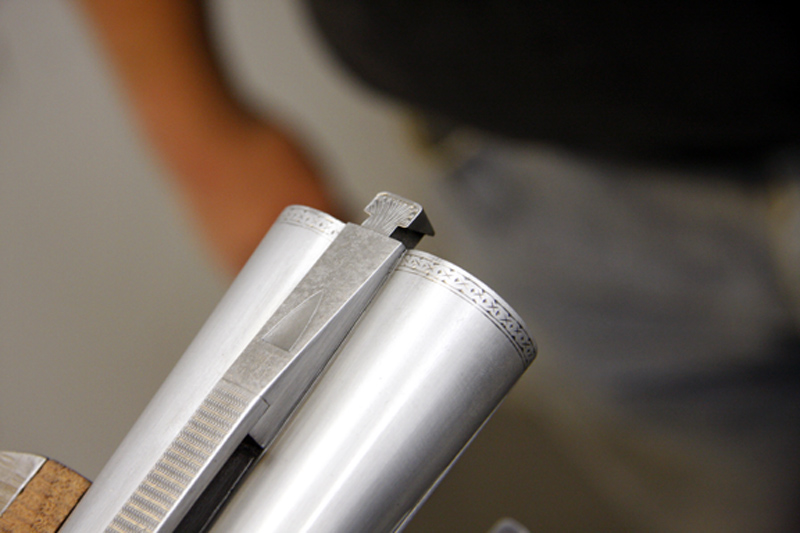
This is before any recut has been done.
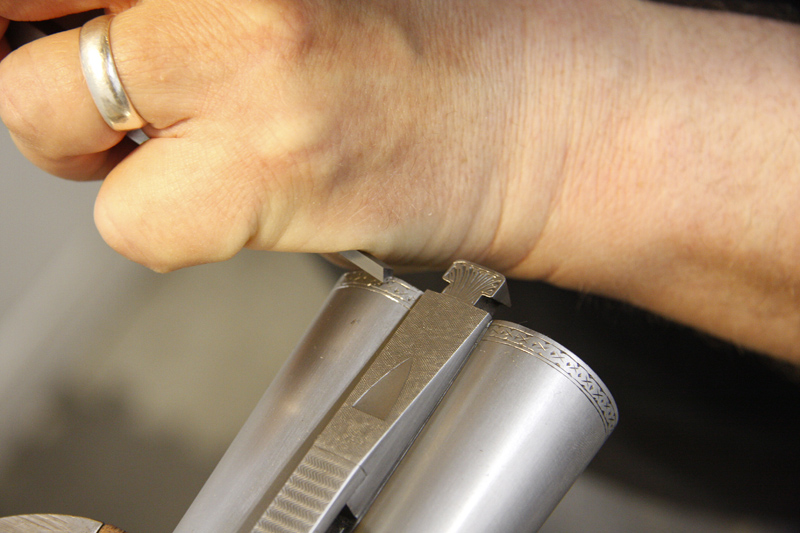
First, the borders are recut. This particular pattern on the Parker BHE is known as a “chip-cut border.”
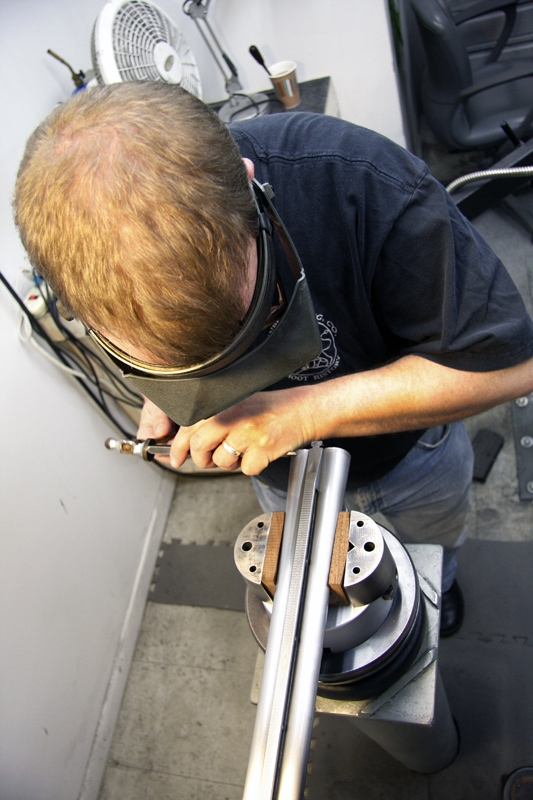
All of Turnbull’s engraving is done by hand.
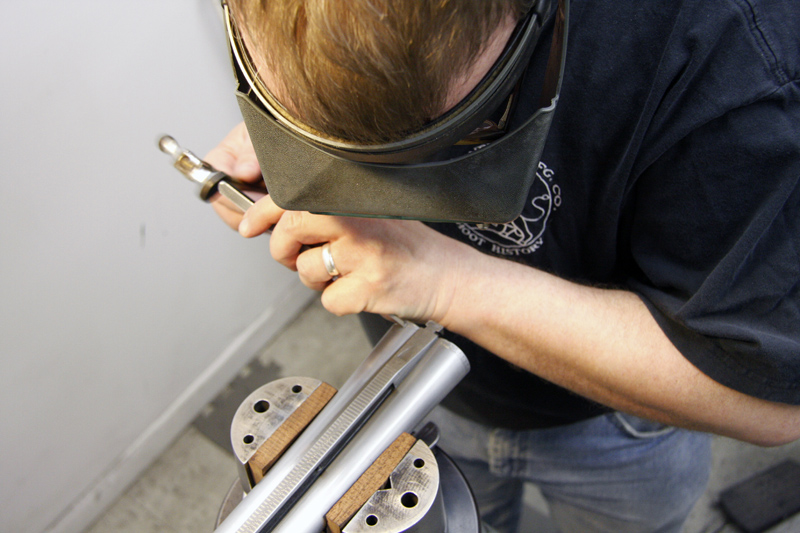
Tap, tap, tap!
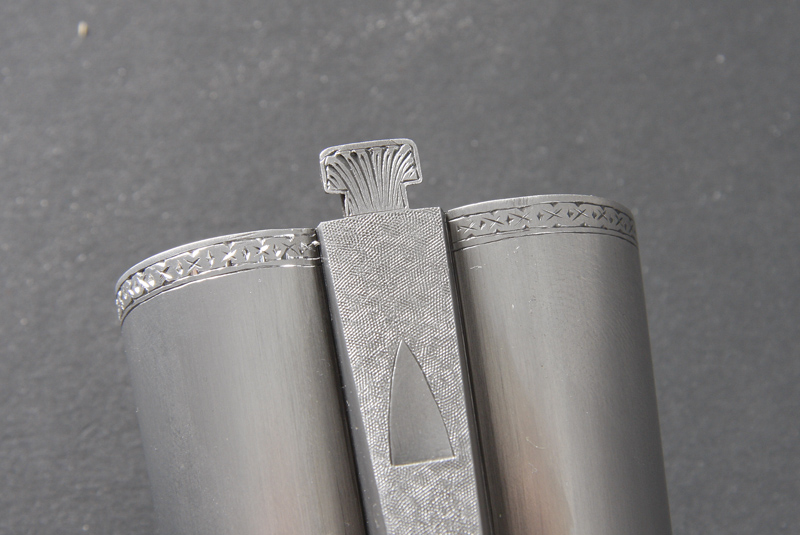
Here you can see the difference between the band on the left that has been recut and the band on the right that has not.
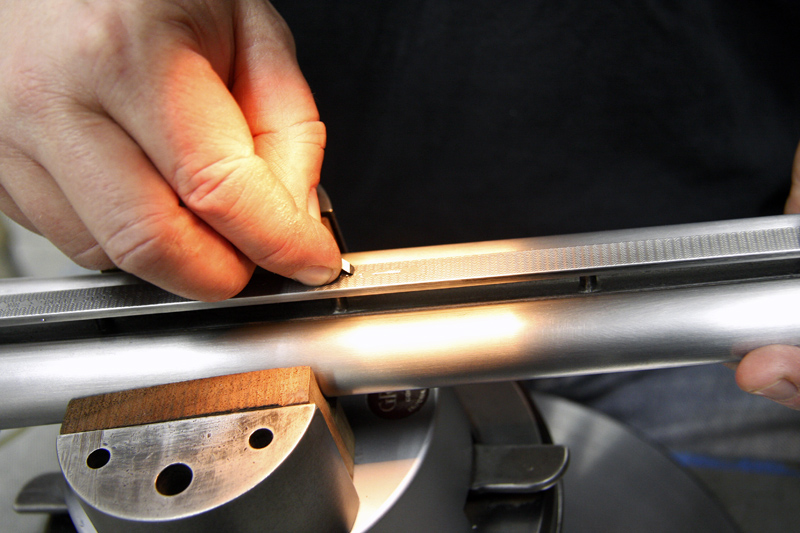
Recutting the barrel on the top rib.
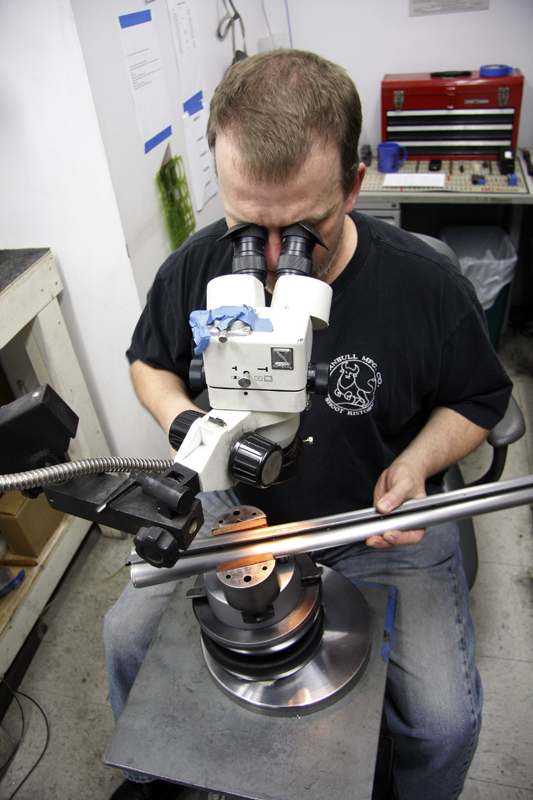
Tom McArdle, Turnbull’s in-house engraver, and his setup.
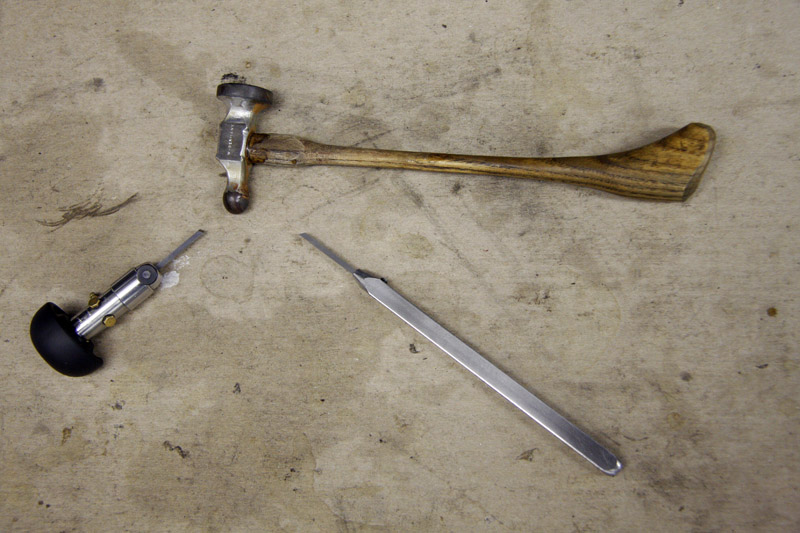
Here are some of the tools that Tom uses: an air chasing engraver, a standard hammer, and a chisel.
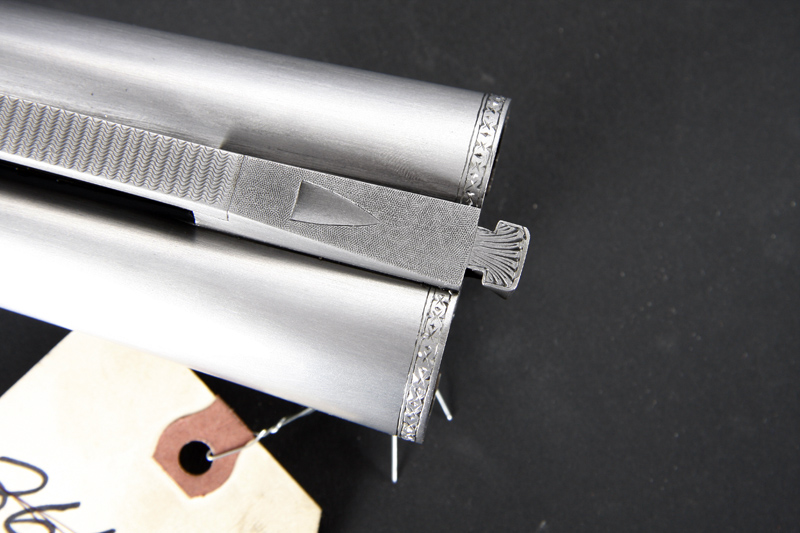
The finished barrels after both bands have been recut. Next, it’s off to be rust blued.
DAY EIGHT: POLISHING THE ACTION
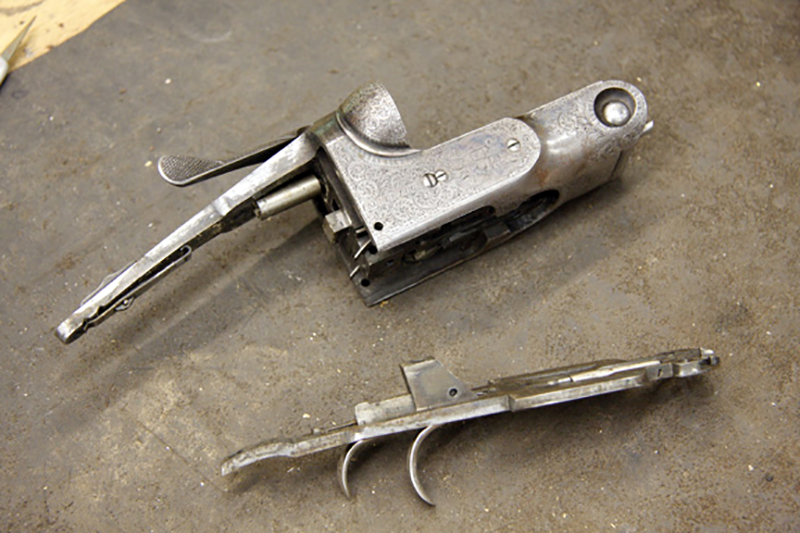
In polishing the frame, one has to be very careful not to remove too much of the original engraving.
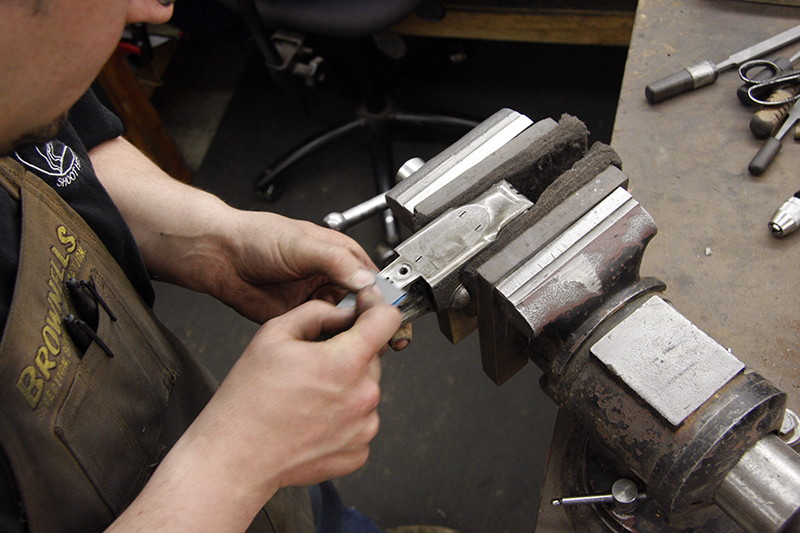
Here the gunsmith uses a polishing stick with sanding paper to polish the floor plate.
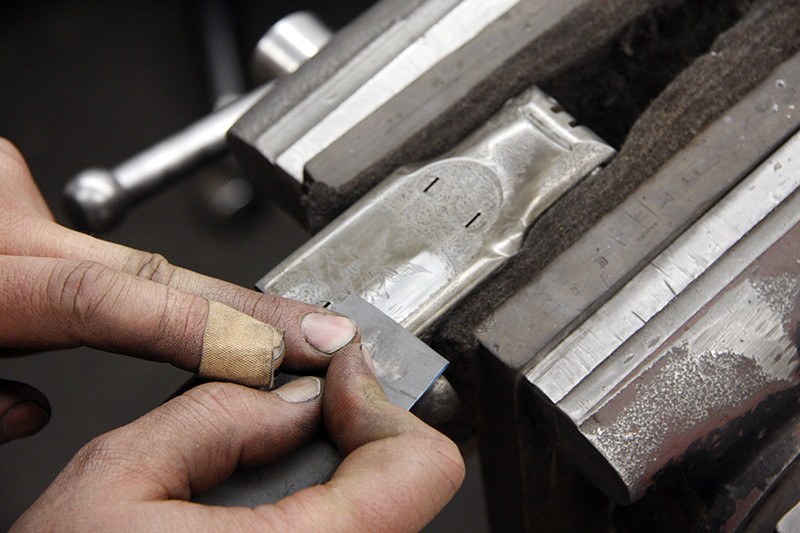
The floor plate and action are matched up to ensure that they are polished evenly.
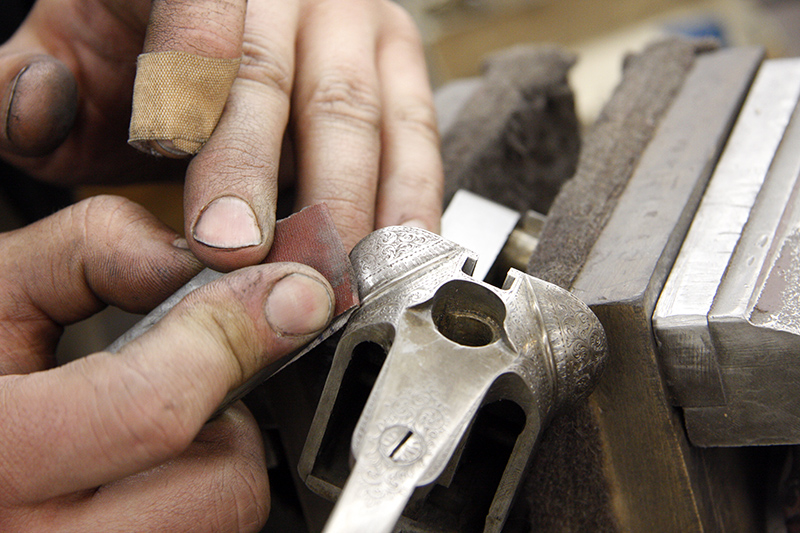
The breech ball is cleaned up with the same polishing block and sanding paper.
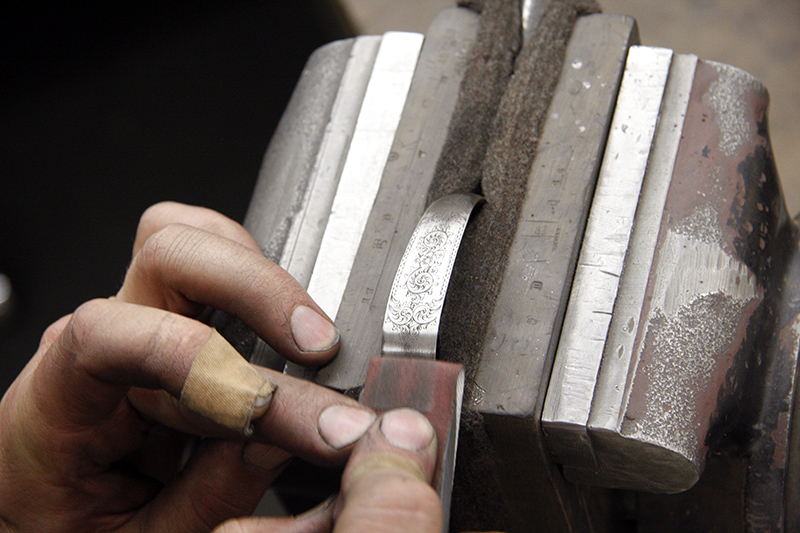
Polishing the trigger guard.
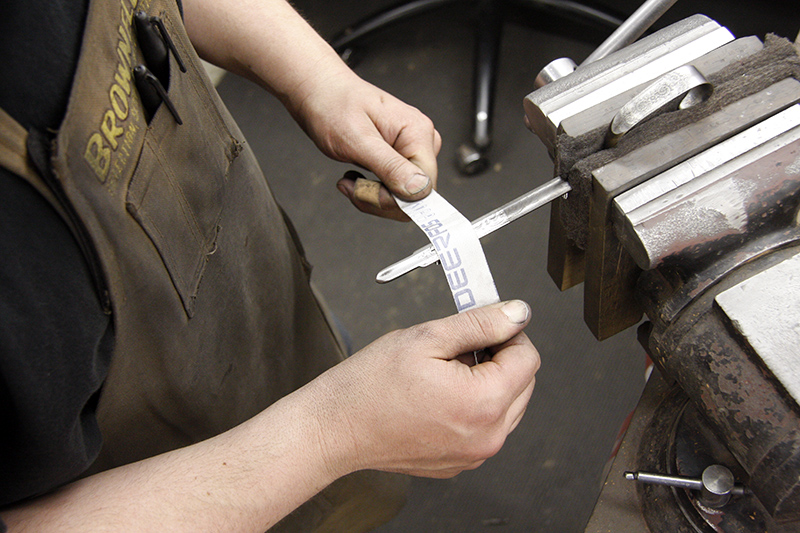
Using a “shoe shine” method to polish the trigger guards.
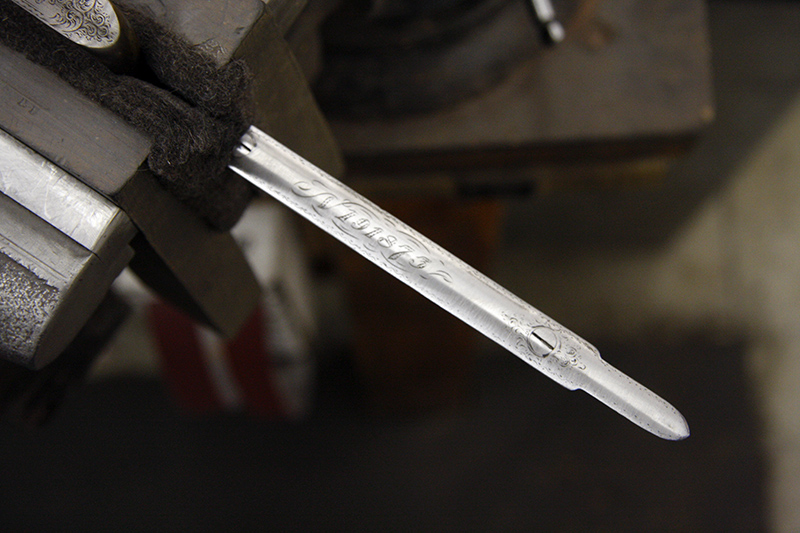
The finished trigger guard.
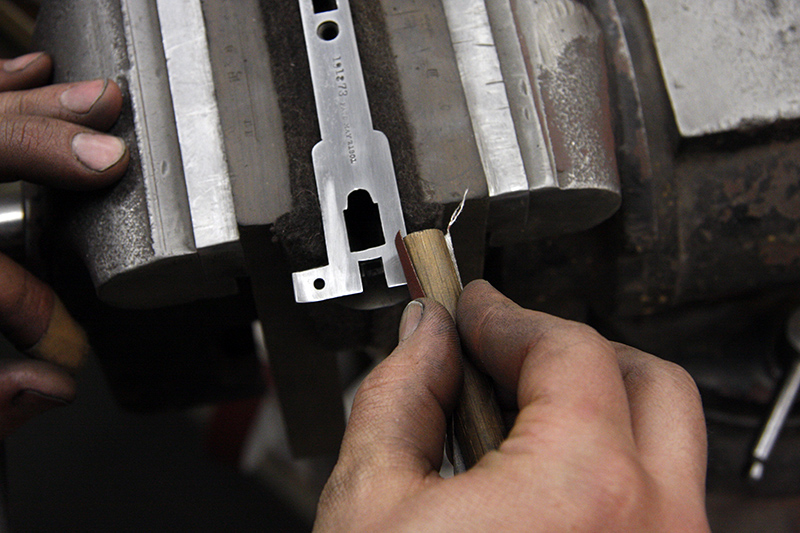
A wooden dowl with sanding paper is the tool of choice for this section, ensuring that the radius is just right on the forend iron.
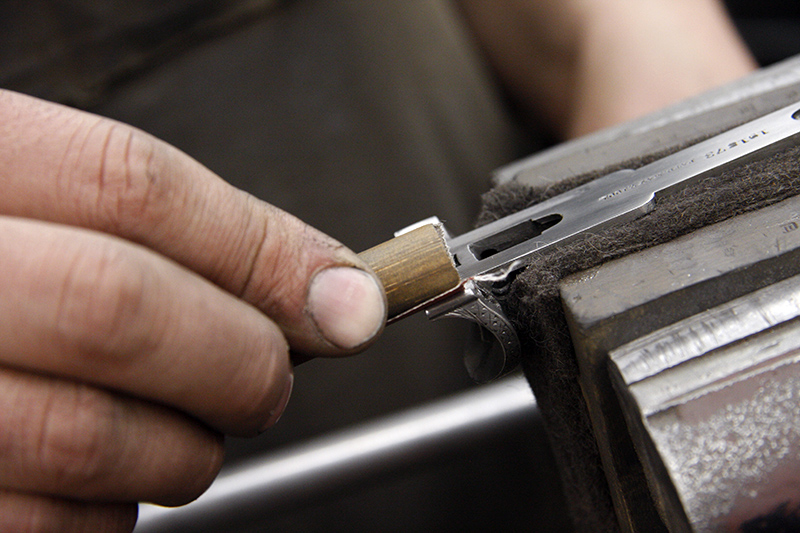
More polishing using a wooden dowel.
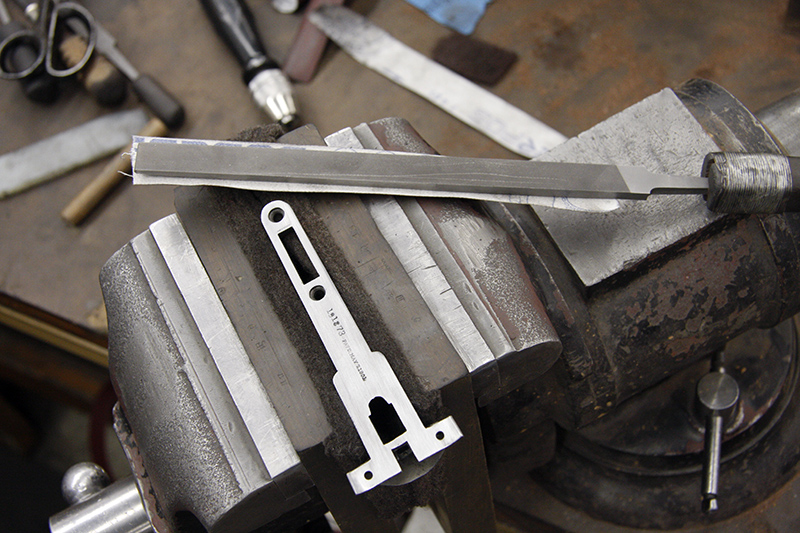
Another method of polishing uses a file with paper wrapped around it to get the flat portions of the forend iron.
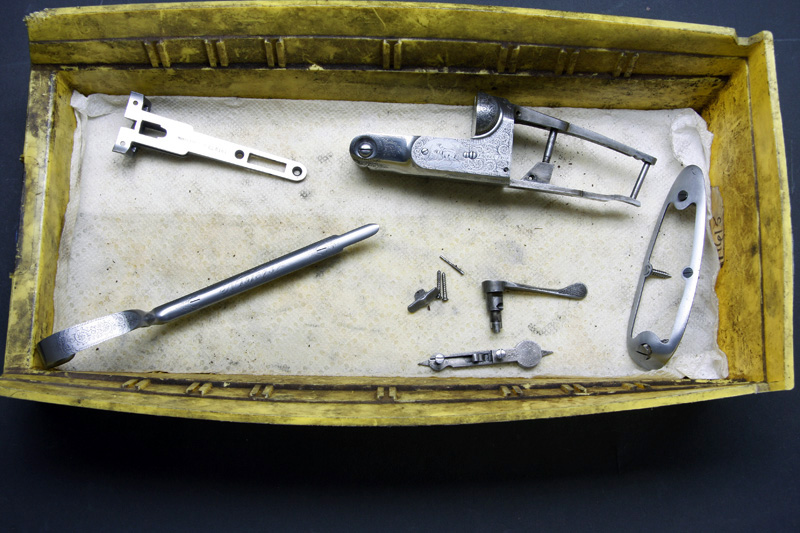
All the parts have been polished and are awaiting engraving recut.
DAY NINE: RUST BLUING THE BARRELS
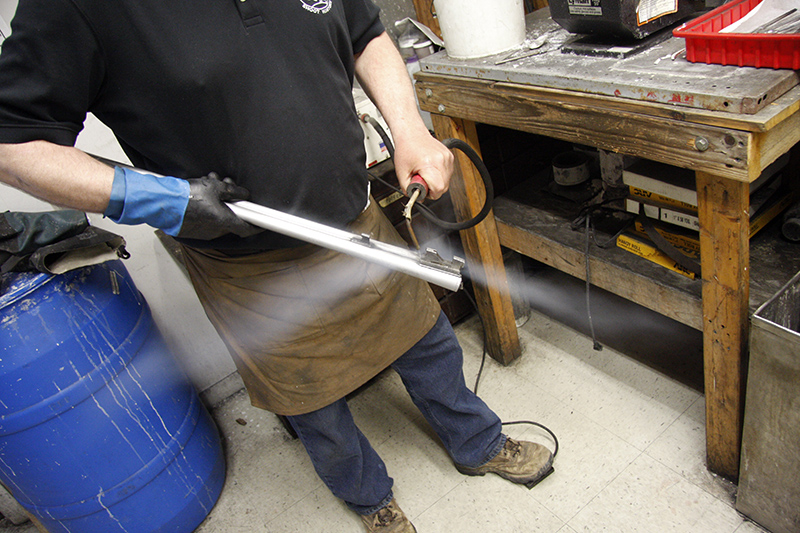
The barrels are inspected for dings, etc. after they’ve been polished and engraved. Steaming removes any built-up grease or residue that has accumulated over its lifetime.
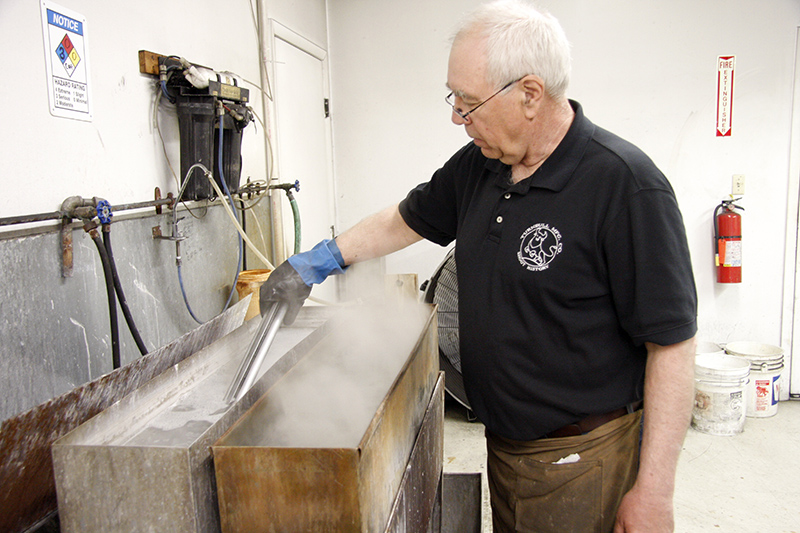
The barrels are then dipped into a hot soap tank to be degreased. Generally, they sit in this tank for about 30 minutes.
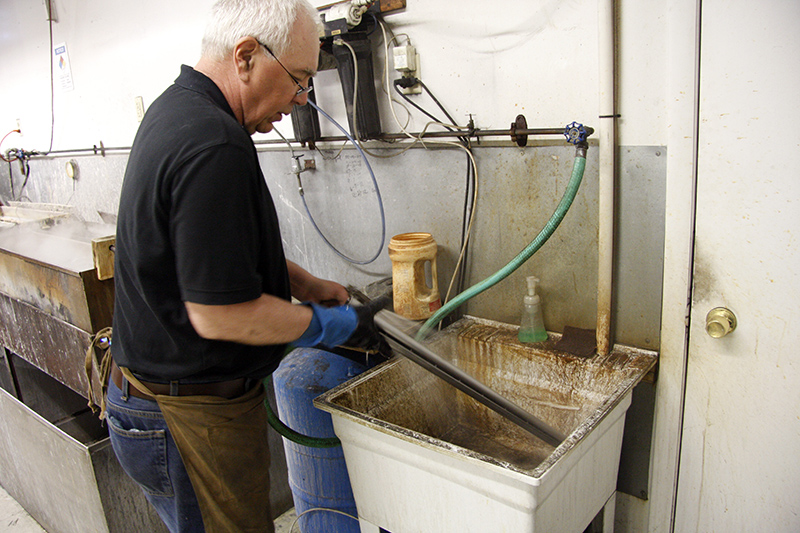
They are then rinsed off with water and towel-dried.
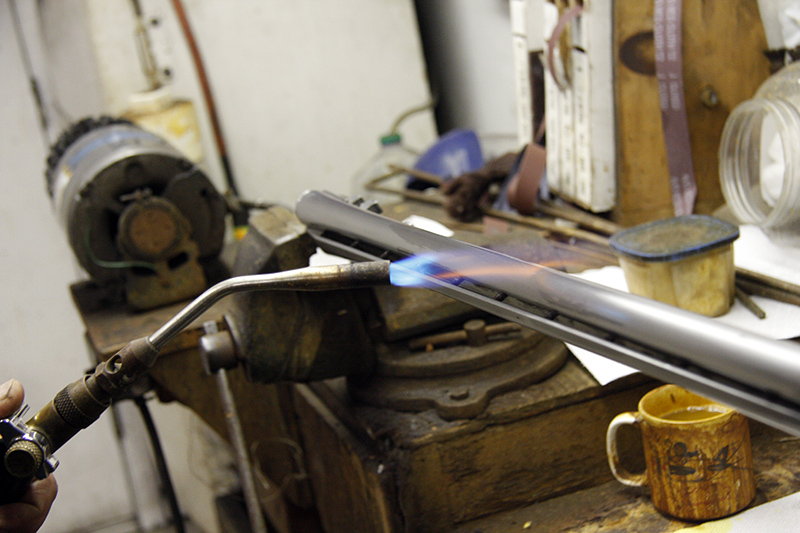
Using a propane torch, the barrels are warmed up for further drying. This step removes any extra moisture and enhances the bluing process.
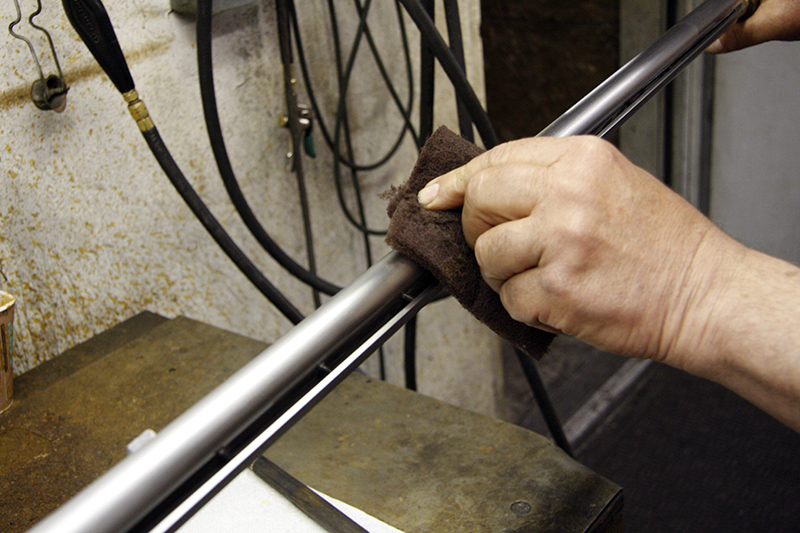
Next, an abrasive pad is used to create a surface for the bluing salts to work on.
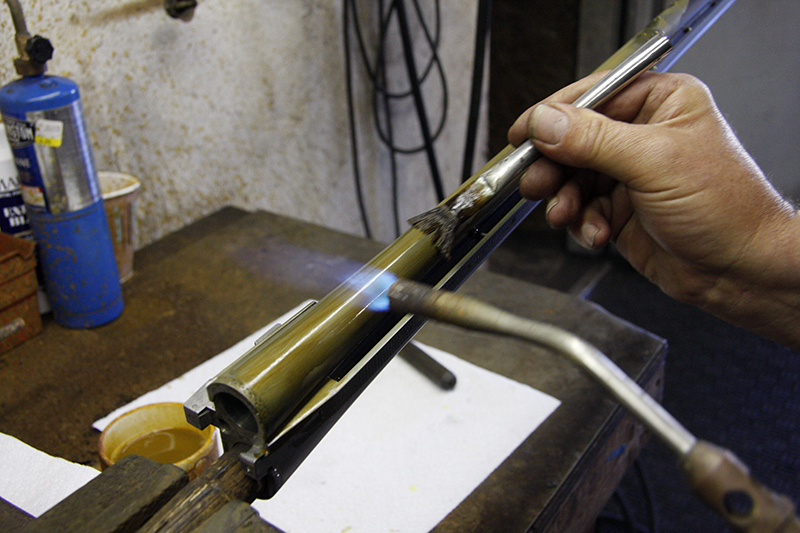
Using a brush, the bluing salts are being applied to the barrels.
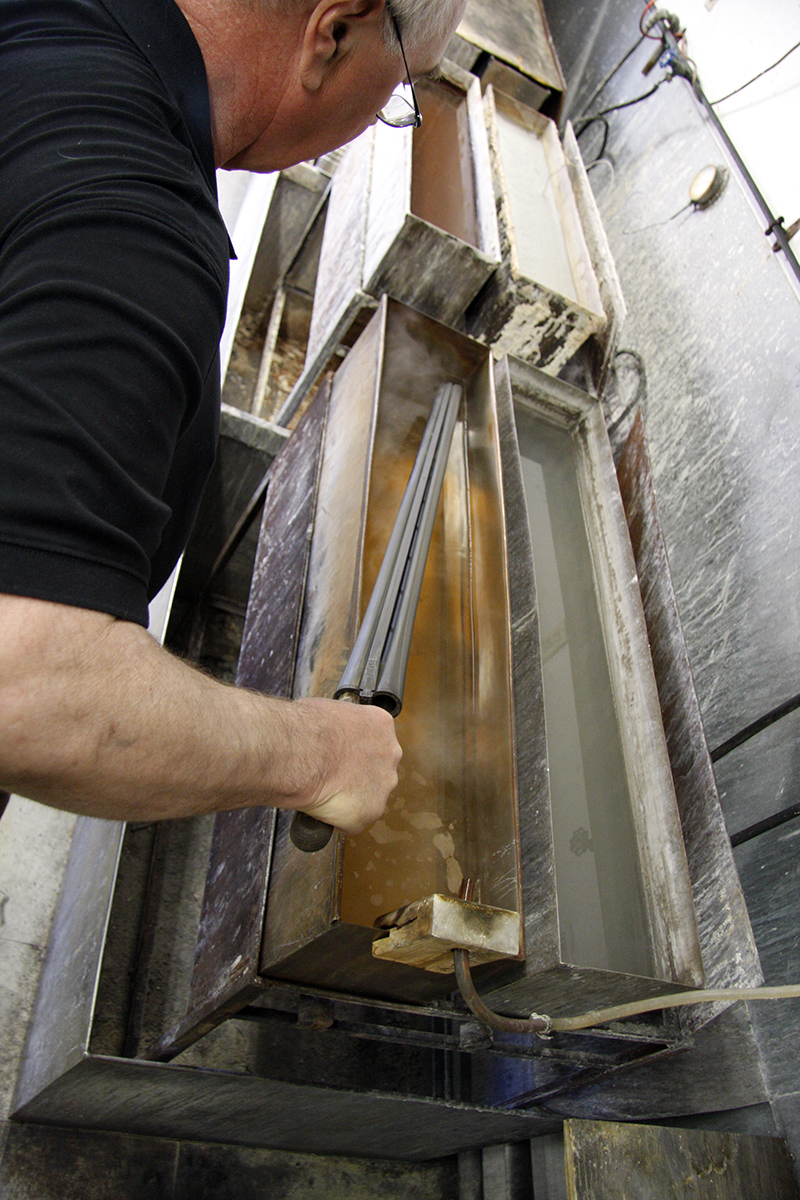
The barrels are put into boiling water, which turns the red oxide black.
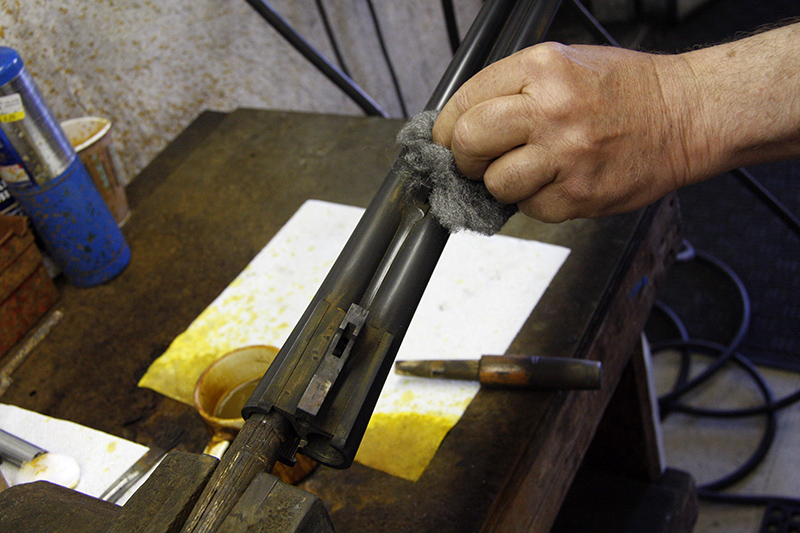
After several coats of bluing salts and trips to the water tank, the final coat is taken off with fine steel wool.
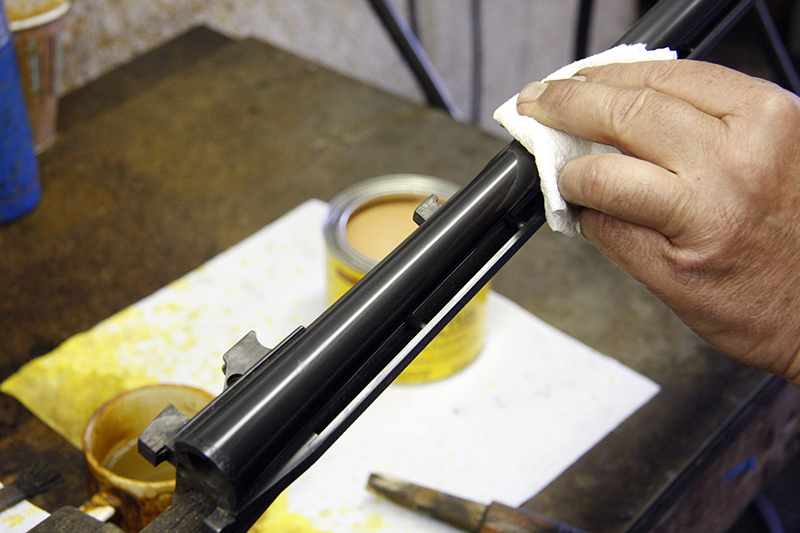
Finishing wax is then applied to stop the oxidizing process and to prevent rusting.
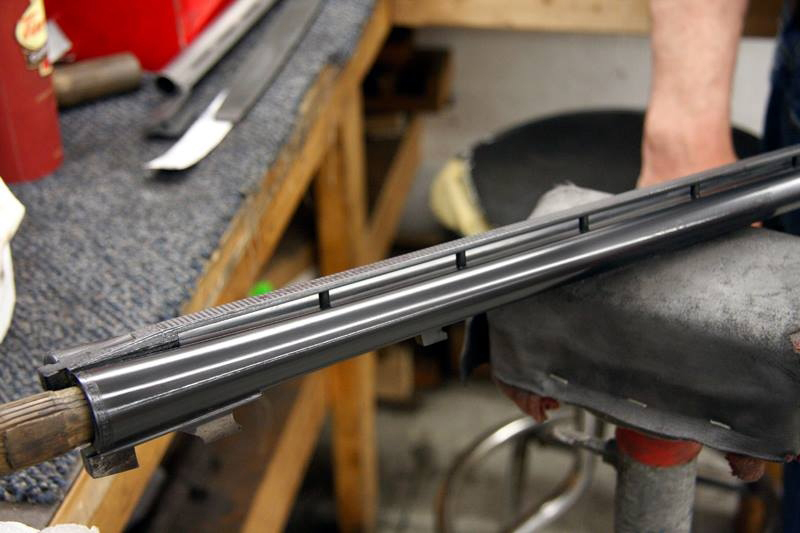
Here are the finished shotgun barrels after being wiped down with some G96.
DAY TEN: STOCK REFINISHING
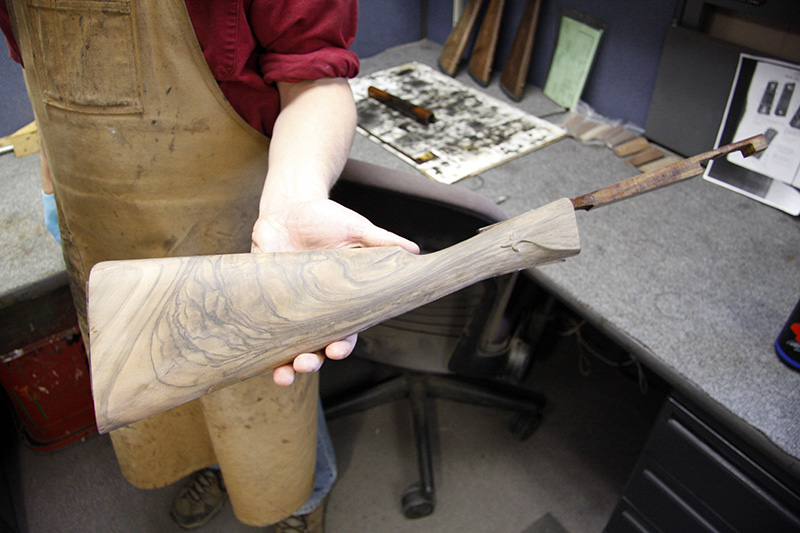
After a final sanding, the pores will be filled, the wood is stained, and then the finishes are applied.
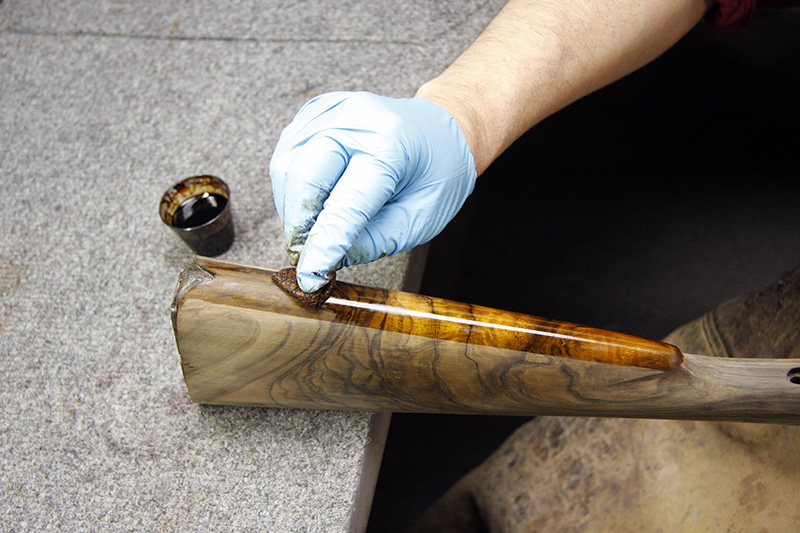
Using its proprietary stain mixture, Turnbull evenly applies this over the stock to ensure a uniform finish.
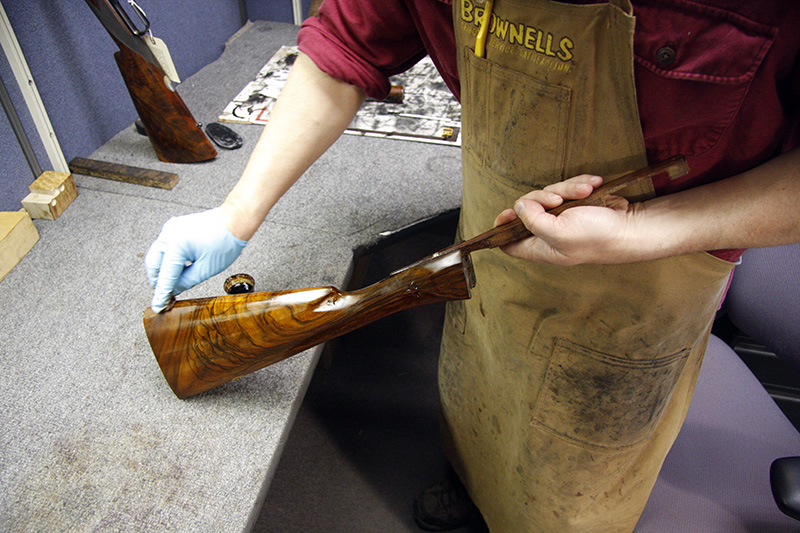
Stain is applied several times until the correct color is achieved.
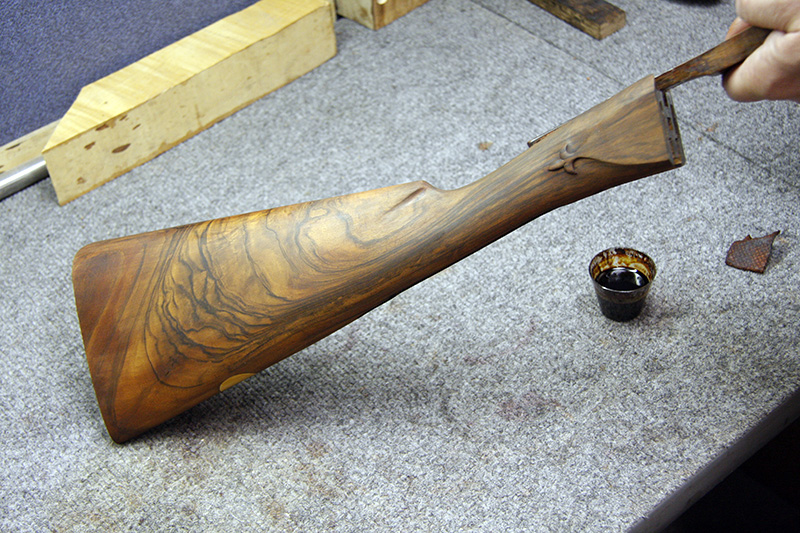
Here the stain has dried, and the color is just right.
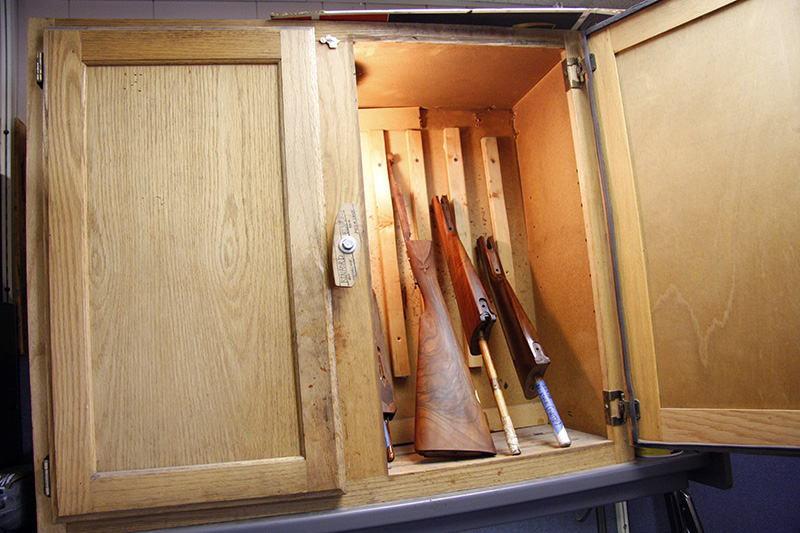
The stock is placed in a dust-free heating cabinet to help keep the stock clean while the stain fully dries.
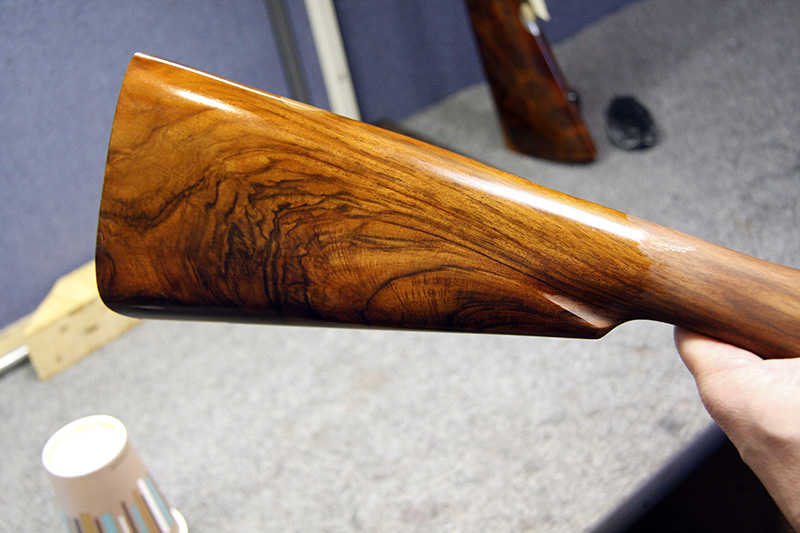
The first application of oil finish is then applied.
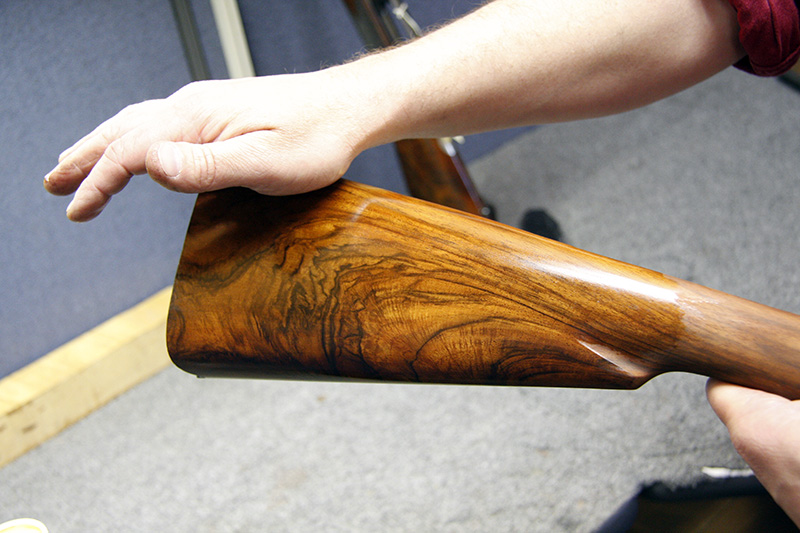
Using a hand-rubbed method, several coats are applied.
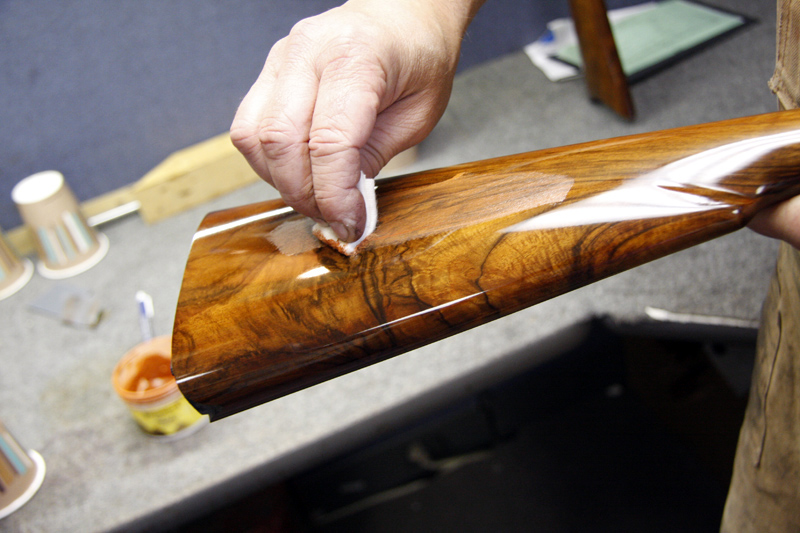
Finally, a rubbing-compound finish completes the process by eliminating any dust particles that might have set in.
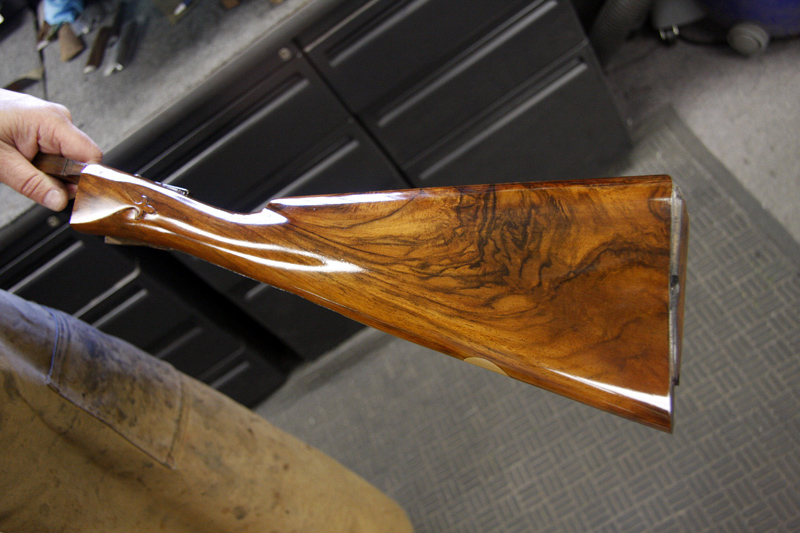
Beautiful!
DAY ELEVEN: CHECKERING THE BUTTSTOCK
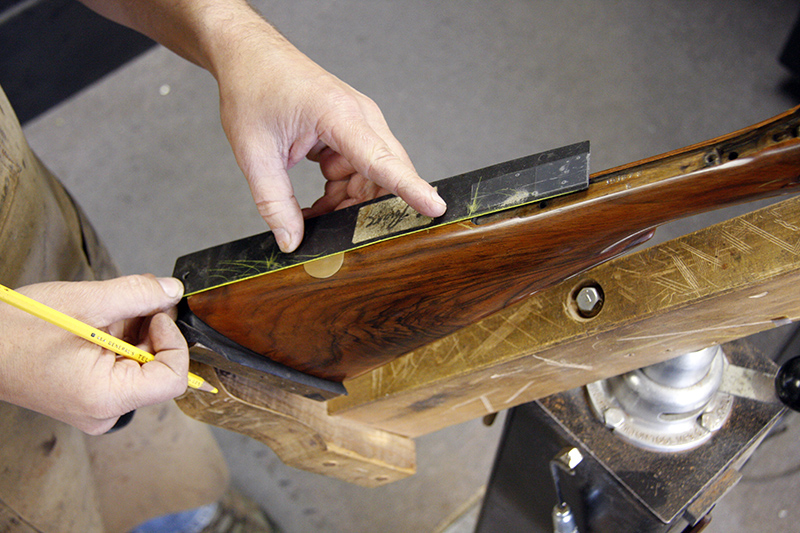
First, the pattern has to be laid out, and here the center lines are marked.
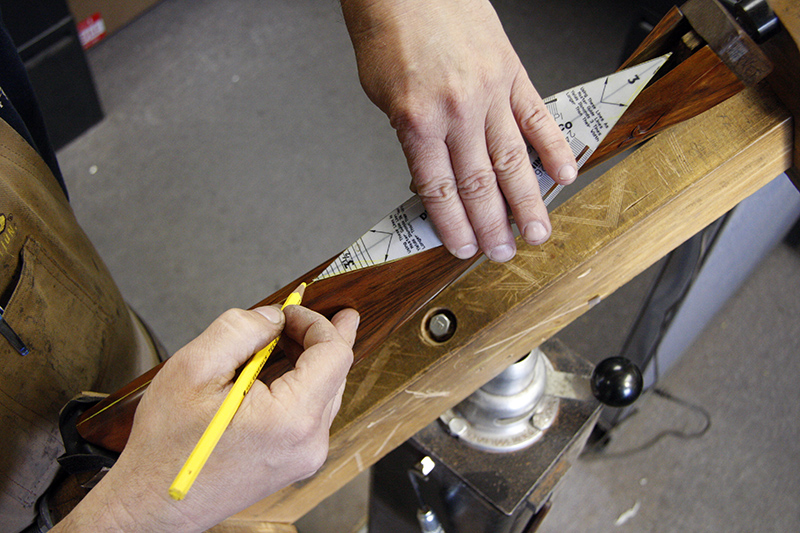
The master lines for the checkering are then sketched.

The original Parker buttstock is also used to lay out the design.
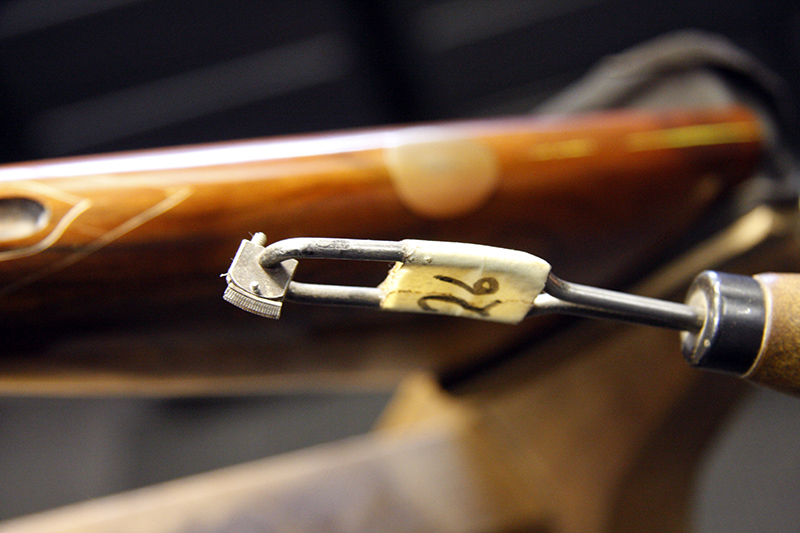
Here is a single-line cutter, which is one of only a few tools used during the process.
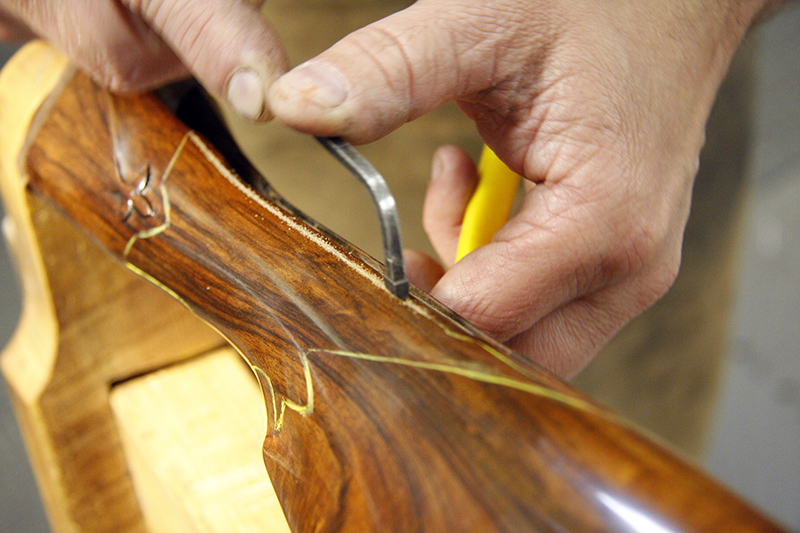
First, the cutter is used to cut the border along the trigger guard.
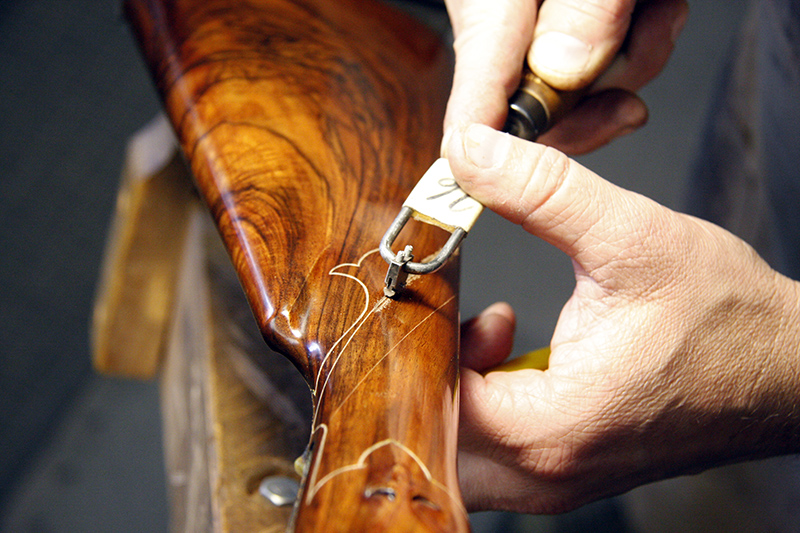
Once the border is done, he begins to cut the lines in one direction.
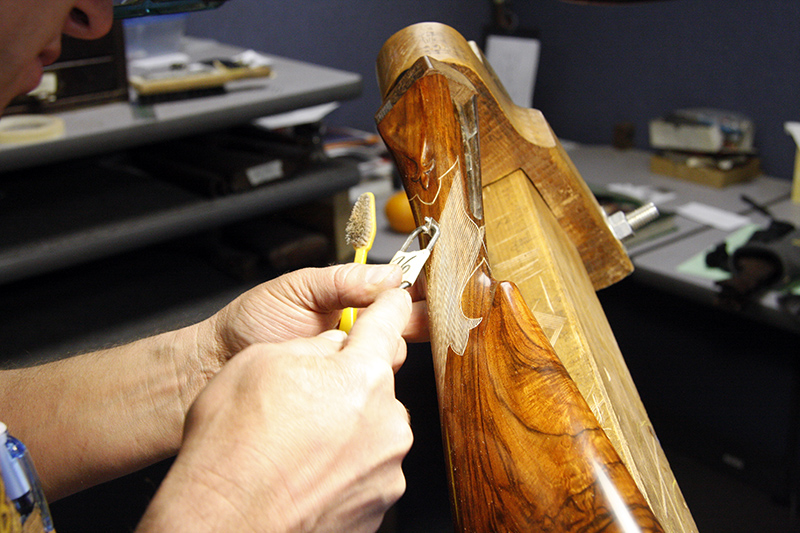
This particular pattern has 26 lines per inch.
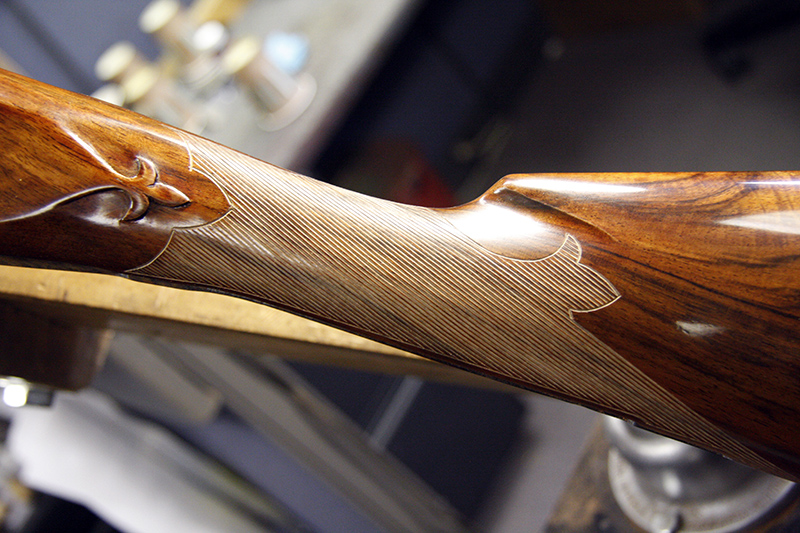
The lines have all been cut in one direction.
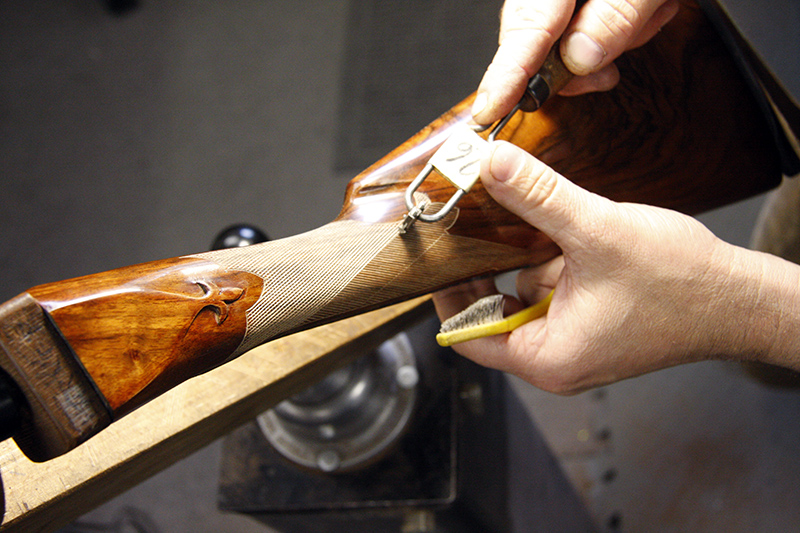
Now the lines are cut in the opposite direction.
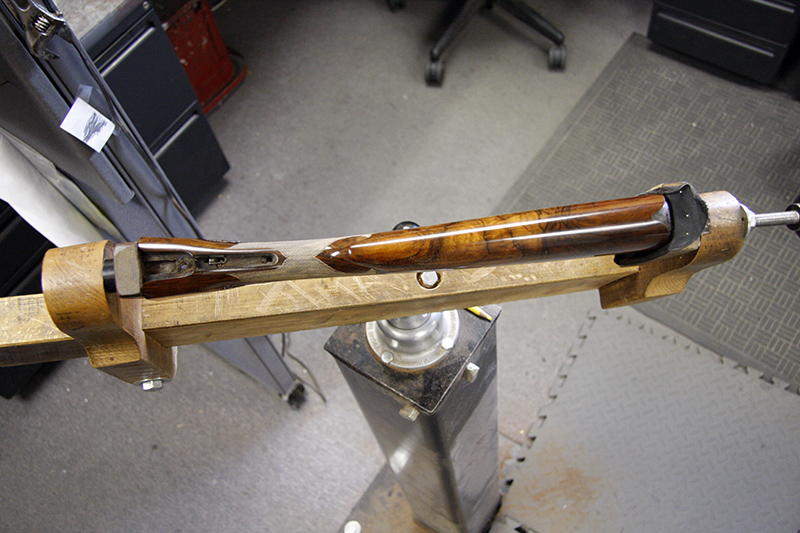
Here is a top view of the stock. You can see that the pattern is wrapped around the top and also goes underneath.
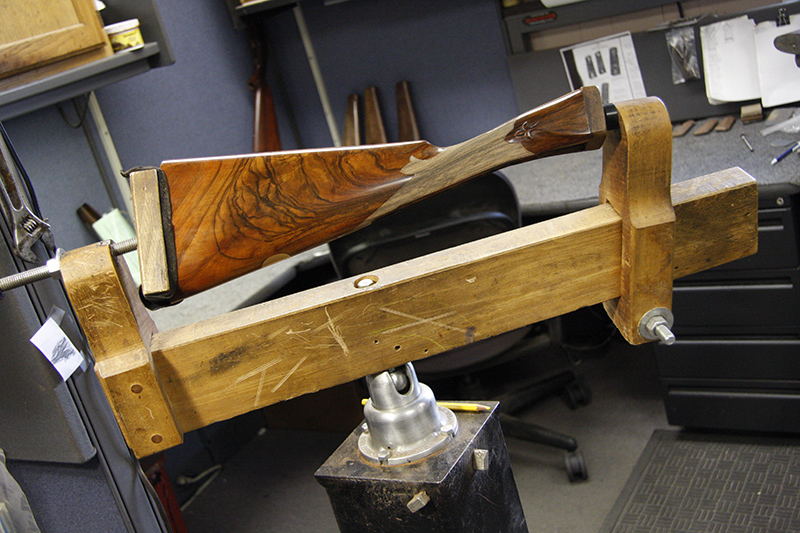
The main part of the checkering is complete. Next, the side panels will be checkered and a mullered border added.
DAY TWELVE: MORE CHECKERING
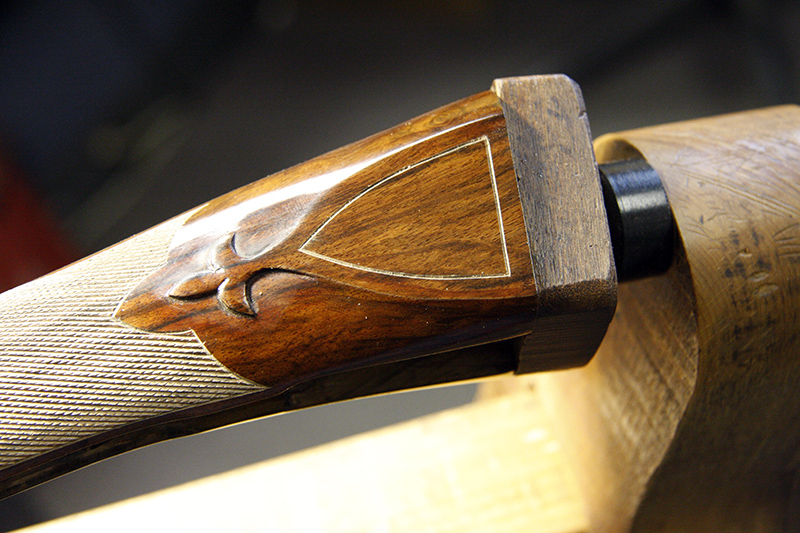
First, the side panels are outlined.
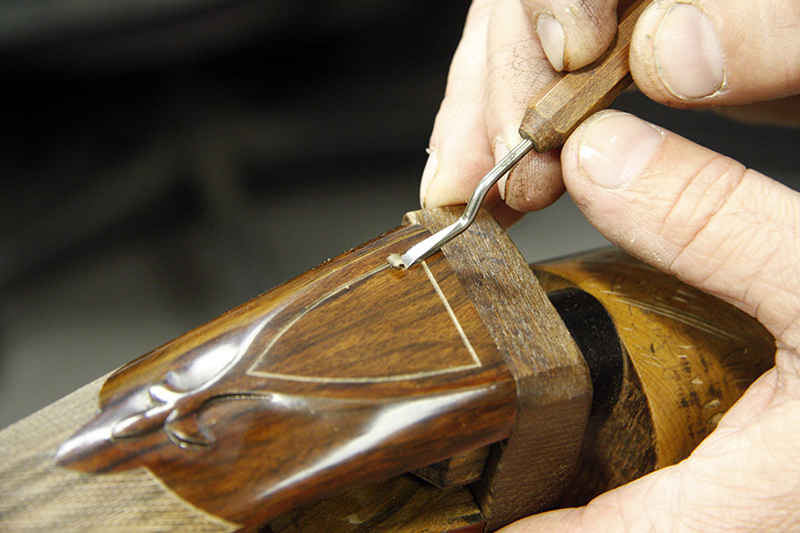
The wood is removed for the recessed side panel.
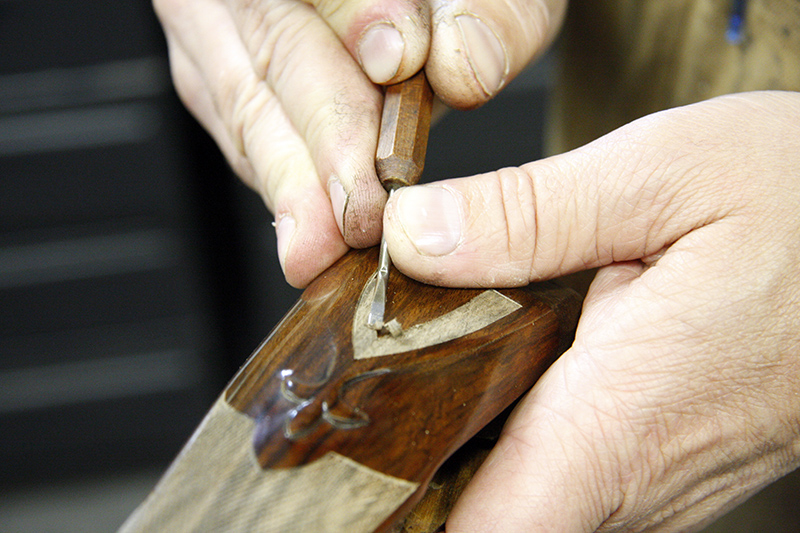
A small hand chisel is used to carefully extract the area that will be checkered.
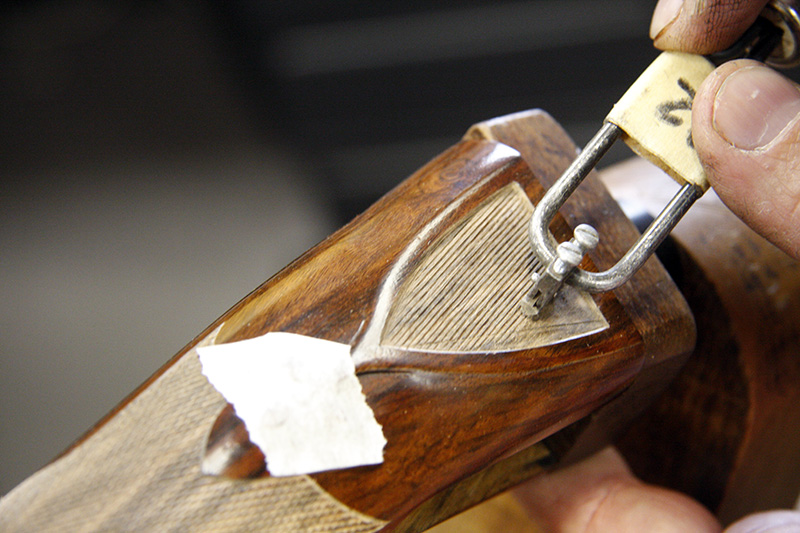
Checkering the side panel.
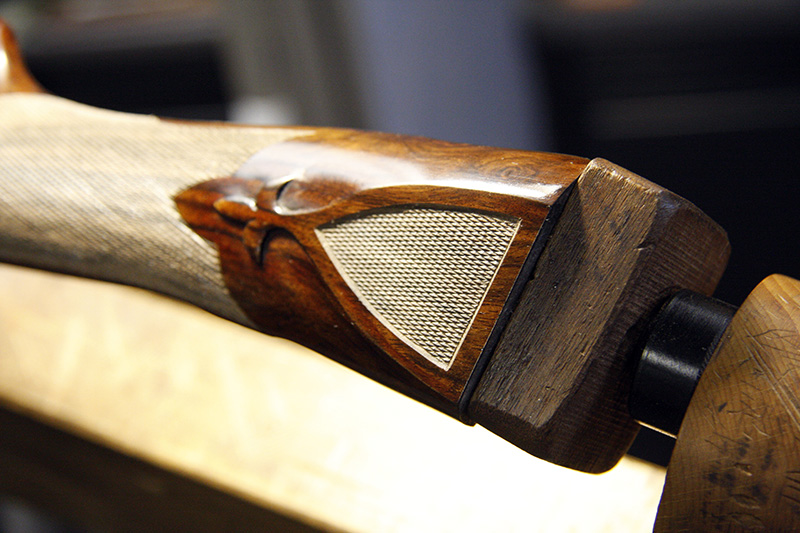
The finished side panel.
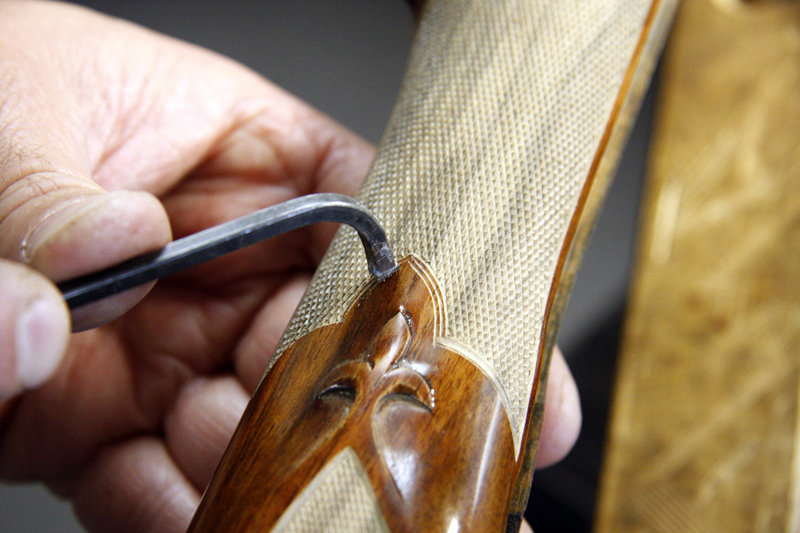
Using a checkering-spacing tool, the mullered borders are laid out.
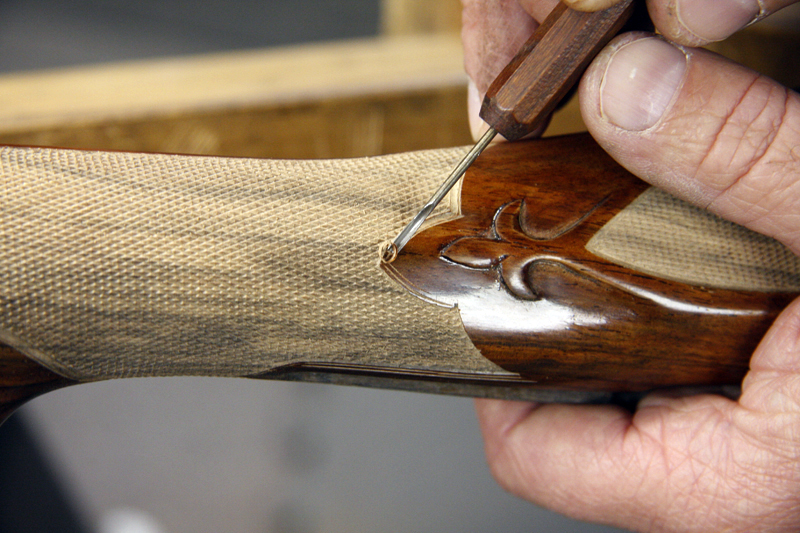
A chisel is then used to complete the mullered border.
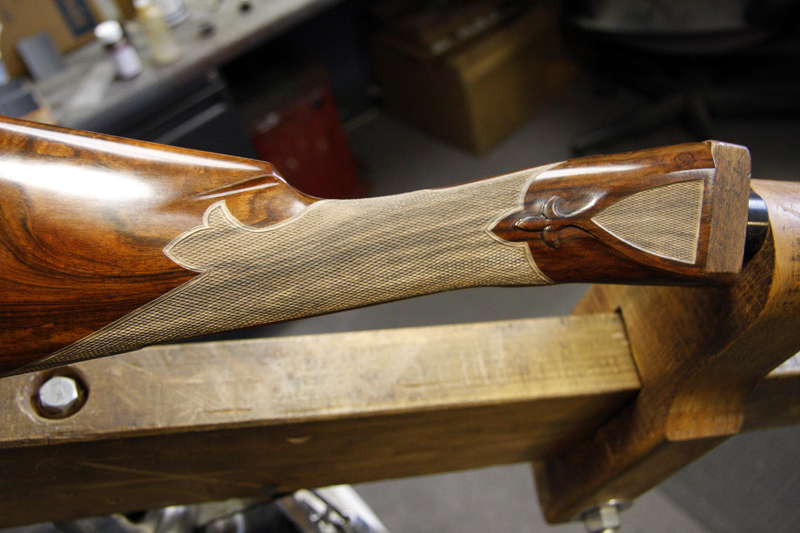
Finished side view.
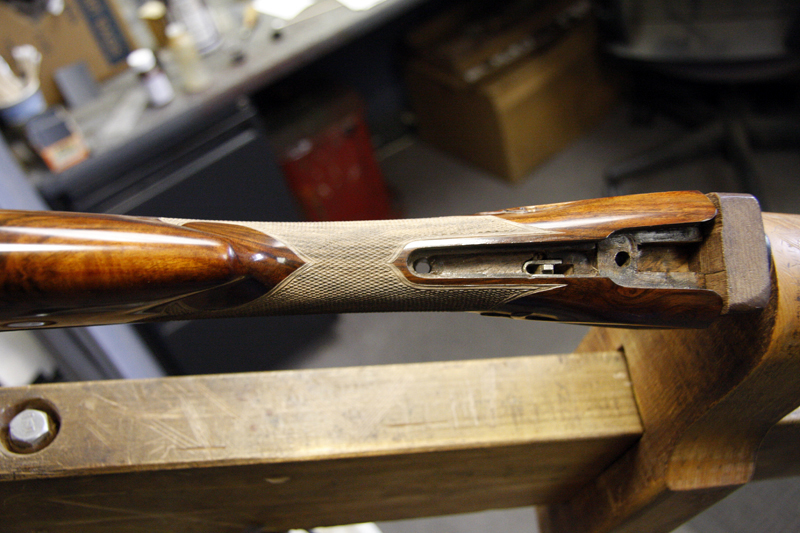
The finished top view.
DAY THIRTEEN: ENGRAVING
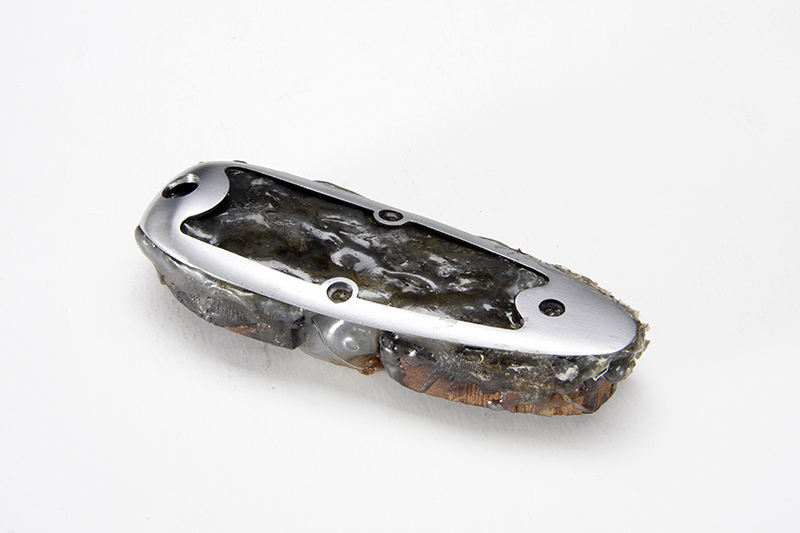
Since the buttplate is an odd shape, Turnbull’s in-house engraver, Tom, starts by hot gluing the buttplate to a block of wood.
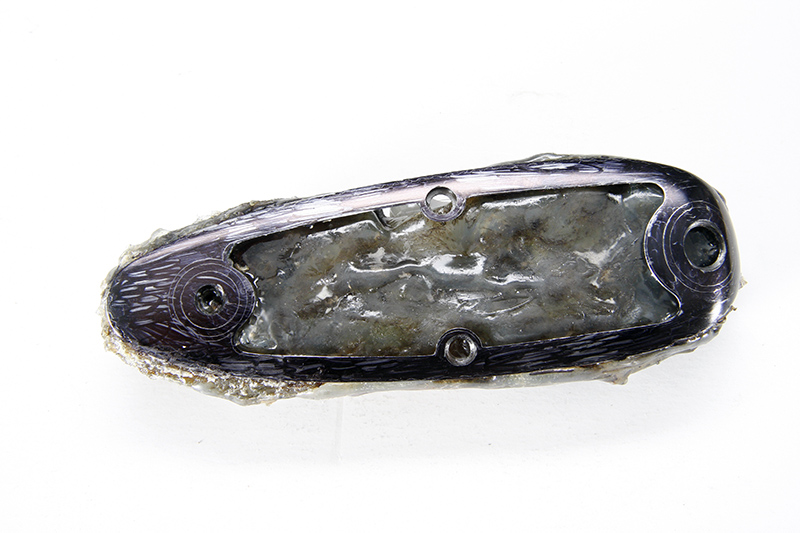
Using a Sharpie for contrast, he then scribes the basic borders.
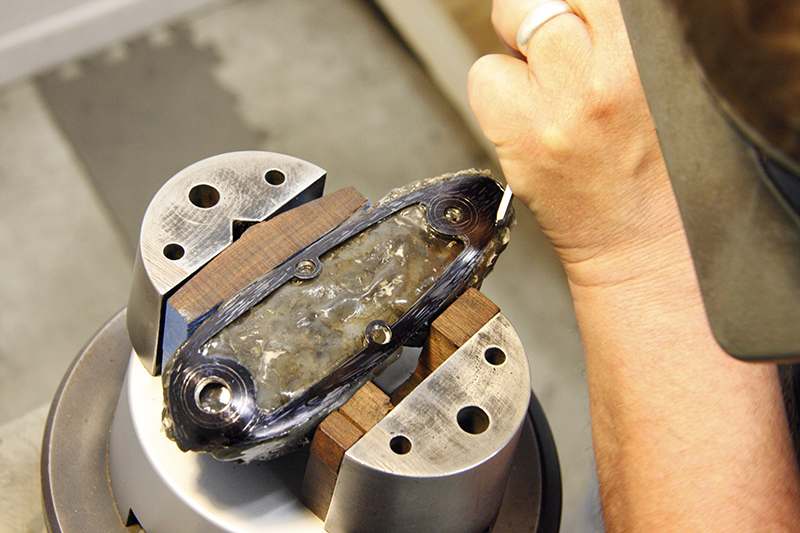
A chisel is then used to follow the lines.
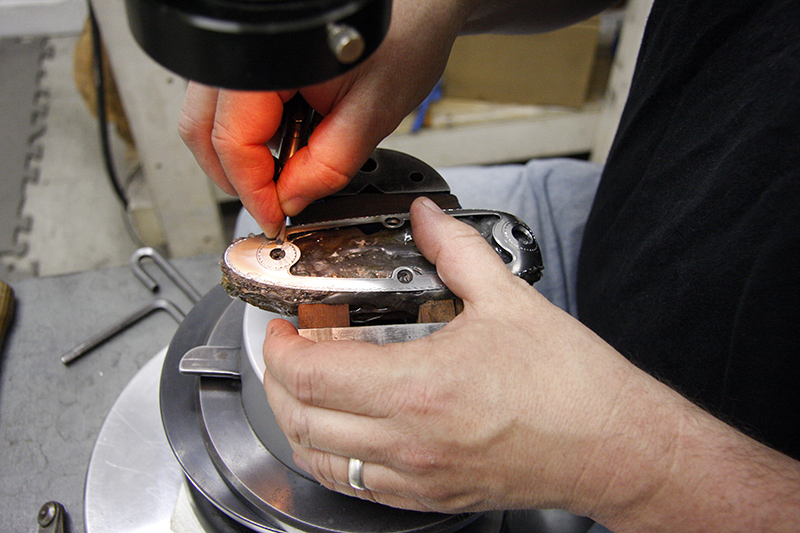
Here Tom does some detail work on the rosette around the screw hole.
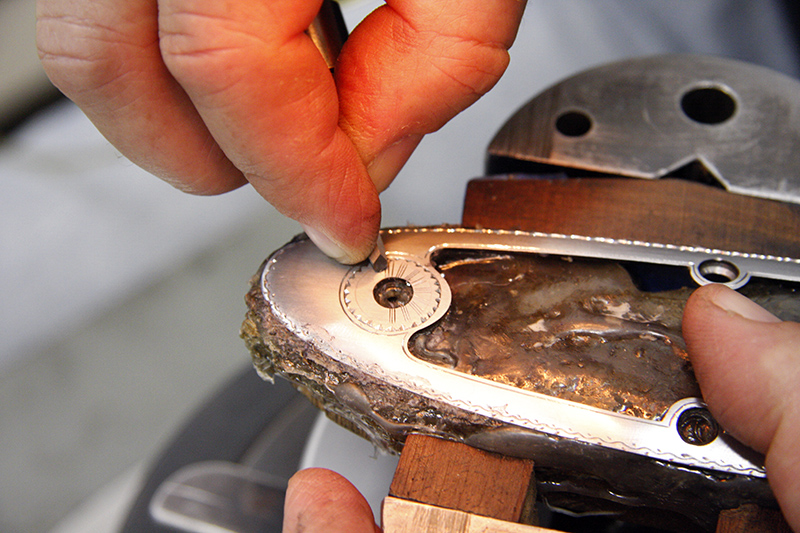
Because there wasn’t an original buttplate on this shotgun, Tom had to research the style of engraving that was used at the time to come up with the pattern.
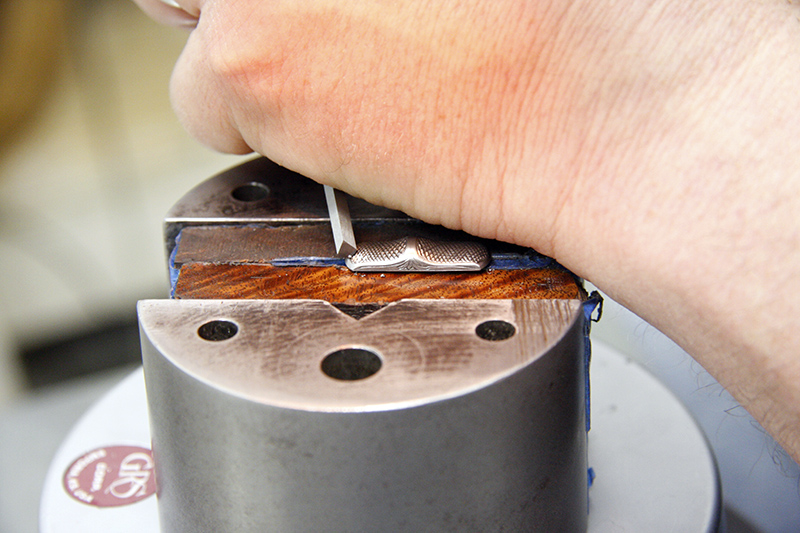
Touching up the knurling on the safety button.
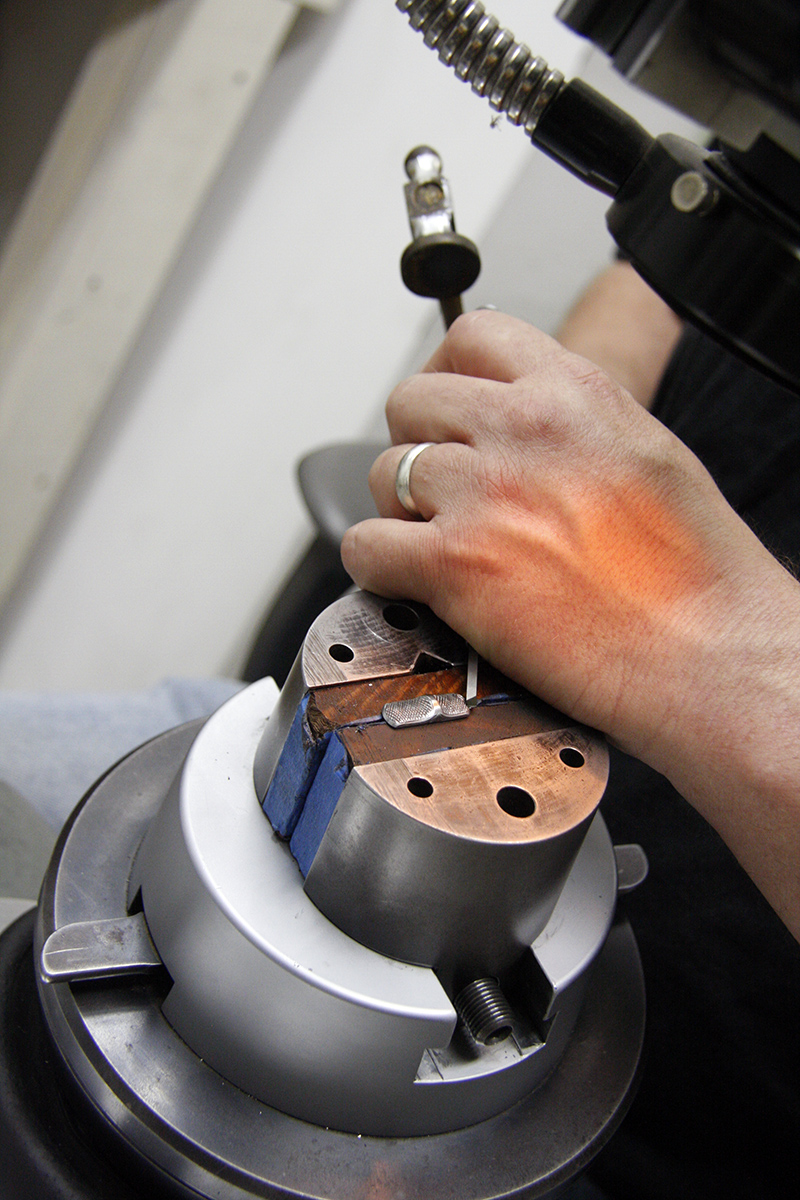
More knurling on the safety button.
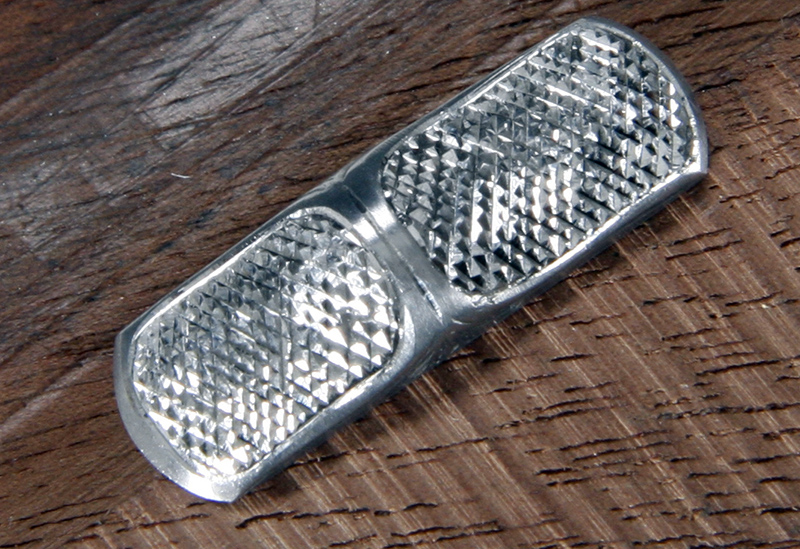
The finished safety button.
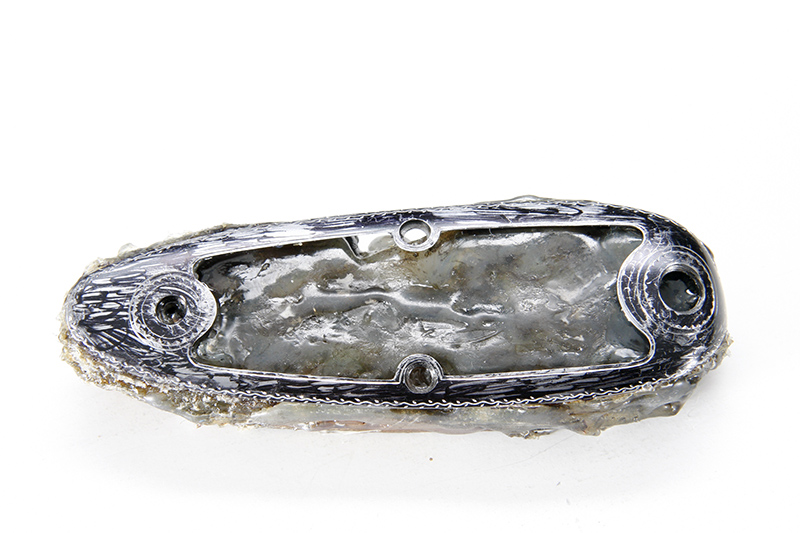
The finished buttplate.
DAY FOURTEEN: RECUTTING THE ENGRAVING
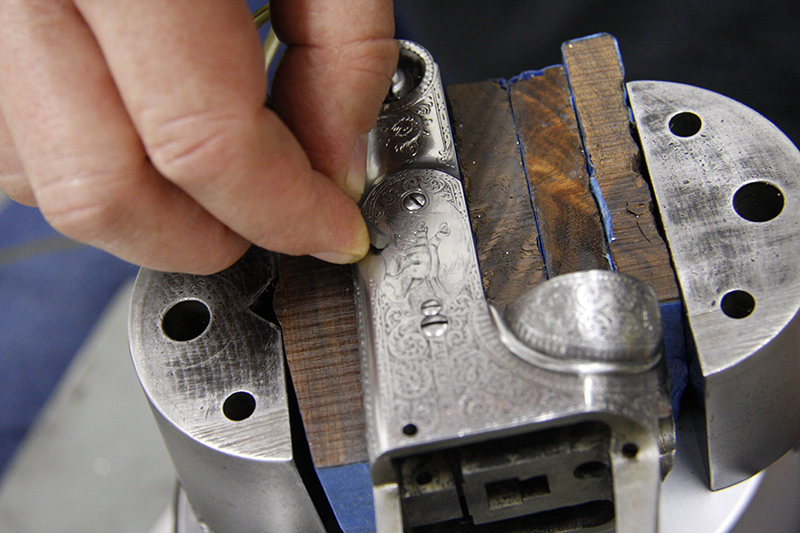
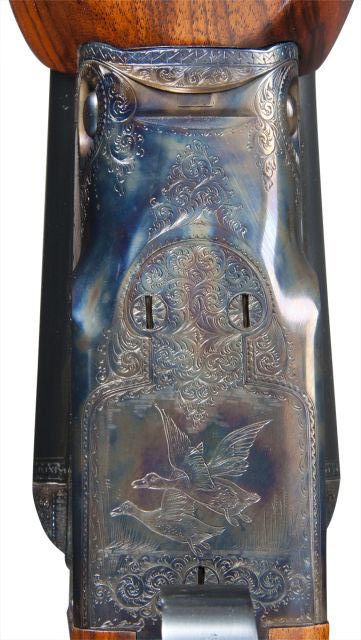
Recutting the engraving on the left side of the frame.
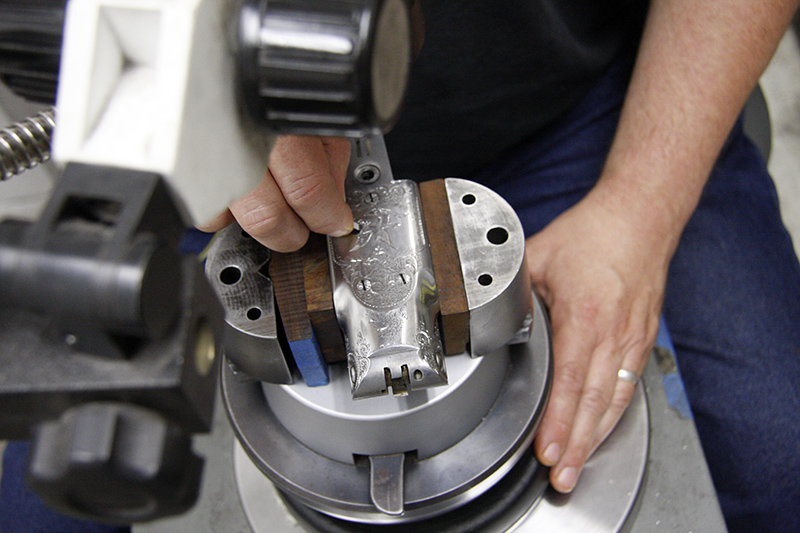
Now for the bottom side of the frame.
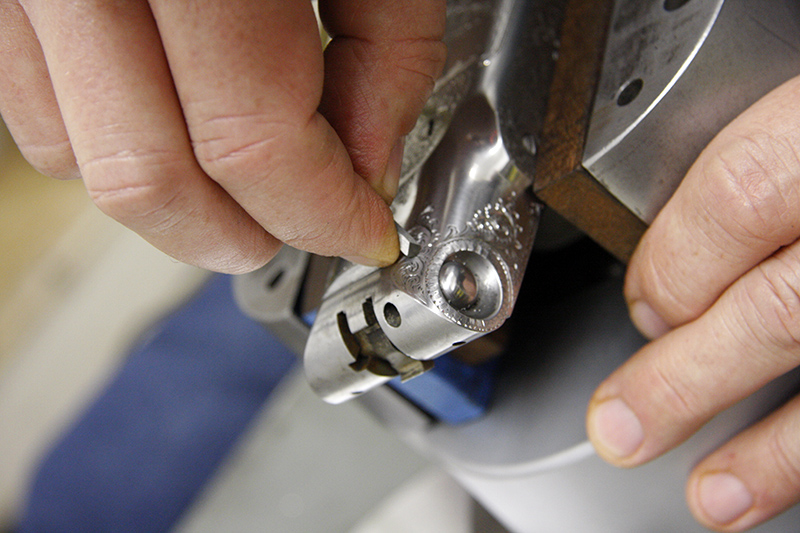
Detail work!
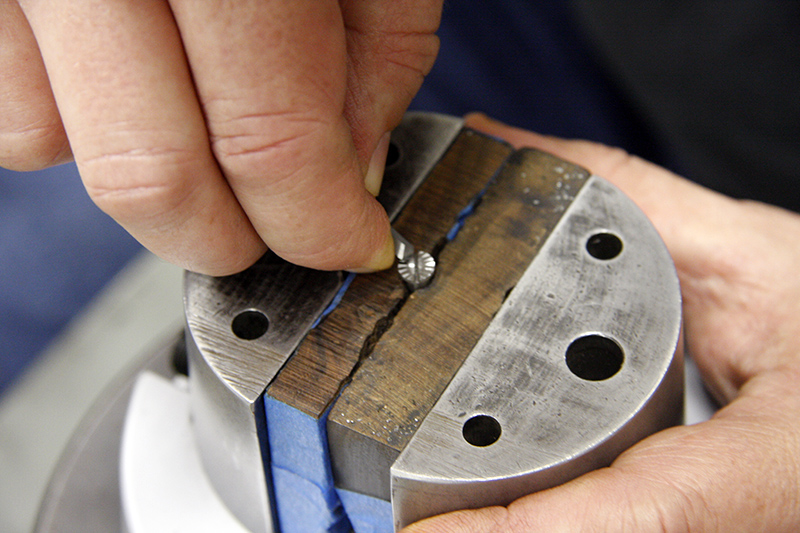
Engraving the screws.
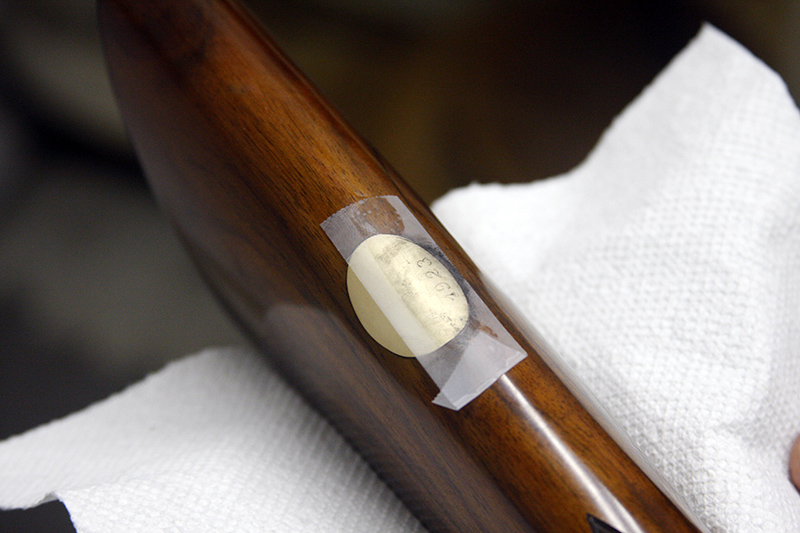
Tom tapes on an ink pull from the original stock oval.
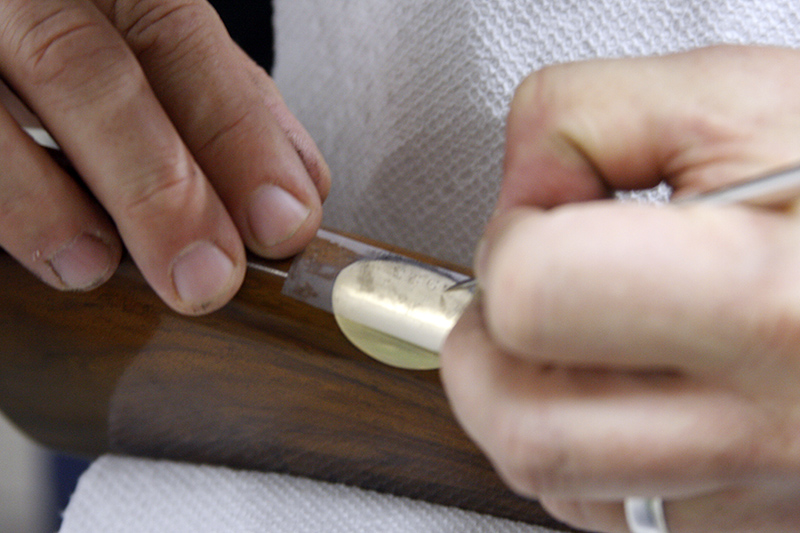
First, he scribes on the numbers.
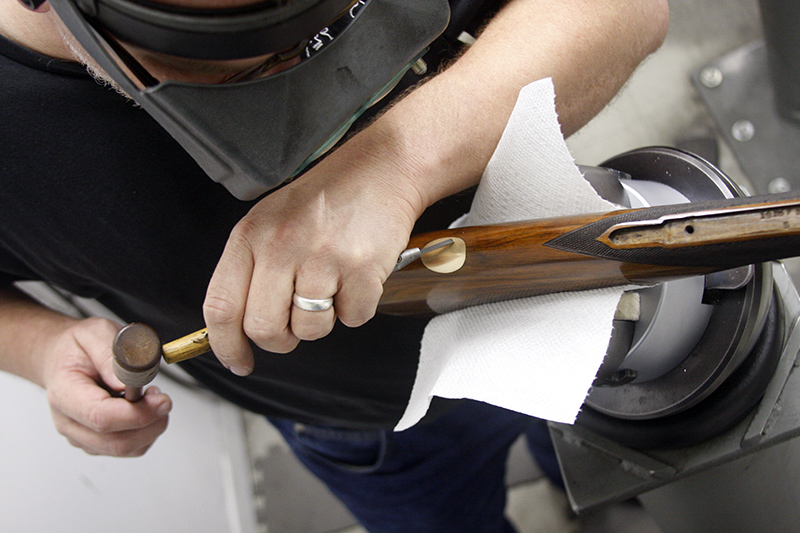
Then he can engrave the numbers.
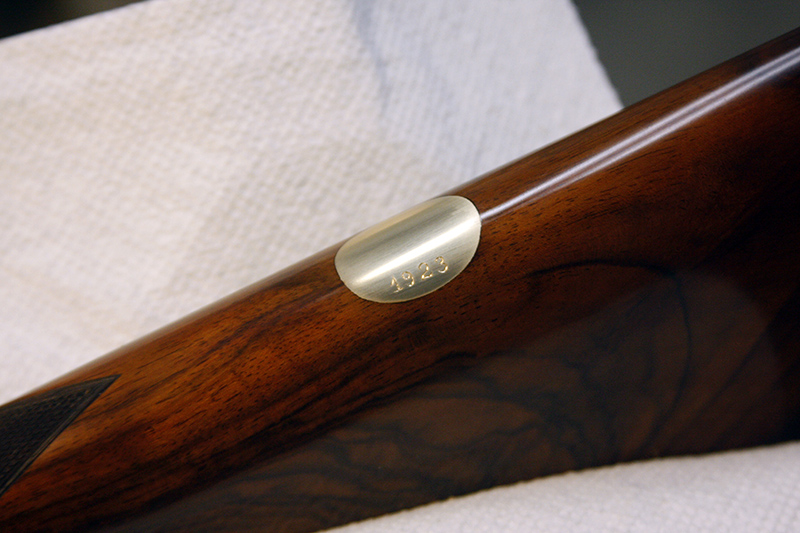
The gold stock shield is complete.
DAY FIFTEEN: REASSEMBLY
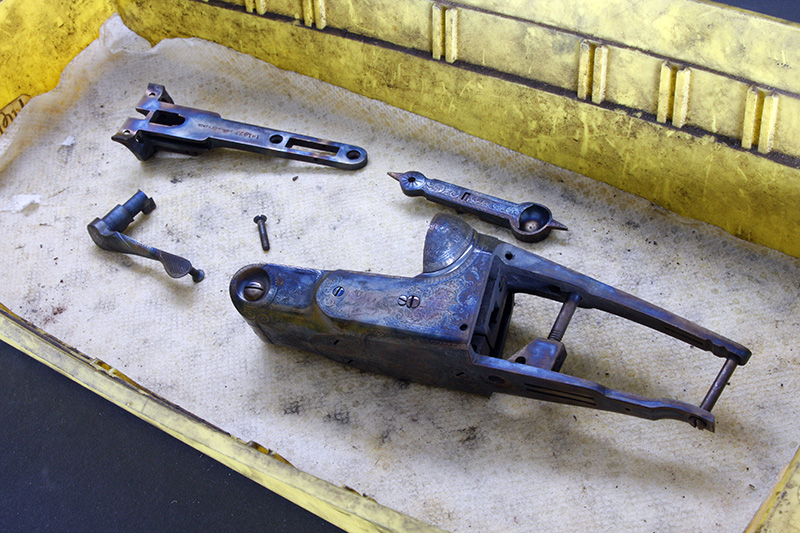
The color-case hardening has been completed—it’s a process that cannot be photographed!
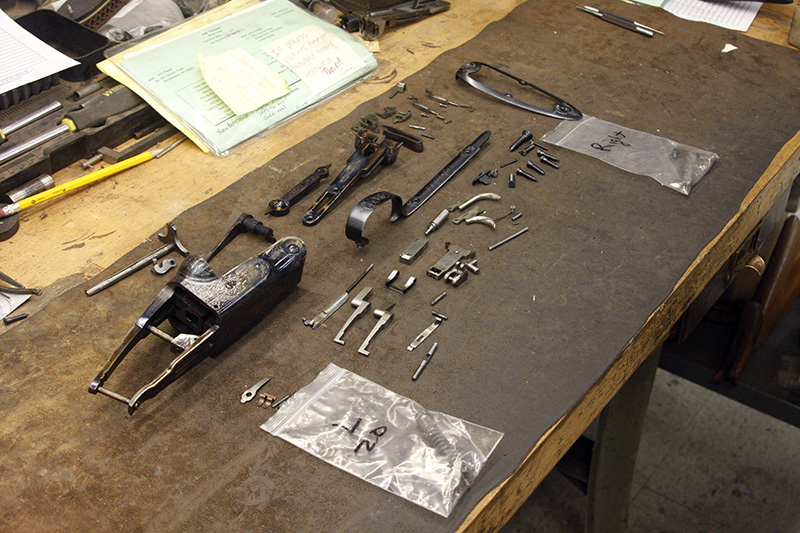
All the parts to the Parker BHE shotgun are set out so assembly can take place.
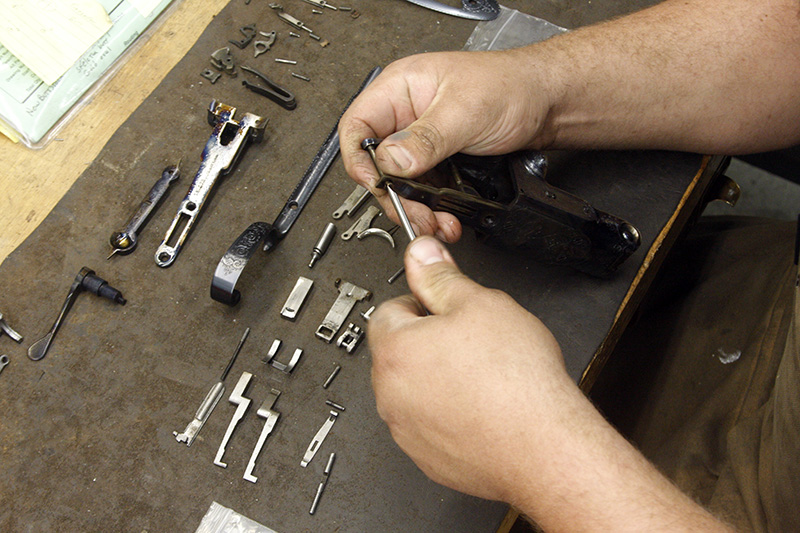
The bottom tang assembly is the first step.
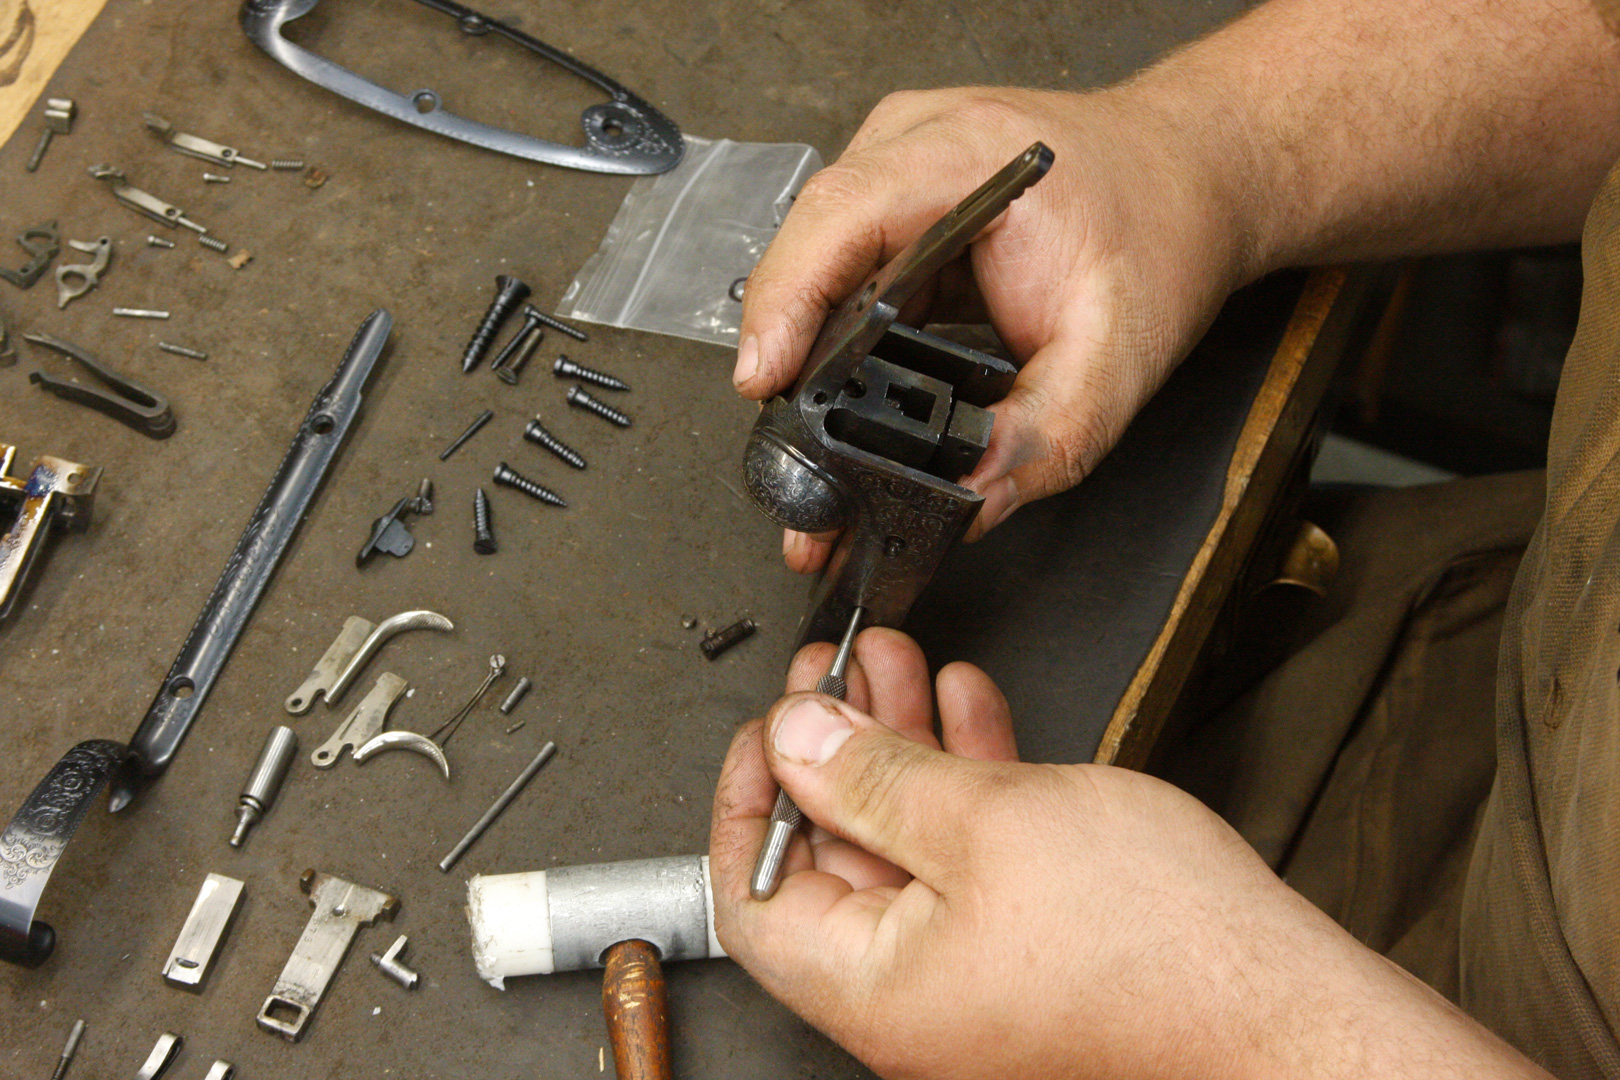
Putting the pins in.
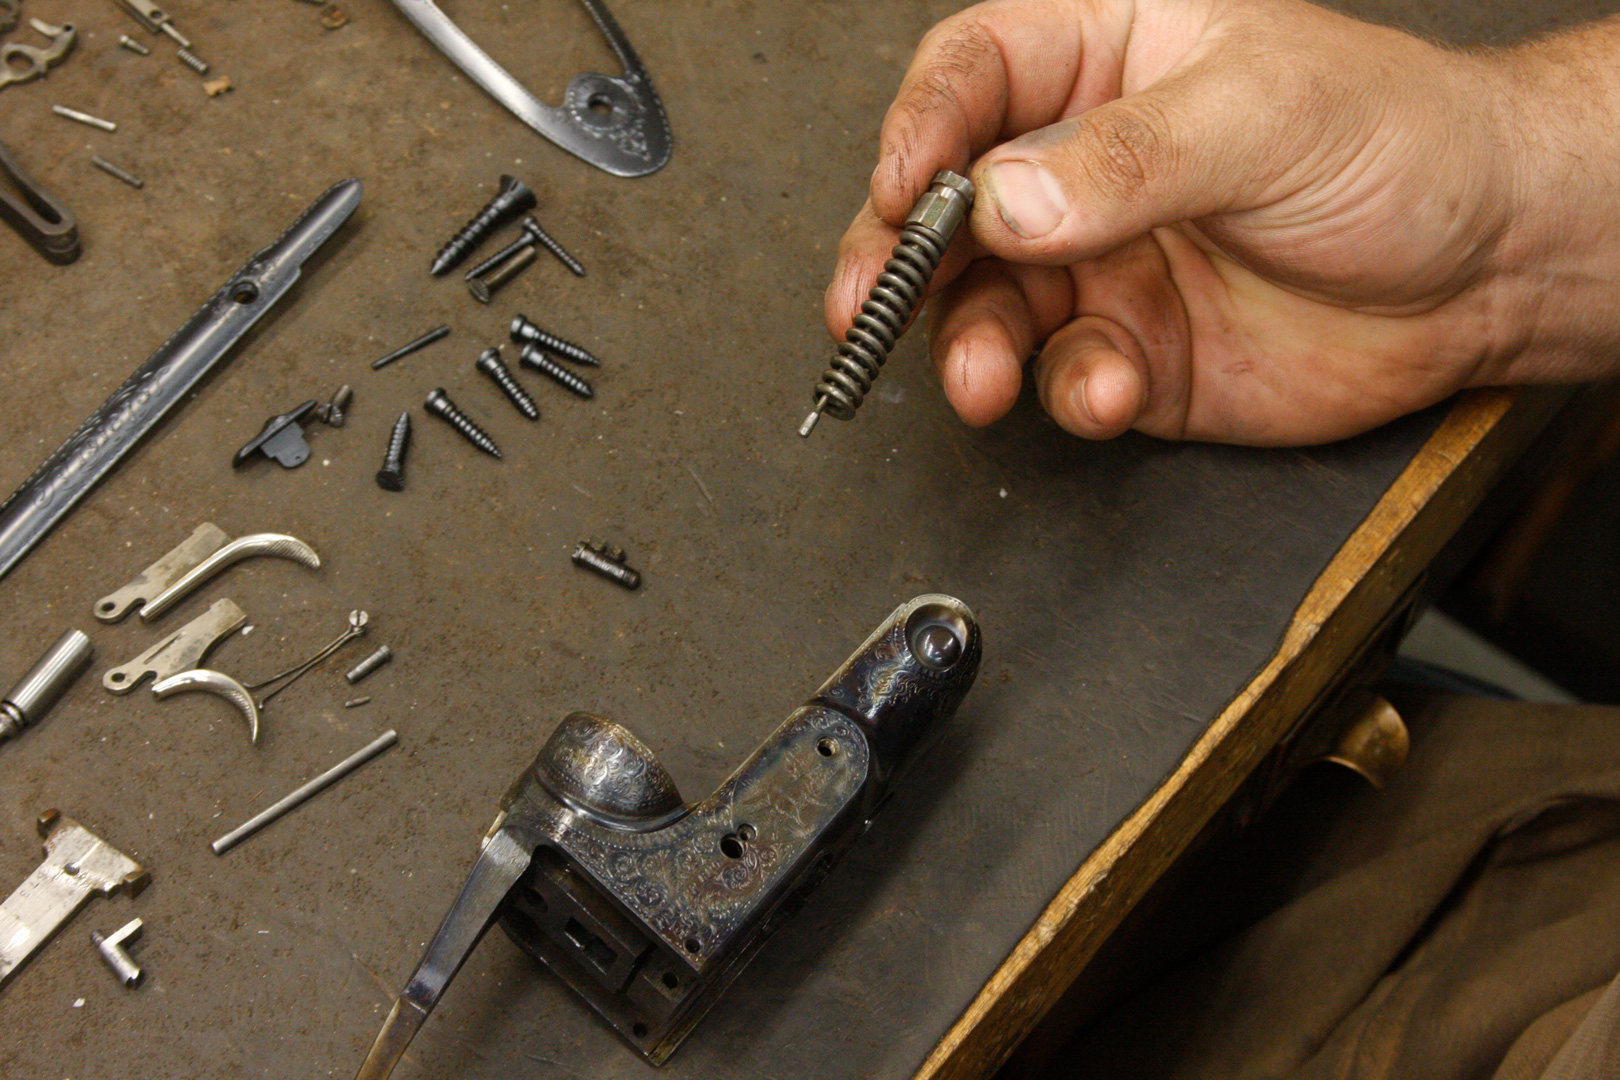
Mainspring and cocking rod.
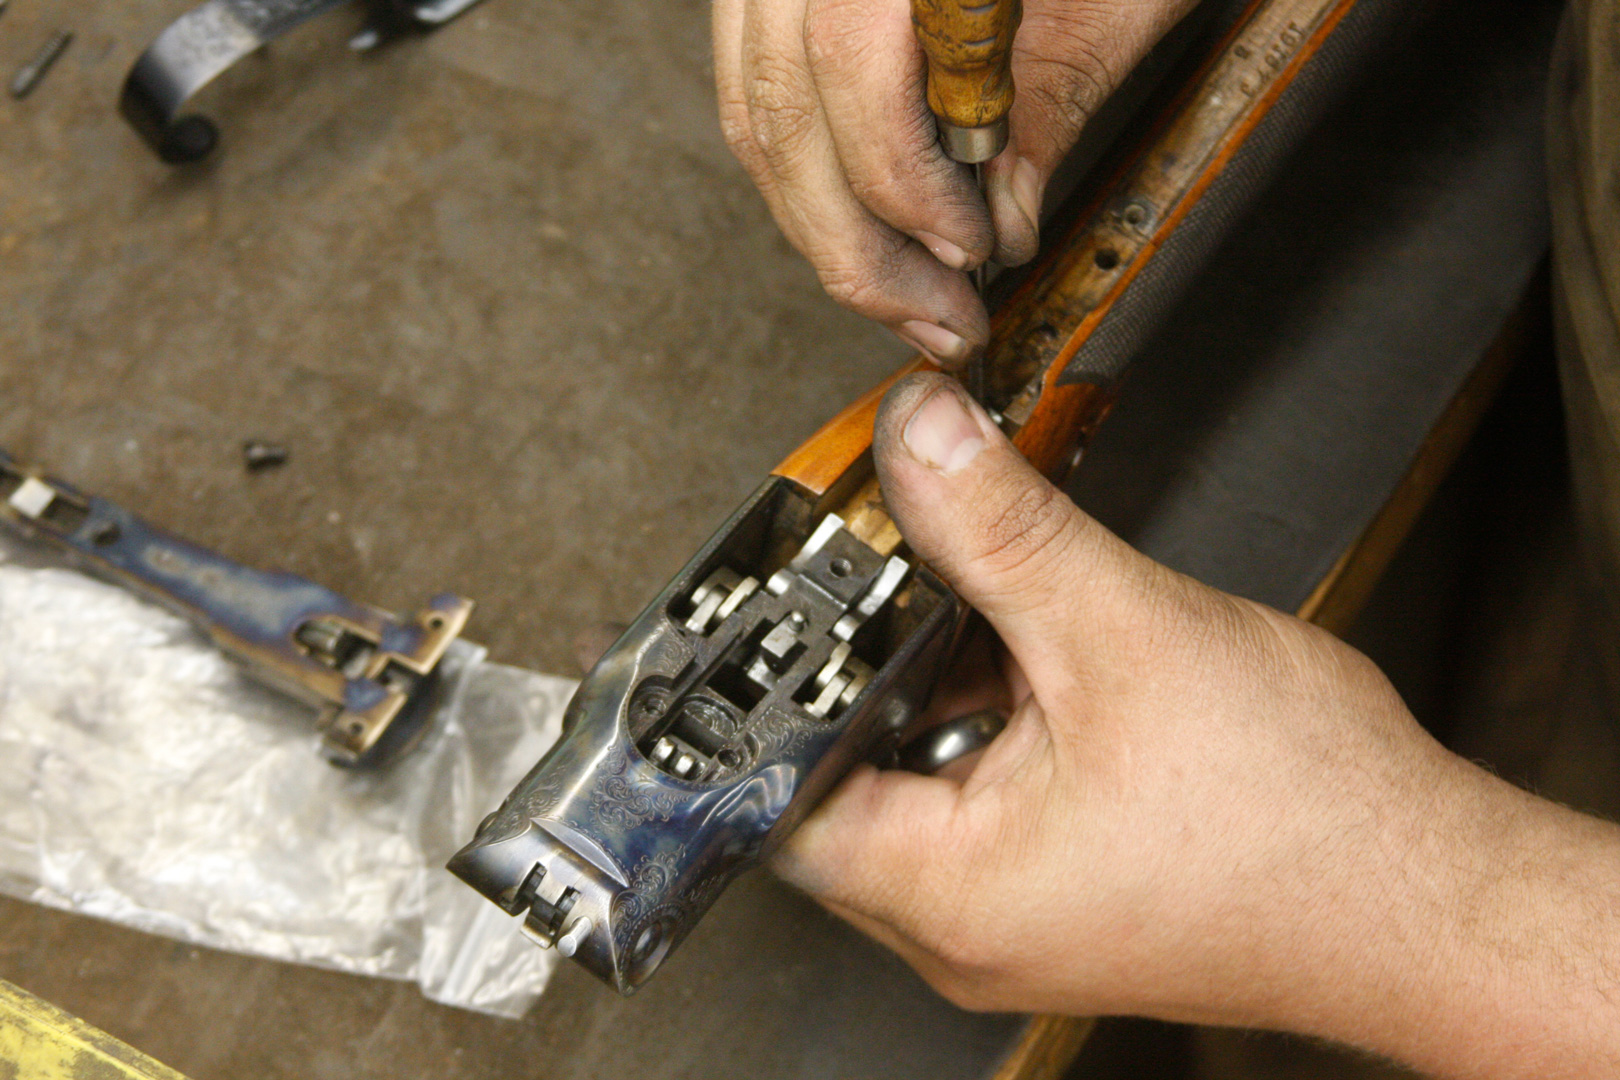
Lining up the safety tower with the safety notch.
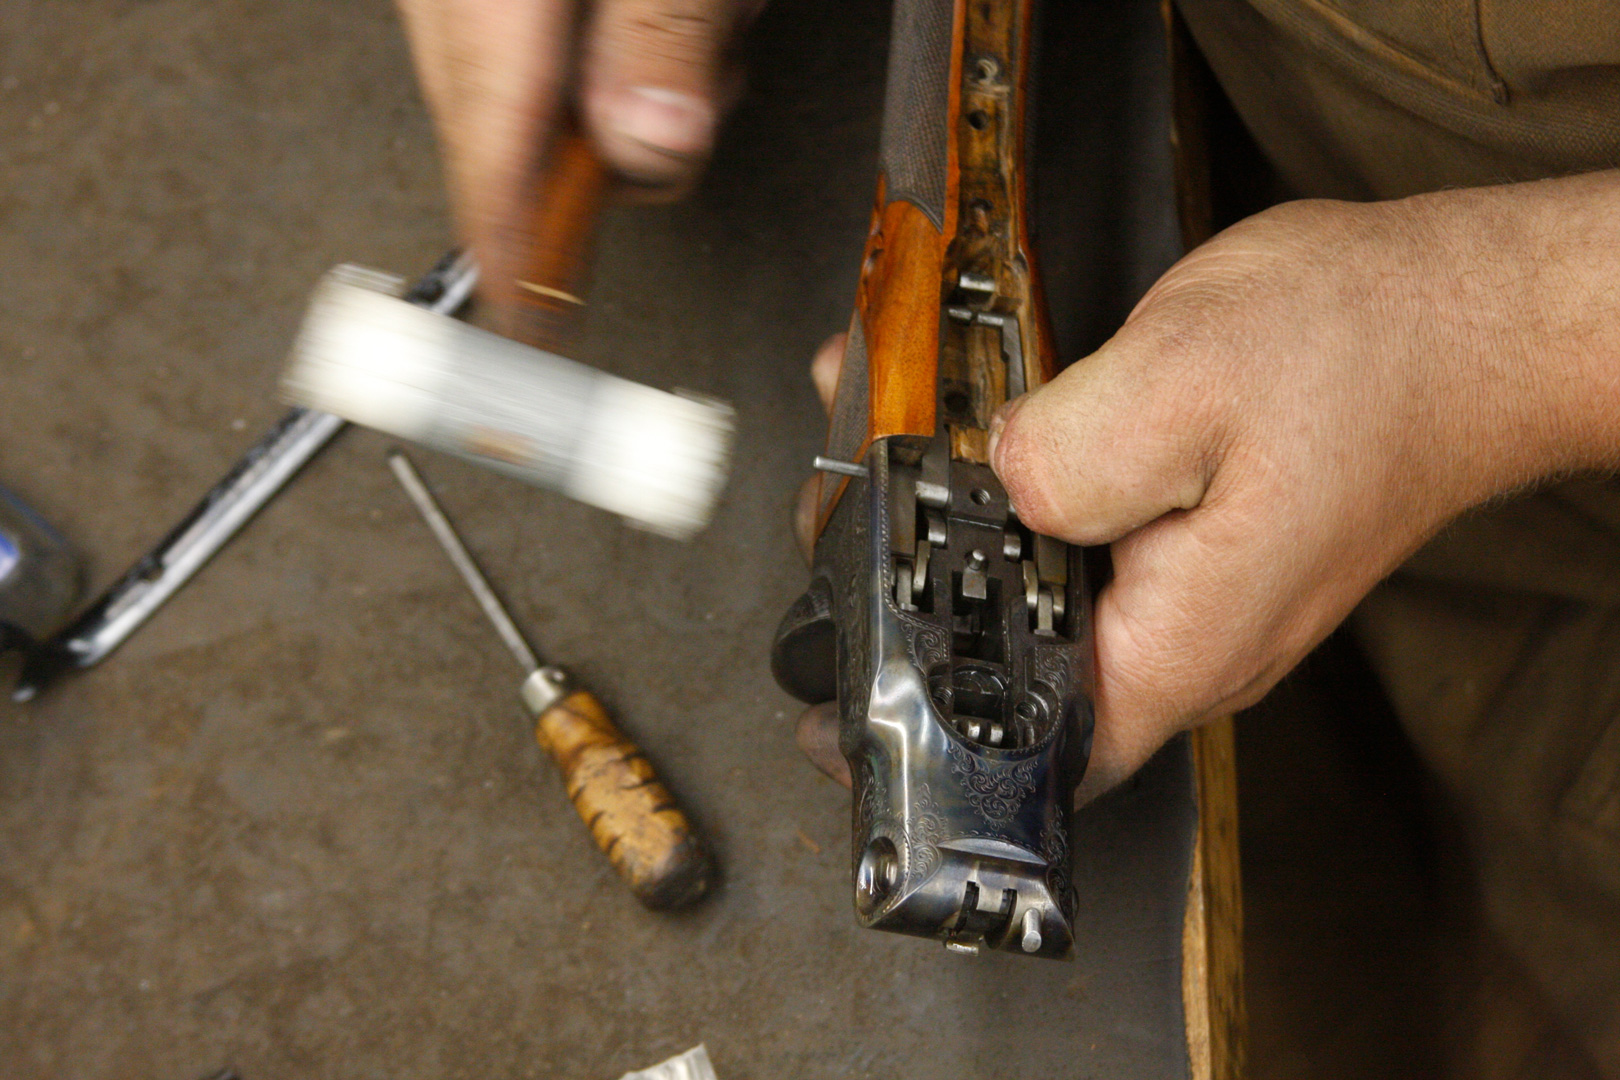
Driving the sears in.
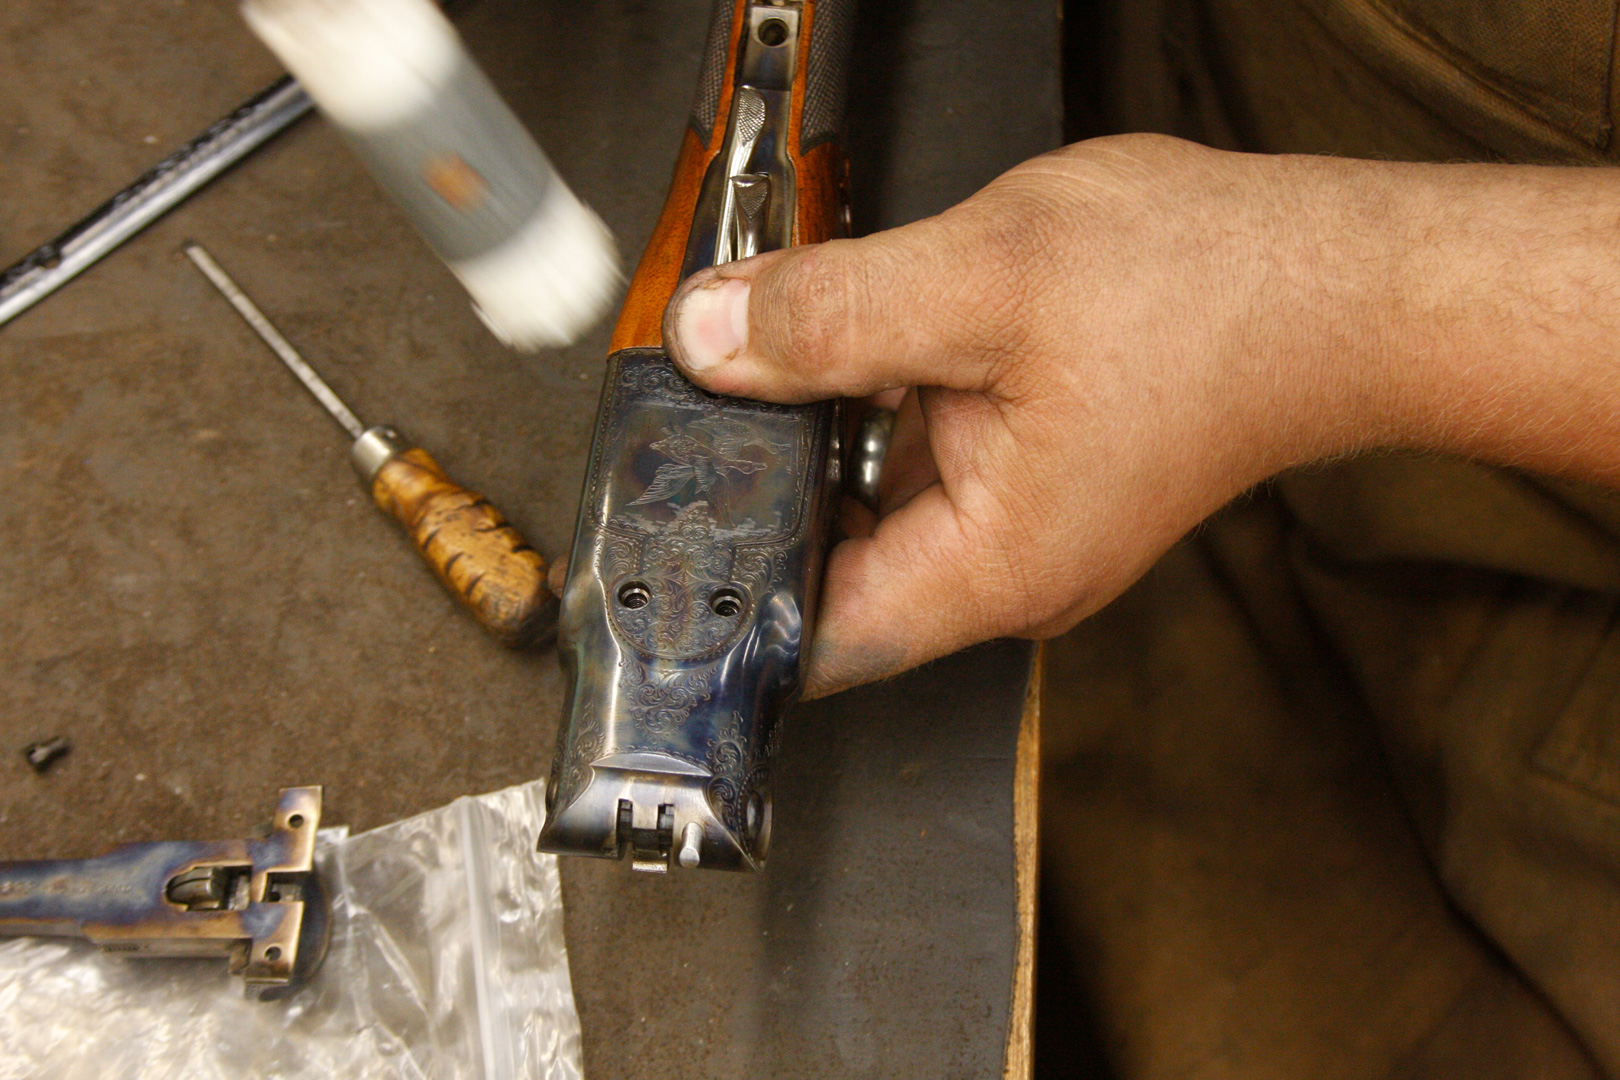
Attaching the floor plate.
A NEW OLD GUN
Restoration included a new English walnut buttstock with skeleton buttplate, full-metal polish, engraving recut, refinishing of the beavertail forend, and the gold shield inlay. All of Turnbull’s signature metal finishes—rust blue, charcoal blue, and color-case hardening—were used.
To find out more about Turnbull and to have a gun of your own restored, visit turnbullmfg.com.


